SwiftUI实战教程 第三章 土豆List
代码库
教程中的项目代码都保存在这里:
https://github.com/NDFour/swiftui01
前言
在这一章节中,我们会使用List控件做一个土豆List,实现了列表填充、增加记录、删除记录以及列表记录重排序。
当你点击列表中的todo记录时将会跳转到详情页,详情页包含todo标题的放大版以及图标的放大版。
新建项目
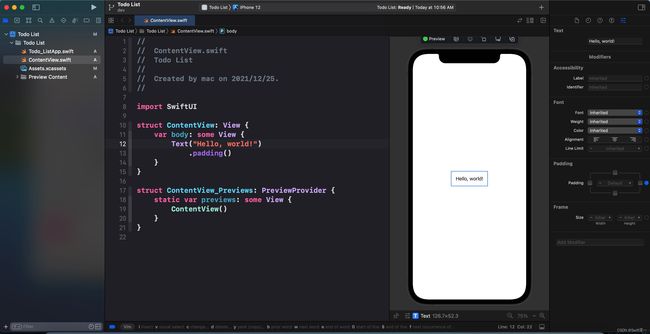
怎么新建一个项目我们在第一章中介绍过,这里就不再赘述了,新建好的项目长这个样子:
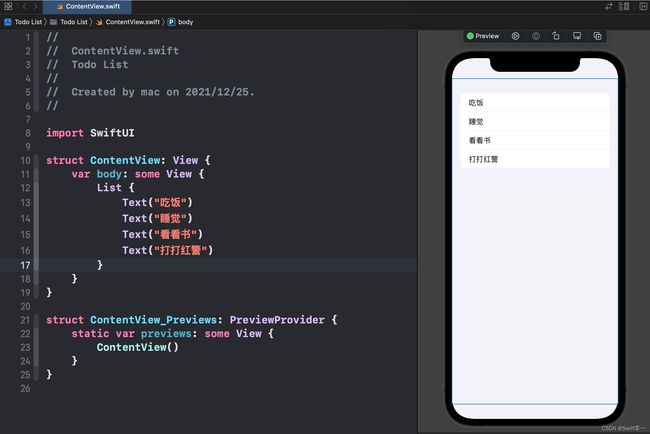
为了在List中展示todo记录,我们在ContentView文件中添加如下代码:
struct ContentView: View {

    var body: some View {

        List {

            Text("吃饭")
            Text("睡觉")
            Text("看看书")
            Text("打打红警")
        }
    }
}
我想要在每一行之中除了文字之外还要展示一个分类的图标,表示该条todo记录属于什么类别,所以使用HStatck包裹我们要在一行展示的数据:
struct ContentView: View {

    var body: some View {

        List {

            HStack {

                Image(systemName: "desktopcomputer")
                    .resizable()
                    .frame(width: 20, height: 20)
                Text("Coding...")
            }
             HStack {

                Image(systemName: "house")
                    .resizable()
                    .frame(width: 20, height: 20)
                Text("健身")
            }
            HStack {

                Image(systemName: "theatermasks")
                    .resizable()
                    .frame(width: 20, height: 20)
                Text("相亲")
            }
        }
    }
}
如果
Image中使用的图片是自己从网上找的,大小可能不一致,这就可能导致图片超过了屏幕的大小,整个屏幕只显示了图片的一角。这时就可以使用
resizeable让图片自适应大小。
Image(systemName: "desktopcomputer").resizable().frame(width: 50, height: 50)
使用frame来限定图片的大小。
使用数组内容填充List
目前为止,我们通过写死代码的方式在List中展示了几条数据,接下来我们要使其能够动态变化。
新建一个 Todo 结构体,保存 todo 数据
在ContentView.swift代码中增加一个结构体:
struct Todo {

    let name: String // todo 标题
    let category: String // todo 分类
}
新建一个 @State 修饰的数组
在ContentView.swift中增加数组:
struct ContentView: View {

    @State private var todos = [
        Todo(name: "coding", category: "desktopcomputer"),
        Todo(name: "健身", category: "house"),
        Todo(name: "相亲", category: "theatermasks")
    ]
    ...
}
我们创建了一个数组todos,并且用@State修饰,这样List中的数据条目就可以动态更新了。
声明数组的同时,我们还新建了3条 todo 结构体放到了数组中。
填充数组内容到 List
var body: some View {

    List {

        ForEach(todos, id

