Spring Security快速入门
入门案例
创建一个Spring MVC应用程序,该应用程序使用用户登录来保护页面。
Spring Initializer创建项目
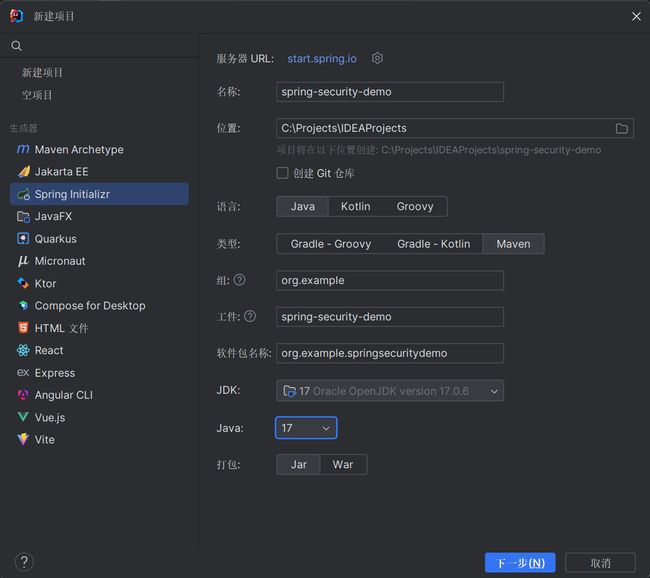
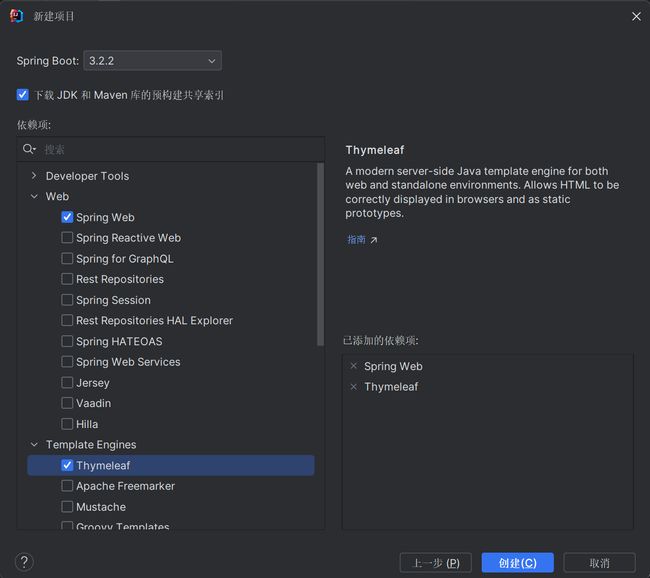
如果Spring Web和Thymeleaf依赖无法下载,可以检查项目的Maven配置是否正确!
创建“不安全”的Web应用程序
Web应用程序包括两个简单的视图:主页和**“Hello,World”页面**。
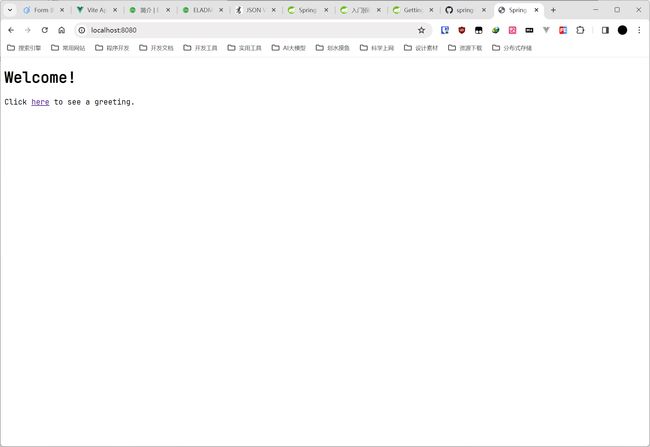
主页在以下Thymeleaf模板中定义(来自 src/main/resources/templates/home.html。这个简单的视图包括一个指向 /hello 页面的链接
DOCTYPE html>
<html xmlns="http://www.w3.org/1999/xhtml" xmlns:th="https://www.thymeleaf.org">
    <head>
        <title>Spring Security Exampletitle>
    head>
    <body>
        <h1>Welcome!h1>

        <p>Click <a th:href="@{/hello}">herea> to see a greeting.p>
    body>
html>
hello页面在以下Thymeleaf模板中定义(src/main/resources/templates/hello.html)
DOCTYPE html>
<html xmlns="http://www.w3.org/1999/xhtml" xmlns:th="https://www.thymeleaf.org">
    <head>
        <title>Hello World!title>
    head>
    <body>
        <h1>Hello world!h1>
    body>
html>
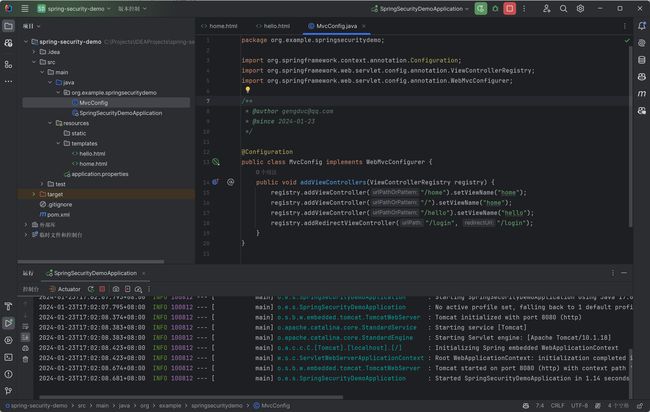
Web应用程序基于Spring MVC。因此,需要配置Spring MVC并设置视图控制器来公开这些模板。(src/main/java/org/example/springsecuritydemo/MvcConfig.java)
package org.example.springsecuritydemo;

import org.springframework.context.annotation.Configuration;
import org.springframework.web.servlet.config.annotation.ViewControllerRegistry;
import org.springframework.web.servlet.config.annotation.WebMvcConfigurer;

/**
 * @author [email protected]
 * @since 2024-01-23
 */

@Configuration
public class MvcConfig implements WebMvcConfigurer {
    public void addViewControllers(ViewControllerRegistry registry) {
        registry.addViewController("/home").setViewName("home");
        registry.addViewController("/").setViewName("home");
        registry.addViewController("/hello").setViewName("hello");
        registry.addViewController("/login").setViewName("login");
    }
}
addViewControllers() 方法(它覆盖了 WebMvcConfigurer 中同名的方法)添加了四个视图控制器。其中两个视图控制器引用名为 home 的视图(在 home.html 中定义),另一个引用名为 hello 的视图(在 hello.html 中定义)。第四个视图控制器引用另一个名为 login 的视图。
使用Spring Security
假设您希望阻止未经授权的用户查看位于 /hello 的问候页。就像现在一样,如果访问者点击主页上的链接,他们会看到没有障碍阻止他们的问候语。您需要添加一个屏障,强制访问者在看到该页面之前登录。
您可以通过在应用程序中配置Spring Security来实现这一点。如果Spring Security在类路径上,Spring靴子会自动使用“基本”身份验证保护所有HTTP端点。您也可以进一步自定义安全设置。
使用Maven,您需要向 pom.xml 中的
<dependency>
    <groupId>org.springframework.bootgroupId>
    <artifactId>spring-boot-starter-securityartifactId>
dependency>
<dependency>
    <groupId>org.springframework.securitygroupId>
    <artifactId>spring-security-testartifactId>
    <scope>testscope>
dependency>
安全配置WebSecurityConfig(src/main/java/org/example/springsecuritydemo/WebSecurityConfig.java)可确保只有经过身份验证的用户才能跳转到/hello:
package org.example.springsecuritydemo;

import org.springframework.context.annotation.Bean;
import org.springframework.context.annotation.Configuration;
import org.springframework.security.config.annotation.web.builders.HttpSecurity;
import org.springframework.security.config.annotation.web.configuration.EnableWebSecurity;
import org.springframework.security.config.annotation.web.configurers.LogoutConfigurer;
import org.springframework.security.core.userdetails.User;
import org.springframework.security.core.userdetails.UserDetails;
import org.springframework.security.core.userdetails.UserDetailsService;
import org.springframework.security.provisioning.InMemoryUserDetailsManager;
import org.springframework.security.web.SecurityFilterChain;

/**
 * @author [email protected]
 * @since 2024-01-23
 */

@Configuration
@EnableWebSecurity
public class WebSecurityConfig {
    @Bean
    public SecurityFilterChain securityFilterChain(HttpSecurity httpSecurity) throws Exception {
        httpSecurity
                .authorizeHttpRequests((request) -> request
                        .requestMatchers("/", "/home")
                        .permitAll()
                        .anyRequest()
                        .authenticated())
                .formLogin((form) -> form
                        .loginPage("/login")
                        .permitAll())
                .logout((logout) -> logout.permitAll());
        return httpSecurity.build();
    }

    @Bean
    public UserDetailsService userDetailsService() {
        UserDetails user =
                User.withDefaultPasswordEncoder()
                        .username("user")
                        .password("password")
                        .roles("USER")
                        .build();
        return new InMemoryUserDetailsManager(user);
    }
}
WebSecurityConfig 类使用 @EnableWebSecurity 进行注释,以启用Spring Security的Web安全支持并提供Spring MVC集成。它还公开了两个bean来设置Web安全配置的一些细节:
SecurityFilterChainbean定义了哪些URL路径应该被保护,哪些不应该。具体地,/和/home路径被配置为不需要任何认证。所有其他路径都必须经过身份验证。- 当用户成功登录时,他们将被重定向到以前请求的需要身份验证的页面。有一个自定义的
/login页面(由loginPage()指定),每个人都可以查看它。
- 当用户成功登录时,他们将被重定向到以前请求的需要身份验证的页面。有一个自定义的
UserDetailsServicebean为单个用户建立一个内存中的用户存储。该用户的用户名为user,密码为password,角色为USER。
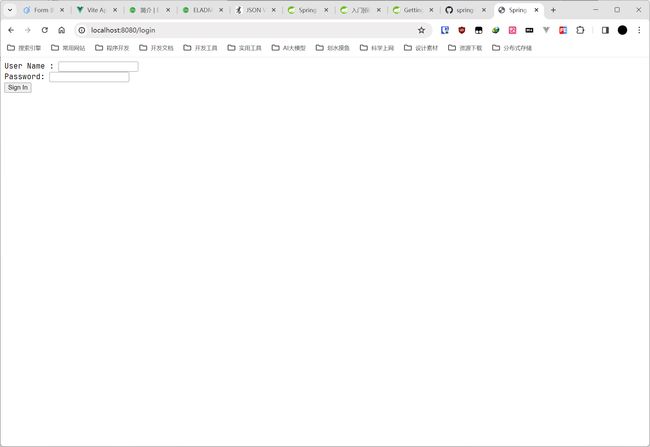
接下来创建登录页面。 login 视图已经有一个视图控制器,所以你只需要创建登录视图本身 (src/main/resources/templates/login.html )所示:
DOCTYPE html>
<html xmlns="http://www.w3.org/1999/xhtml" xmlns:th="https://www.thymeleaf.org">
    <head>
        <title>Spring Security Example title>
    head>
    <body>
        <div th:if="${param.error}">
            Invalid username and password.
        div>
        <div th:if="${param.logout}">
            You have been logged out.
        div>
        <form th:action="@{/login}" method="post">
            <div><label> User Name : <input type="text" name="username"/> label>div>
            <div><label> Password: <input type="password" name="password"/> label>div>
            <div><input type="submit" value="Sign In"/>div>
        form>
    body>
html>
这个Thymeleaf模板提供了一个表单,可以捕获用户名和密码并将其发布到 /login 。正如配置的那样,Spring Security提供了一个过滤器来拦截该请求并对用户进行身份验证。如果用户身份验证失败,页面将重定向到 /login?error ,并且您的页面将显示相应的错误消息。成功注销后,您的应用程序将发送到 /login?logout ,并且您的页面将显示相应的成功消息。
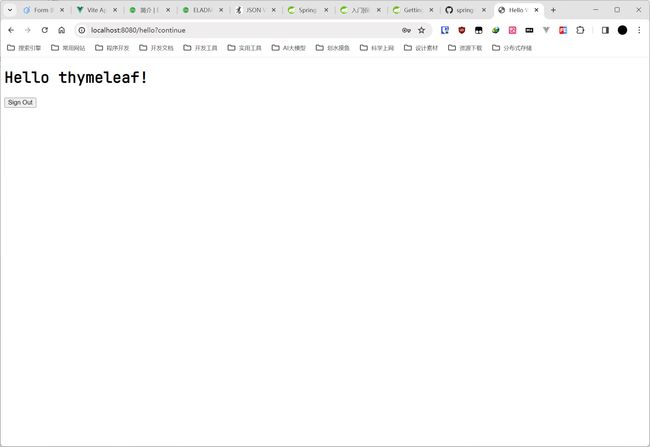
最后,更新 hello.html 以向当前用户问好, 添加Sign Out
DOCTYPE html>
<html xmlns="http://www.w3.org/1999/xhtml" xmlns:th="https://www.thymeleaf.org"
      xmlns:sec="https://www.thymeleaf.org/thymeleaf-extras-springsecurity6">
    <head>
        <title>Hello World!title>
    head>
    <body>
        <h1 th:inline="text">Hello <span th:remove="tag" sec:authentication="name">thymeleafspan>!h1>
        <form th:action="@{/logout}" method="post">
            <input type="submit" value="Sign Out"/>
        form>
    body>
html>
我们通过使用Thymeleaf与Spring Security的集成来显示用户名。“注销”表单向 /logout 提交POST。成功注销后,它会将用户重定向到 /login?logout 。
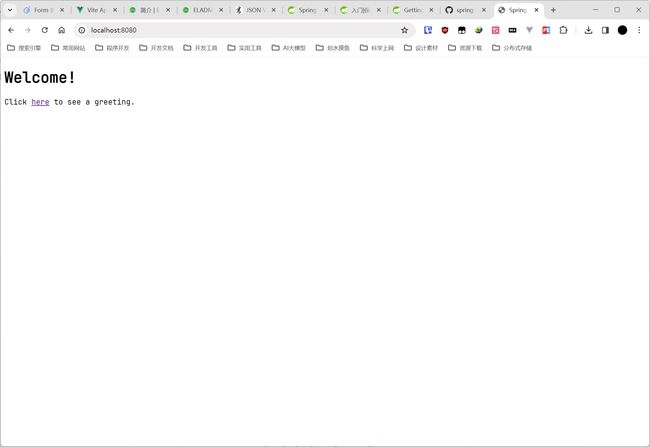
应用程序启动后,将浏览器指向 http://localhost:8080 。您应该看到主页,如下图所示:
参考文档
- https://spring.io/guides/gs/securing-web/