编写简单的视图切换应用
iOS应用中,经常要切换视图,不切换视图的应用是少数而且是比较简单的。
这里按照步骤说一下实现过程。本文参照了《Beginning iPhone Development》,但可能是篇幅的限制,作者一气呵成的写了个大的例子。我这里分几个阶段逐步实现。这样在使用IB(Interface Builder)时才不会感到混乱。另外,对一些附加的内容做了精简,这样更方便理解。
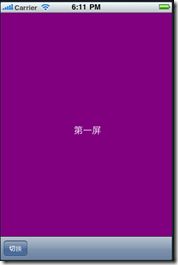
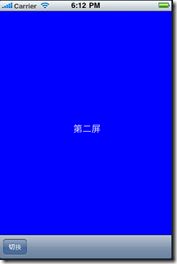
总的效果是这样:
点击“切换”按钮后,从第一屏切换到第二屏,循环往复。
创建带按钮的空白屏幕
在这个示例中,切换按钮是不起作用的。在这个示例中既没有第一屏也有第二屏。
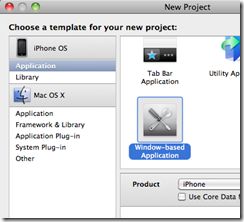
创建一个windows based Application:
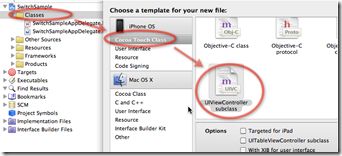
生成项目后,创建SwitchViewController,这个Controller是用于切换子视图的,可切换到第一屏和第二屏。当然在这个示例中只有第一屏。
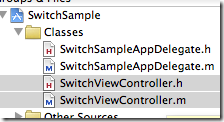
在classes目录下,会创建该控制器的两个文件:
编写代码,在Delegate中引入SwitchViewController,在Delegate的头文件中:
#import <UIKit/UIKit.h>
#import "SwitchViewController.h"@interface SwitchSampleAppDelegate : NSObject <UIApplicationDelegate> {
UIWindow *window;
SwitchViewController * switchViewController;
}@property (nonatomic, retain) IBOutlet UIWindow *window;
@property(nonatomic,retain)IBOutlet SwitchViewController *switchViewController;@end
在对应的m文件中:
#import "SwitchSampleAppDelegate.h"
@implementation SwitchSampleAppDelegate
@synthesize window;
@synthesize switchViewController;- (BOOL)application:(UIApplication *)application didFinishLaunchingWithOptions:(NSDictionary *)launchOptions {
// Override point for customization after application launch.
[window addSubview:switchViewController.view];
[window makeKeyAndVisible];
return YES;
}- (void)dealloc {
[window release];
[switchViewController release];
[super dealloc];
}@end
下面,设置界面的内容。双击MainWindow.xib:
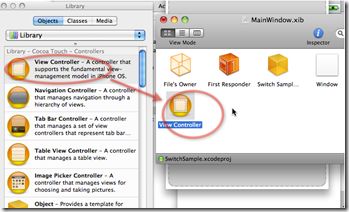
拖拽View Controller到MainWindow.xib中:
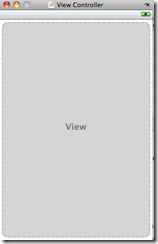
生成的View Controller窗口:
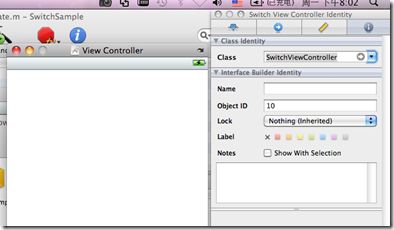
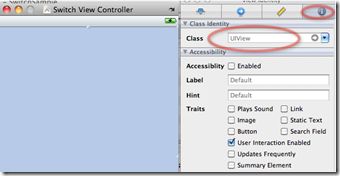
将对应的Class改为SwitchViewController:
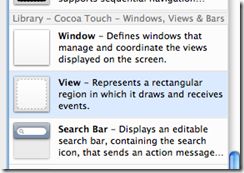
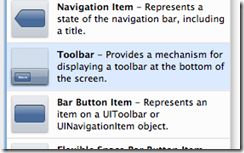
向该窗口中拖入一个view和一个toolbar:
并将toolbar中的按钮文字改为“切换”:
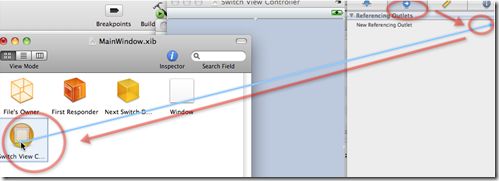
下面,要将创建的view(就是刚才拖到窗口中的view)和SwitchViewController关联,首先要选中view:
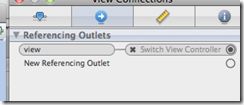
如果选择不对,可能选中的是Controller而不是包含的view。在选connections标签页,建立关联:
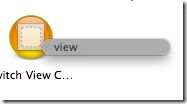
选择里面的view,以及建立关联的样子:
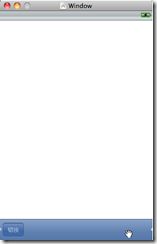
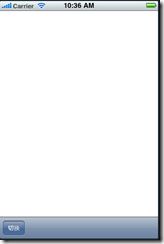
在模拟器上运行,可以看到:
不过这个按钮还不能点击。加入点击处理代码。可在SwitchViewController.h中增加:
-(IBAction)switchViews:(id)sender;
然后在m文件中加入该方法的实现:
-(IBAction)switchViews:(id)sender{
NSLog(@">>>>touch toolbar");
}
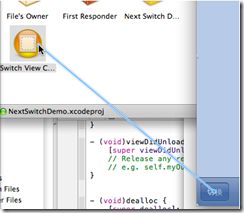
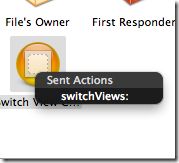
下面需要把视图中的按钮和上面实现的方法关联:
然后选择switchViews条目。再次启动应用,可以在日志中找到:
[Session started at 2010-10-12 10:42:26 +0800.]
2010-10-12 10:42:29.981 NextSwitchDemo[70102:207] >>>>touch toolbar
把第一屏加进去
首先要创建第一屏的Controller,即FirstViewController:
过程和SwitchViewController类似。
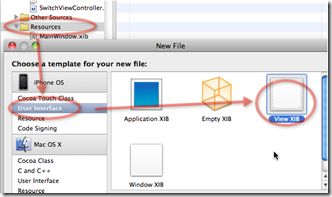
然后需要创建第一屏的xib文件,即FirstView,要在Resouces下创建:
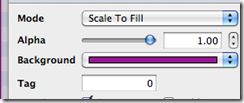
用IB打开,改背景颜色:
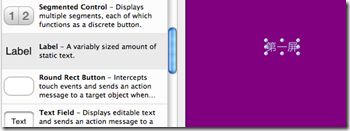
加文字:
然后,要设置FirstView和Controller的关联。
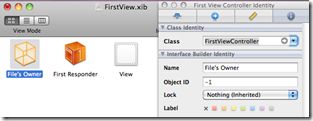
修改File’s Owner,改为FirstViewController,默认是NSObject:
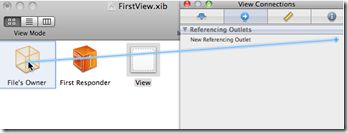
再将view的关联设置到file’Owner,即FirstViewController。
下面要把这一屏视图加到上级视图中,作为它的子视图,即SwitchViewController关联的视图。需要编写代码,在SwitchViewController.h文件中:
#import <UIKit/UIKit.h>
#import "FirstViewController.h"@interface SwitchViewController : UIViewController {
FirstViewController *firstViewController;
}
@property (nonatomic,retain) FirstViewController *firstViewController;
-(IBAction)switchViews:(id)sender;@end
在m文件中加入:
@synthesize firstViewController;
…
- (void)viewDidLoad {
firstViewController=[[FirstViewController alloc] initWithNibName:@"FirstView" bundle:nil];
[self.view insertSubview:firstViewController.view atIndex:0];
[super viewDidLoad];
}
就会出现本文最前面出现的第一屏的效果。
加入第二屏,并通过按钮切换
和上面做法类似,可创建第二屏的Controller和view文件。
主要区别在SwitchViewController的方法中,需要:
- (void)viewDidLoad {
firstViewController=[[FirstViewController alloc] initWithNibName:@"FirstView" bundle:nil];
secondViewController=[[SecondViewController alloc] initWithNibName:@"SecondView" bundle:nil];
[self.view insertSubview:firstViewController.view atIndex:0];
[super viewDidLoad];
}-(IBAction)switchViews:(id)sender{
if (firstViewController.view.superview==nil) {
[secondViewController.view removeFromSuperview];
[self.view insertSubview:firstViewController.view atIndex:0];
}else {
[firstViewController.view removeFromSuperview];
[self.view insertSubview:secondViewController.view atIndex:0];
}}
这样就可以实现按钮切换视图了。
加入切换视图的过场动画
修改了一下SwitchViewController的switchViews方法:
-(IBAction)switchViews:(id)sender{
[UIView beginAnimations:@"View Flip" context:nil];
[UIView setAnimationDuration:1.25];
[UIView setAnimationCurve:UIViewAnimationCurveEaseInOut];
if (firstViewController.view.superview==nil) {
[UIView setAnimationTransition:
UIViewAnimationTransitionFlipFromRight
forView:self.view cache:YES];
[secondViewController.view removeFromSuperview];
[self.view insertSubview:firstViewController.view atIndex:0];
[firstViewController viewWillAppear:YES];
[secondViewController viewWillDisappear:YES];
[secondViewController viewDidDisappear:YES];
[firstViewController viewDidAppear:YES];
}else {
[firstViewController.view removeFromSuperview];
[self.view insertSubview:secondViewController.view atIndex:0];
}
[UIView commitAnimations];
}
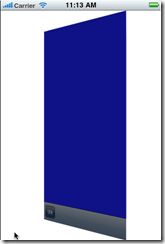
可以实现从第二屏切到第一屏时的动画效果,第一屏到第二屏的以此类推。
