cocos2dx 官网的小游戏 1
cocos2dx 官网的小游戏
第一节: 创建各种平台的工程
1. iphone工程
goto the root of cocos2d-x folder, then run the install-templates.sh in the mac shell
./install-templates-xcode.sh -u -f 运行此脚本即可安装到xcode中
and you can choose your xcode version here, xcode3 or xcode4. 这里选择对应的xcode版本
After the installation finisehd, you can start the Xcode, then click "Create a new Xcode project". You can see this dialog
启动xcode后,创建新的xcode工程,可以看到如下对话框:


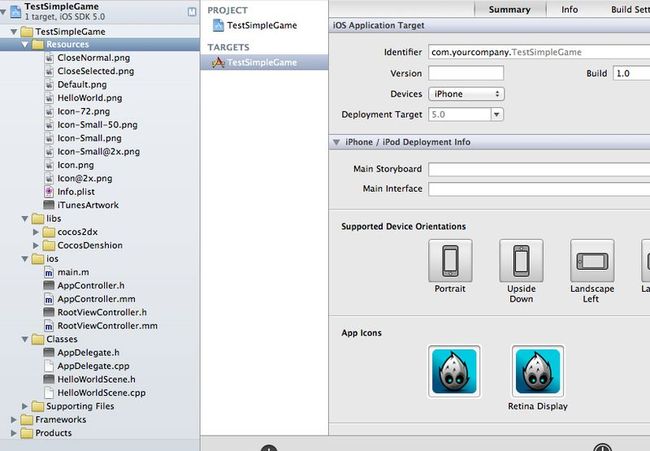
此为 iphone工程
2.android工程
执行 create-android-project.sh 创建android工程,上篇已经提到
我们可以修改一节编译测试一节。
第二节 怎么添加一个精灵
1. Player.png 到官网下载 这个精灵文件,保存到resources 资源目录下面

添加代码:

第三节 怎么样移动精灵
1.Target.png 下载精灵文件

在头文件中声明 void addTarget() 方法 HelloWorldScene.h头文件
在实现文件中添入如下代码
//声明一个方法 移除精灵
we need to declare it in the HelloWorldScene.h and define it as follows:
TIPs:
1. About rand function. srand and rand are c std function. For each platform, you could get the mili-second system time as sand to get a random number. On WoPhone, the function is TimGetTickes(), and on IPhone, you could get the random number by arc4random() directly
2. The YES and NO in objc are true and false in cpp
3. The callback function is selector:@selector(spriteMoveFinished) in objc, but it is a little complicated to realize in cpp, you could refer to the declarations in cocos2dx\include\selector_protocol.h. There are five different callback types:
schedule_selector
callfunc_selector
callfuncN_selector
callfuncND_selector
menu_selector

下一节继续
第一节: 创建各种平台的工程
1. iphone工程
goto the root of cocos2d-x folder, then run the install-templates.sh in the mac shell
./install-templates-xcode.sh -u -f 运行此脚本即可安装到xcode中
and you can choose your xcode version here, xcode3 or xcode4. 这里选择对应的xcode版本
After the installation finisehd, you can start the Xcode, then click "Create a new Xcode project". You can see this dialog
启动xcode后,创建新的xcode工程,可以看到如下对话框:


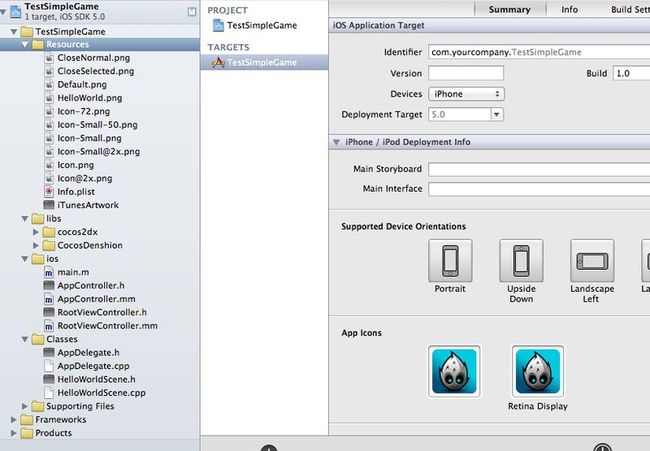
此为 iphone工程
2.android工程
执行 create-android-project.sh 创建android工程,上篇已经提到
我们可以修改一节编译测试一节。
第二节 怎么添加一个精灵
1. Player.png 到官网下载 这个精灵文件,保存到resources 资源目录下面
添加代码:
bool HelloWorld::init(){    //在场景初始化方法中  此在布景中添加
   if ( CCLayer::init() ){
     CCSize winSize = CCDirector::sharedDirector()->getWinSize();  //获取屏幕窗口的大小
	 //实例化一个精灵 图片  图片在一个矩形中
     CCSprite *player = CCSprite::spriteWithFile("Player.png", CCRectMake(0, 0, 27, 40) );
	 //设置精灵的位置
     player->setPosition( ccp(player->getContentSize().width/2, winSize.height/2) );
     //添加精灵到布景中
	 this->addChild(player);
  }
  return true;
}
class HelloWorld : public cocos2d::CCLayerColor  //HelloWorld类也可以继承CCLayerColorle类
CCLayerColor::initWithColor( ccc4(255,255,255,255) )//设置颜色

第三节 怎么样移动精灵
1.Target.png 下载精灵文件
在头文件中声明 void addTarget() 方法 HelloWorldScene.h头文件
在实现文件中添入如下代码
void HelloWorld::addTarget(){
    //用图片创建一个精灵
     CCSprite *target = CCSprite::spriteWithFile("Target.png", CCRectMake(0,0,27,40) );
    // Determine where to spawn the target along the Y axis
     CCSize winSize = CCDirector::sharedDirector()->getWinSize();
     int minY = target->getContentSize().height/2;
     int maxY = winSize.height-  target->getContentSize().height/2;
     int rangeY = maxY - minY;
     // srand( TimGetTicks() );
     int actualY = ( rand() % rangeY ) + minY;

    // Create the target slightly off-screen along the right edge,
    // and along a random position along the Y axis as calculated
    target->setPosition( ccp(winSize.width + (target->getContentSize().width/2), actualY) );
    this->addChild(target);

    // Determine speed of the target
    int minDuration = (int)2.0;
    int maxDuration = (int)4.0;
    int rangeDuration = maxDuration - minDuration;
    // srand( TimGetTicks() );
    int actualDuration = ( rand() % rangeDuration )+ minDuration;

    // Create the actions
    CCFiniteTimeAction* actionMove =
	    CCMoveTo::actionWithDuration( (ccTime)actualDuration,
        ccp(0 - target->getContentSize().width/2, actualY) );
    CCFiniteTimeAction* actionMoveDone =
        CCCallFuncN::actionWithTarget( this,
        callfuncN_selector(HelloWorld::spriteMoveFinished));
    target->runAction( CCSequence::actions(actionMove,
        actionMoveDone, NULL) );
}
//声明一个方法 移除精灵
we need to declare it in the HelloWorldScene.h and define it as follows:
void HelloWorld::spriteMoveFinished(CCNode* sender){
  CCSprite *sprite = (CCSprite *)sender;
  this->removeChild(sprite, true);
}
TIPs:
1. About rand function. srand and rand are c std function. For each platform, you could get the mili-second system time as sand to get a random number. On WoPhone, the function is TimGetTickes(), and on IPhone, you could get the random number by arc4random() directly
2. The YES and NO in objc are true and false in cpp
3. The callback function is selector:@selector(spriteMoveFinished) in objc, but it is a little complicated to realize in cpp, you could refer to the declarations in cocos2dx\include\selector_protocol.h. There are five different callback types:
schedule_selector
callfunc_selector
callfuncN_selector
callfuncND_selector
menu_selector
add the codes before init() function returns. 在init返回之前调用
// Call game logic about every second
this->schedule( schedule_selector(HelloWorld::gameLogic), 1.0 );  //在init方法中调用游戏逻辑
void HelloWorld::gameLogic(ccTime dt){  //一秒调用一次
    this->addTarget();  //调用添加精灵方法
}

下一节继续