从零搭建个人博客(wordpress+php+nginx+mysql)
题记:
有些想法会在你某天心血来潮的时候袭来。在很久之前就想做自己的Blog。
今天下午正好空闲就在本机搭建了一个。
Requrement:
Mysql5.1 ,download from: http://mysql.com
php-5.3.3
wordpress3.0.1
nginx-0.8.53
这些东西都可以在官方网站下载到。
下载这些zip包后,可以解压到自己喜欢的目录。
1,建立数据库和用户
比如通过mysql的客户端建立 blogger/blogger@wordpress 的数据库,如下:
$ mysql -u root -p
Enter password:
Welcome to the MySQL monitor.  Commands end with ; or \g.
Your MySQL connection id is 5340 to server version: 3.23.54

Type 'help;' or '\h' for help. Type '\c' to clear the buffer.

mysql> CREATE DATABASE wordpress;
Query OK, 1 row affected (0.00 sec)

mysql> CREATE USER 'blogger'@'localhost' identified by password 'blogger'

mysql> GRANT ALL PRIVILEGES ON wordpress.* TO "blogger"@"localhost"
    -> IDENTIFIED BY "password";
Query OK, 0 rows affected (0.00 sec)

mysql> FLUSH PRIVILEGES;
Query OK, 0 rows affected (0.01 sec)

mysql> EXIT
Bye
$
2、配置php
假如php安装在:D:\php-5.3.3
配置php.ini文件:把php.ini-development 改名为php.ini
增加MysqlExtenstion(这个wordpress会做检测):修改php.ini的";extension=php_mysql.dll"为“extension=ext/php_mysql.dll”
启动php,启动命令为:
D:\php-5.3.3>php-cgi.exe -b 127.0.0.1:9000 -c d:\php-5.3.3\php.ini
3、配置nginx的php,修改D:\nginx-0.8.53\conf\nginx.conf,把php那块注释去掉,如下:
location / {
root html;
index index.html index.htm index.php;
}
        # pass the PHP scripts to FastCGI server listening on 127.0.0.1:9000
        #
        location ~ \.php$ {
            root           html;
            fastcgi_pass   127.0.0.1:9000;
            fastcgi_index  index.php;
            fastcgi_param  SCRIPT_FILENAME  D:\\nginx-0.8.53\\html$fastcgi_script_name;
            include        fastcgi_params;
        }
root为web应用对外的目录并把wordpress目录放到d:\\nginx-0.8.53\\html下.
启动nginx:
D:\nginx-0.8.53>start nginx
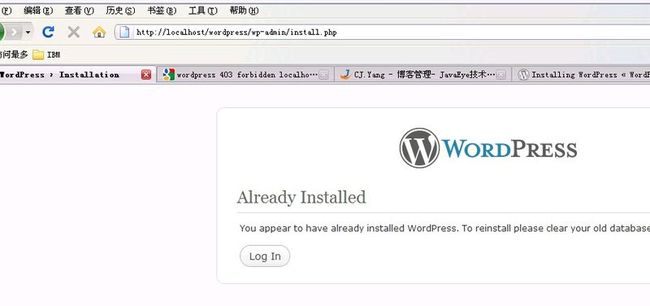
然后在浏览器中输入:http://localhost/wordpress/wp-admin/install.php
就看到如下管理页面,因为我之前已经创建过了。
最后wordpress会提示你修改D:\nginx-0.8.53\html\wordpress\wp-config.php文件,增加上面建立的Mysql数据源信息。
特别提醒遇到问题检查nginx的log日志。
