学习WCF笔记之二
一、学习文章http://www.cnblogs.com/iamlilinfeng/archive/2012/09/25/2700049.html
二、步骤
学习WFC,按照大神的文章一步步学习,不过看似简单的过程,中间还会有各种莫名其妙的bug,自己记录了一下
1、新建空白解决方案 WcfServiceWeb
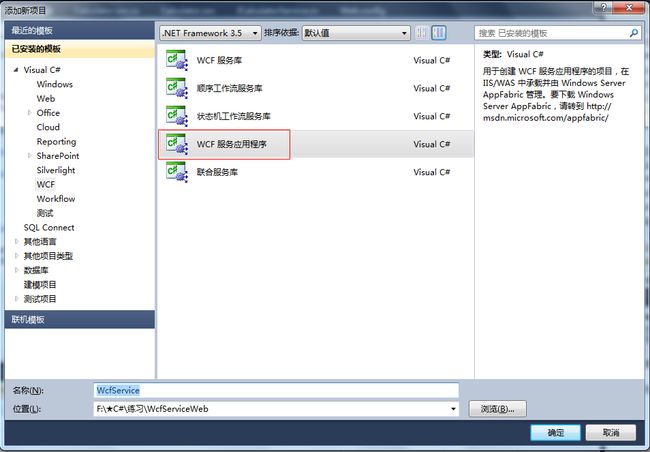
2、新建WcfService项目,类型为WCF应用程序。删除系统生成的两个文件IService1.cs与Service1.svc。
3、添加新项CalculatorService.svc
4、在自动生成的ICalculatorService.cs中添加契约代码
using System;
using System.Collections.Generic;
using System.Linq;
using System.Runtime.Serialization;
using System.ServiceModel;
using System.Text;

namespace WcfService
{
    // 注意: 使用“重构”菜单上的“重命名”命令,可以同时更改代码和配置文件中的接口名“ICalculatorService”。
    [ServiceContract]
    public interface ICalculatorService
    {
        [OperationContract]
        void DoWork();
        [OperationContract]
        string ShowName(string Name);
    }
}
5、在CalculatorService.cs中添加代码
using System;
using System.Collections.Generic;
using System.Linq;
using System.Runtime.Serialization;
using System.ServiceModel;
using System.Text;

namespace WcfService
{
    // 注意: 使用“重构”菜单上的“重命名”命令,可以同时更改代码、svc 和配置文件中的类名“CalculatorService”。
    public class CalculatorService : ICalculatorService
    {
        public void DoWork()
        {
        }


        public string ShowName(string Name)
        {
            return Name;
        }
    }
}
6、此时Web.config配置文件如下,注意红字部分包含命名空间,要写对
 <system.serviceModel>
    <services>
      <service behaviorConfiguration="WcfService.CalculatorServiceBehavior"
        name="WcfService.CalculatorService">
        <endpoint address="" binding="wsHttpBinding" contract="WcfService.ICalculatorService">
          <identity>
            <dns value="localhost" />
          </identity>
        </endpoint>
        <endpoint address="mex" binding="mexHttpBinding" contract="IMetadataExchange" />
      </service>
    </services>
    <behaviors>
      <serviceBehaviors>
        <behavior name="WcfService.Service1Behavior">
          <serviceMetadata httpGetEnabled="true" />
          <serviceDebug includeExceptionDetailInFaults="false" />
        </behavior>
        <behavior name="WcfService.CalculatorServiceBehavior">
          <serviceMetadata httpGetEnabled="true" />
          <serviceDebug includeExceptionDetailInFaults="false" />
        </behavior>
      </serviceBehaviors>
    </behaviors>
  </system.serviceModel>
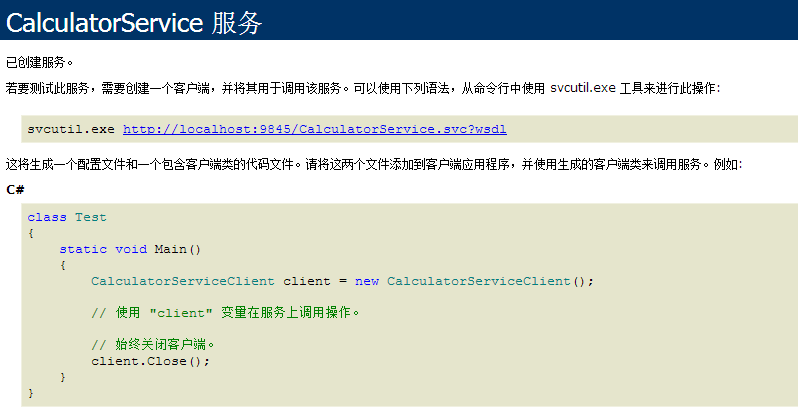
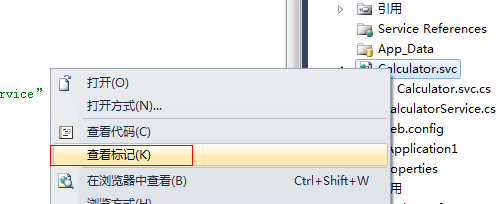
7、在文件CalculatorService.svc上右键-在浏览器中查看,如下图:
8、按照后面步骤三(1.3)发布网站,三(1.4)在发布到IIS中,三(1.3)、三(1.4)在后面会讲到
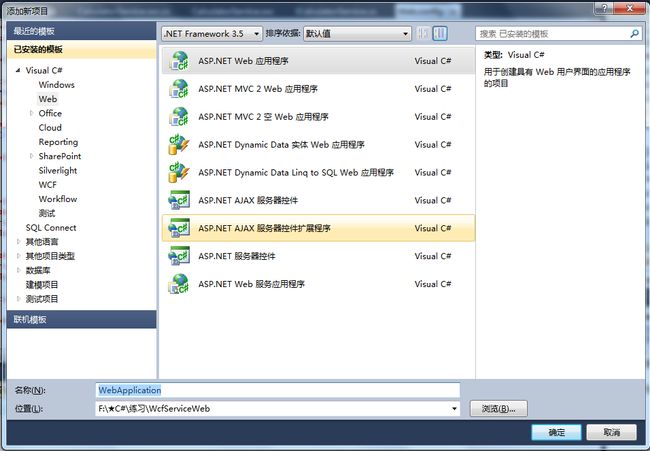
9、客户端测试,添加新项目WebApplication1
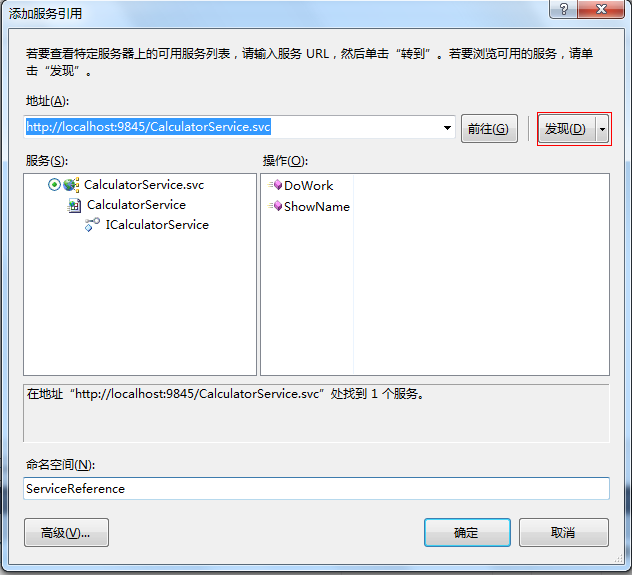
10、在WebApplication1--引用--添加服务引用,点击发现会列出服务,确定。
11、 在Default.aspx中添加一个按钮和一个文本框,添加代码如下:
using System;
using System.Collections.Generic;
using System.Linq;
using System.Web;
using System.Web.UI;
using System.Web.UI.WebControls;
using System.ServiceModel;

namespace WebApplication1
{
    public partial class _Default : System.Web.UI.Page
    {
        protected void Page_Load(object sender, EventArgs e)
        {

        }

        protected void Button1_Click(object sender, EventArgs e)
        {
            ServiceReference.CalculatorServiceClient client = new ServiceReference.CalculatorServiceClient();
            this.TextBox1.Text= client.ShowName("张三");
        }
    }
}
12、点击按钮,测试结果
三、问题点记录
1、如何发布网站
1.1、开启IIS服务
1.2、将IIS注册到VS中
- 开始——运行中输入cmd——进入命令字符界面首先输入cd C:\Windows\Microsoft.NET\Framework\v4.0.30319—然后输入aspnet_regiis.exe -i。
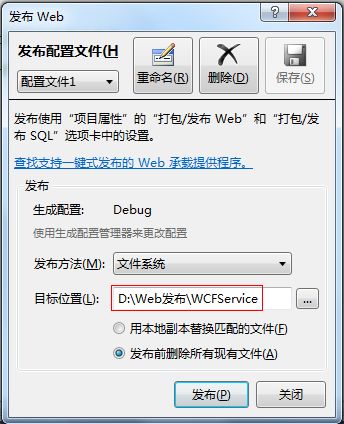
1.3 发布项目,项目-右键-发布,发布到一个地址,如D:\Web发布
1.4 添加网站
计算机右键——管理——服务和应用程序——Internet信息服务(IIS)管理器——网站右键——添加网站,在出现的提示框中输入网站名称,选择物理路径(1.3中的路径),选择IP地址即可。
详细参见http://blog.csdn.net/zwk626542417/article/details/9796259
2、发布时遇到的问题(执行第一步时没注册aspnet_regiis.exe,因为不知道作用)
2.1 问题1
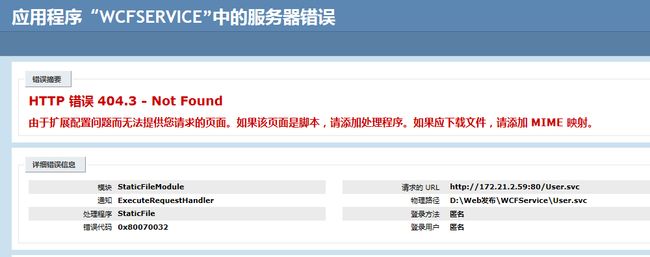
HTTP 错误 404.3 - Not Found
由于扩展配置问题而无法提供您请求的页面。如果该页面是脚本,请添加处理程序。如果应下载文件,请添加 MIME 映射。
原因:系统没有默认为IIS注册WCF服务的svc文件的MIME映射。
解决方法:管理员身份运行C:\Windows\Microsoft.NET\Framework\v3.0\Windows Communication Foundation\ServiceModelReg.exe -i
步骤:以管理员身份打开cmd.exe,cd 进入目录C:\Windows\Microsoft.NET\Framework\v3.0\Windows Communication Foundation
然后输入:ServiceModelReg.exe -i 回车
2.2、问题2
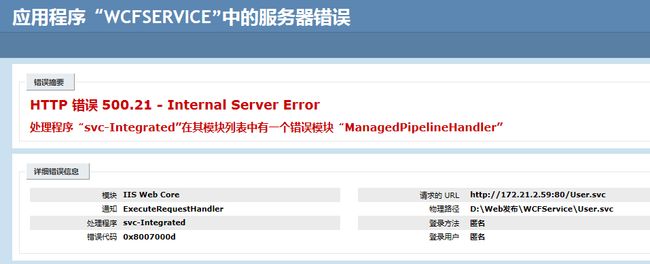
HTTP 错误 500.21 - Internal Server Error
处理程序“svc-Integrated”在其模块列表中有一个错误模块“ManagedPipelineHandler”
原因:没有注册.NET 4.0框架。
解决方法:管理员身份运行C:\Windows\Microsoft.NET\Framework\v4.0.30319\aspnet_regiis.exe -i
详细参见http://blog.csdn.net/mazhaojuan/article/details/7660657
3、试着将类CalculatorService改为Calculator,Calculator.svc--右键--浏览--报错
解决办法:
<%@ ServiceHost Language="C#" Debug="true" Service="WcfService.CalculatorService" CodeBehind="Calculator.svc.cs" %>
改为
<%@ ServiceHost Language="C#" Debug="true" Service="WcfService.Calculator" CodeBehind="Calculator.svc.cs" %>
注意,在修改服务类的时候,要 使用“重构”菜单上的“重命名”命令,可以同时更改代码、svc 和配置文件中的类名“CalculatorService”。
四 源代码下载
