ROS(Fuerte)移植到beagleboneblack完整过程
sd卡上安装ubuntu系统
参考链接:http://embeddedprogrammer.blogspot.co.at/2012/10/beaglebone-installing-ubuntu-1210.html
1、首先应该下载相关的镜像文件
wget http://rcn-ee.net/deb/rootfs/raring/ubuntu-13.04-console-armhf-2013-07-22.tar.xz
2、下一步就是解压
tar xJf ubuntu-13.04-console-armhf-2013-07-22.tar.xz
cd ubuntu-13.04-console-armhf-2013-07-22
3、执行文件夹里的脚本文件
sudo ./setup_sdcard.sh --mmc /dev/sdX --uboot (beaglebone的版本)
对应的版本:
· BeagleBoard Ax/Bx - beagle_bx
· BeagleBoard Cx/Dx - beagle_cx
· BeagleBoard xM - beagle_xm
· BeagleBone/Black - bone/bone_dtb
· PandaBoard Ax - panda
· PandaBoard ES - panda_es
如:sudo ./setup_sdcard.sh --mmc /dev/sdX --uboot bone
4、选择sd挂载的相应盘符安装就行了,一般是sdbX
ROS on Beaglebone black
移植环境:
PC:Ubuntu 12.04
ARM处理器:Cortex-A8
ARM操作系统:Ubuntu13.04
ROS版本:Fuerte
移植的过程,主要是参考官网上的教程来移植的,网址:
http://www.ros.org/wiki/fuerte/Installation/Ubuntu/Source
1、更新源列表
可以参照官网上的教程:http://www.ros.org/wiki/groovy/Installation/Ubuntu#groovy.2BAC8-Installation.2BAC8-Sources.Setup_your_sources.list
我这里用的是:
Ubuntu 12.10 (Quantal)
sudo sh -c 'echo "deb http://packages.ros.org/ros/ubuntu quantal main" > /etc/apt/sources.list.d/ros-latest.list'
wget http://packages.ros.org/ros.key -O - | sudo apt-key add -
sudo apt-get update
2、安装相关的软件和所需库文件
sudo apt-get install build-essential python-yaml cmake subversion wget python-setuptools mercurial git-core python-yaml libapr1-dev libaprutil1-dev libbz2-dev python-dev python-empy python-nose libgtest-dev python-paramiko libboost-all-dev liblog4cxx10-dev pkg-config python-wxgtk2.8 python-gtk2 python-matplotlib libwxgtk2.8-dev python-imaging libqt4-dev graphviz qt4-qmake python-numpy swig
由于要安装比较多,所有达到600多M,安装时间也比较长
3、新建swig-wx文件,下载编译的代码
sudo apt-get install autoconf
sudo apt-get install bison++ automake
git clone https://github.com/ros/swig-wx.git
cd swig-wx
./autogen.sh && ./configure && make && sudo make install
sudo easy_install pip
sudo pip install -U rosinstall vcstools rospkg rosdep
4、安装代码库
我这里用的是最小包,第一个编译不通过,opencv那里编译会出错
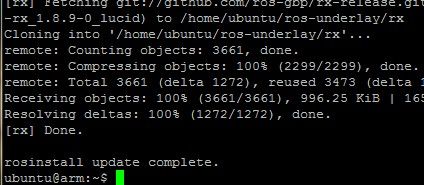
rosinstall --catkin ~/ros-underlay http://ros.org/rosinstalls/fuerte-ros-base.rosinstall
5、接下来就是编译了
cd ~/ros-underlay
mkdir build
cd build
将其安装到 /opt/ros/fuerte
cmake .. -DCMAKE_INSTALL_PREFIX=/opt/ros/fuerte
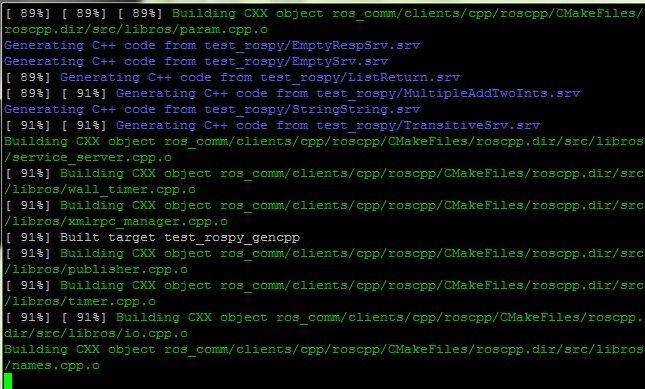
make -j8
注意:在编译之前一定要把分配好的交换分区空间挂在到系统中来,观察了内存的消耗情况,编译时有时达到了1g多的内存,编译过程需要消耗很多内存资源
编译过程需要等比较长的时间,用beaglebone编译时间更加长
好,到此时已经编译好了,没有出现错误
sudo make install
. /opt/ros/fuerte/setup.sh
which roscore
安装高级机器人的库和相关工具
rosinstall ~/ros "http://packages.ros.org/cgi-bin/gen_rosinstall.py?rosdistro=fuerte&variant=desktop&overlay=no"
设置ros环境
source ~/ros/setup.bash
echo "source ~/ros/setup.bash" >> ~/.bashrc
. ~/.bashrc
至此,ros这个版本就已经安装完成了。
-----有什么错误的地方还望指出了-----


