iOS学习之UINavigationController详解与使用(三)ToolBar
1、显示Toolbar
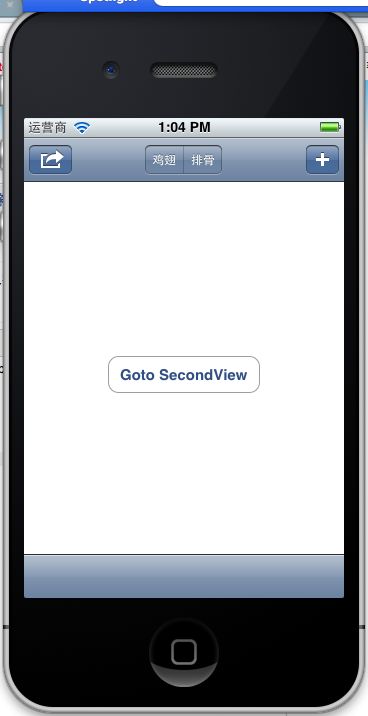
在RootViewController.m的- (void)viewDidLoad方法中添加代码,这样Toobar就显示出来了。
[self.navigationController setToolbarHidden:NO animated:YES];

2、在ToolBar上添加UIBarButtonItem
新建几个UIBarButtonItem,然后以数组的形式添加到Toolbar中
UIBarButtonItem *one = [[UIBarButtonItem alloc] initWithBarButtonSystemItem:UIBarButtonSystemItemAdd target:nil action:nil];
    UIBarButtonItem *two = [[UIBarButtonItem alloc] initWithBarButtonSystemItem:UIBarButtonSystemItemBookmarks target:nil action:nil];
    UIBarButtonItem *three = [[UIBarButtonItem alloc] initWithBarButtonSystemItem:UIBarButtonSystemItemAction target:nil action:nil];
    UIBarButtonItem *four = [[UIBarButtonItem alloc] initWithBarButtonSystemItem:UIBarButtonSystemItemEdit target:nil action:nil];
    UIBarButtonItem *flexItem = [[UIBarButtonItem alloc] initWithBarButtonSystemItem:UIBarButtonSystemItemFlexibleSpace target:nil action:nil];
    [self setToolbarItems:[NSArray arrayWithObjects:flexItem, one, flexItem, two, flexItem, three, flexItem, four, flexItem, nil]];
效果:
注意:用 [self.navigationController.toolbar setItems:(NSArray *) animated:<#(BOOL)#>]这个方法添加item是不起效果的。下面我动态自己添加Toolbar时,这个才起效果。
3、动态添加Toolbar
我们在SecondView添加动态的Toolbar。
在SecondViewController.h添加
#import <UIKit/UIKit.h>

@interface SecondViewController : UIViewController
{
    UIToolbar *toolBar;
}
@end
在SecondViewController.m添加
- (void)viewDidLoad
{
    [super viewDidLoad];

    [self.navigationController  setToolbarHidden:YES animated:YES];

    UIBarButtonItem *addButton = [[UIBarButtonItem alloc] initWithBarButtonSystemItem:UIBarButtonSystemItemSearch target:self action:@selector(gotoThridView:)];
    toolBar = [[UIToolbar alloc] initWithFrame:CGRectMake(0.0, self.view.frame.size.height - toolBar.frame.size.height - 44.0, self.view.frame.size.width, 44.0)];
    [toolBar setBarStyle:UIBarStyleDefault];
    toolBar.autoresizingMask = UIViewAutoresizingFlexibleTopMargin;
    [toolBar setItems:[NSArray arrayWithObject:addButton]];
    [self.view addSubview:toolBar];

    // Do any additional setup after loading the view from its nib.
}
先把RootView时显示的Toobar隐藏
[self.navigationController setToolbarHidden:YESanimated:YES];然后把新建的Toolbar添加的SecondView中,并为Toobar设置了一个Item.
[toolBarsetItems:[NSArrayarrayWithObject:addButton]];
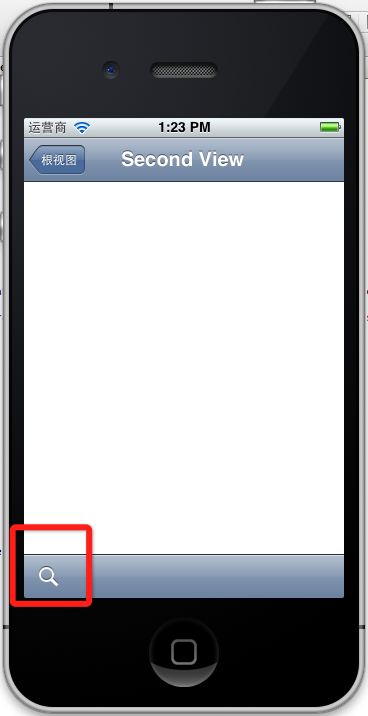
BarButtonItem用 的是UIBarButtonSystemItemSearch, 效果如下:
4、新建ThridView,从SecondView跳转到
Commad+N新建一个ThridViewController,
这个addButton跳转到ThridView
-(void)gotoThridView:(id)sender
{
    ThridViewController *thridView = [[ThridViewController alloc] init];
    [self.navigationController pushViewController:thridView animated:YES];
    thridView.title = @"Thrid View";

}
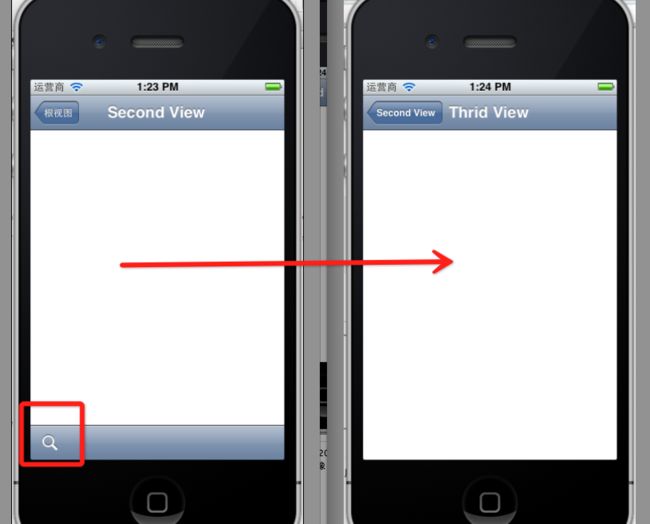
跳转Second到Third效果:
到此UINavigationController练习的差不多了。
前面两篇:
iOS学习之UINavigationController详解与使用(一)添加UIBarButtonItem
iOS学习之UINavigationController详解与使用(二)页面切换和segmentedController
例子代码:https://github.com/schelling/YcDemo


