DM81xx仿真器连接调试ARM与DSP (SEED560V2)
本文介绍如何通过CCS5.x对dm81xx进行调试
1.环境:
CCS5.3 dm8168
支持的设备:
- DM8168 or C6A8168 board
- Supported Emulators
- XDS560 V2 System Trace Emulator
- XDS560 PCI Rev D Emulator (20 pin connector)
- Blackhawk USB 560-M Emulator (Rev D equivalement with 20 pin connector)
- Spectrum Digital 510 USB Emulator
2.步骤
硬件连接请参照另一篇博客:http://blog.csdn.net/guo8113/article/details/23262839
dm8168 gel文件下载:http://download.csdn.net/detail/guo8113/7188519

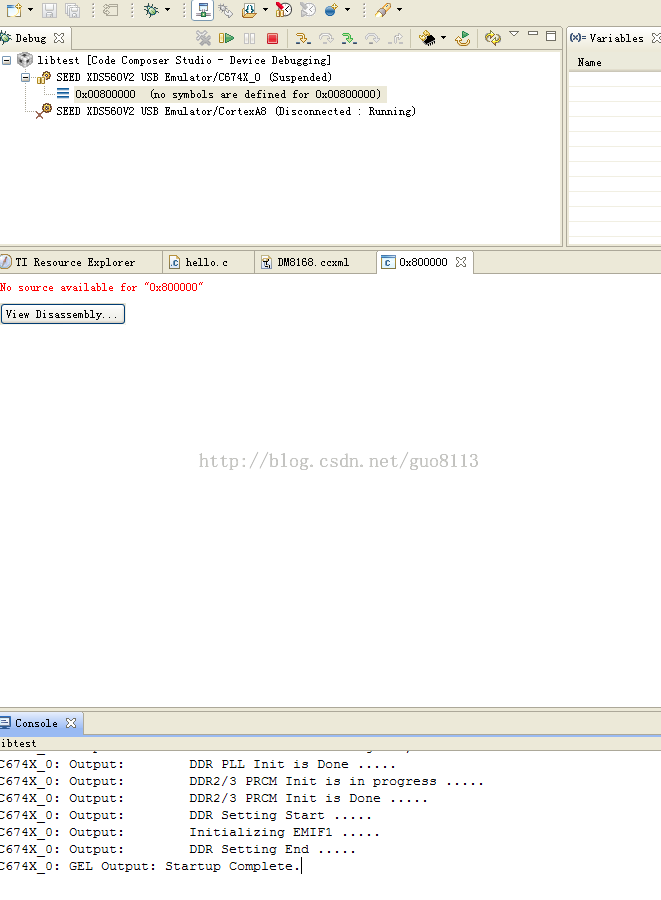
连接后选择菜单栏Scripts ->TI816X CPU BRINGUPS,and select c674x
在图中C674x核上选择右键连接,即可连接上,然后选择run->loadprogram加载程序!

英文介绍:
Procedure to connect to the DSP on C6A8168/DM8148/C6A8148/DM8148 is described below:
1. After starting CCSv4 or CCSv5, create new target configuration. Select XDS510USB/XDS560USB emulator and device as TI816X/TI4X based on what is applicable.
Note:
- Select TI816X for C6A8168 and DM8168
- Select TI814X for C6A8148 and DM8148
2. Launch debug session with this configuration. Once you see the emulator connection. You can connect to the cortex-A8.
3. Then go to menu option Tools->Gel File and right click on the gel files window and load the gel file that you can download from here
- TI814X GEL
Note:
- The GEL file for TI816x is for a DDR3 EVM and for specific revision. In order to use this on the DDR2 EVM set the DDR2 Macro at the Top of the Gel file to 1 and DDR3 Macro to 0. For revision other than the one specified please contact TI representative.
- The GEL file for TI814x is within the Diagnostics Software package found on the Mistral web page
4. For DM8168, go to Menu options Scripts ->TI816X CPU BRINGUPS,and select c674x
参考:http://www.cnblogs.com/gune/p/3285439.html
http://processors.wiki.ti.com/index.php/Connecting_to_DSP_on_C6A8168,_DM8168,_DM8148
转载请注明:http://write.blog.csdn.net/postedit/23624051