android ndk(一) hello-jni
1.下载ndk-r7b,因为r7以及之后的版本继承了cygwin,(make gcc), 所以下载解压后就算环境配置好了,最好也下个CDT重启安装,以方便在Eclipse里对c代码的编写
2.入门 导入hello-jni , 本人很懒就直接复制官网的了,相信都看的懂
Click File > New Android Project...
Select the Create project from existing source radio button.
Select any API level above Android 1.5.
In the Location field, click Browse... and select the <ndk-root>/samples/hello-jni directory.
Click Finish.
3.编译builder
官网提供的文档没看懂,这里用其他的方法
(1)项目上点
右键properties->builders->new L
ocatioin 配置ndk-build.cmd的路径,Working Directory选择要编译的项目
(2)
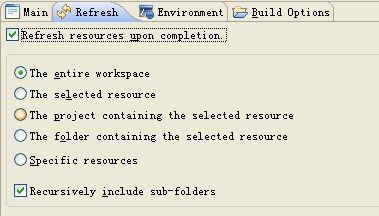
打钩refresh的refresh resources upon completion
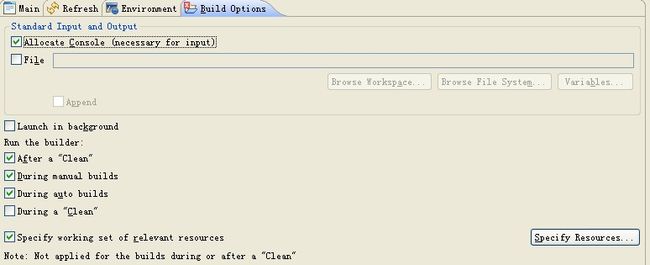
(3)打钩build options 的During auto builds 和specify working set of relevant resources
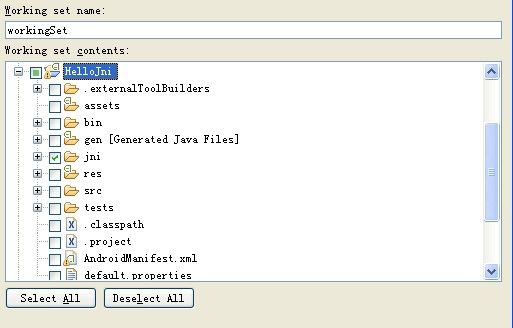
(4)点击specify resources打钩jni文件夹.这样勾是告诉builder,只编译这个文件夹的文件即可.整个项目编译的话,电脑会嚎叫的
(5)控制台打印信息,项目里有了libs/armeabi/libhello-jni.so和obj文件夹
4.运行程序,显示出了结果,你可以喝点银鹭庆贺哦


