swift 之xib自定义view可视化到storyboard
首先直入正题:@IBInspectable & @IBDesignable
对于 @IBInspectable 和 @IBDesignable 可详见官方文档 : Creating a Custom View That Renders in Interface Builder
当然也可以阅读下中文版的: http://nshipster.cn/ibinspectable-ibdesignable/
如果自定view是自己用纯代码写的,对于上面两种处理都比较简单,只需要指定类名即可。
但是如果这个自定义view是用写的,那么如果让xib的界面直接render到storyboard呢?
1. 创建一个IDView,添加一个IDView.Xib
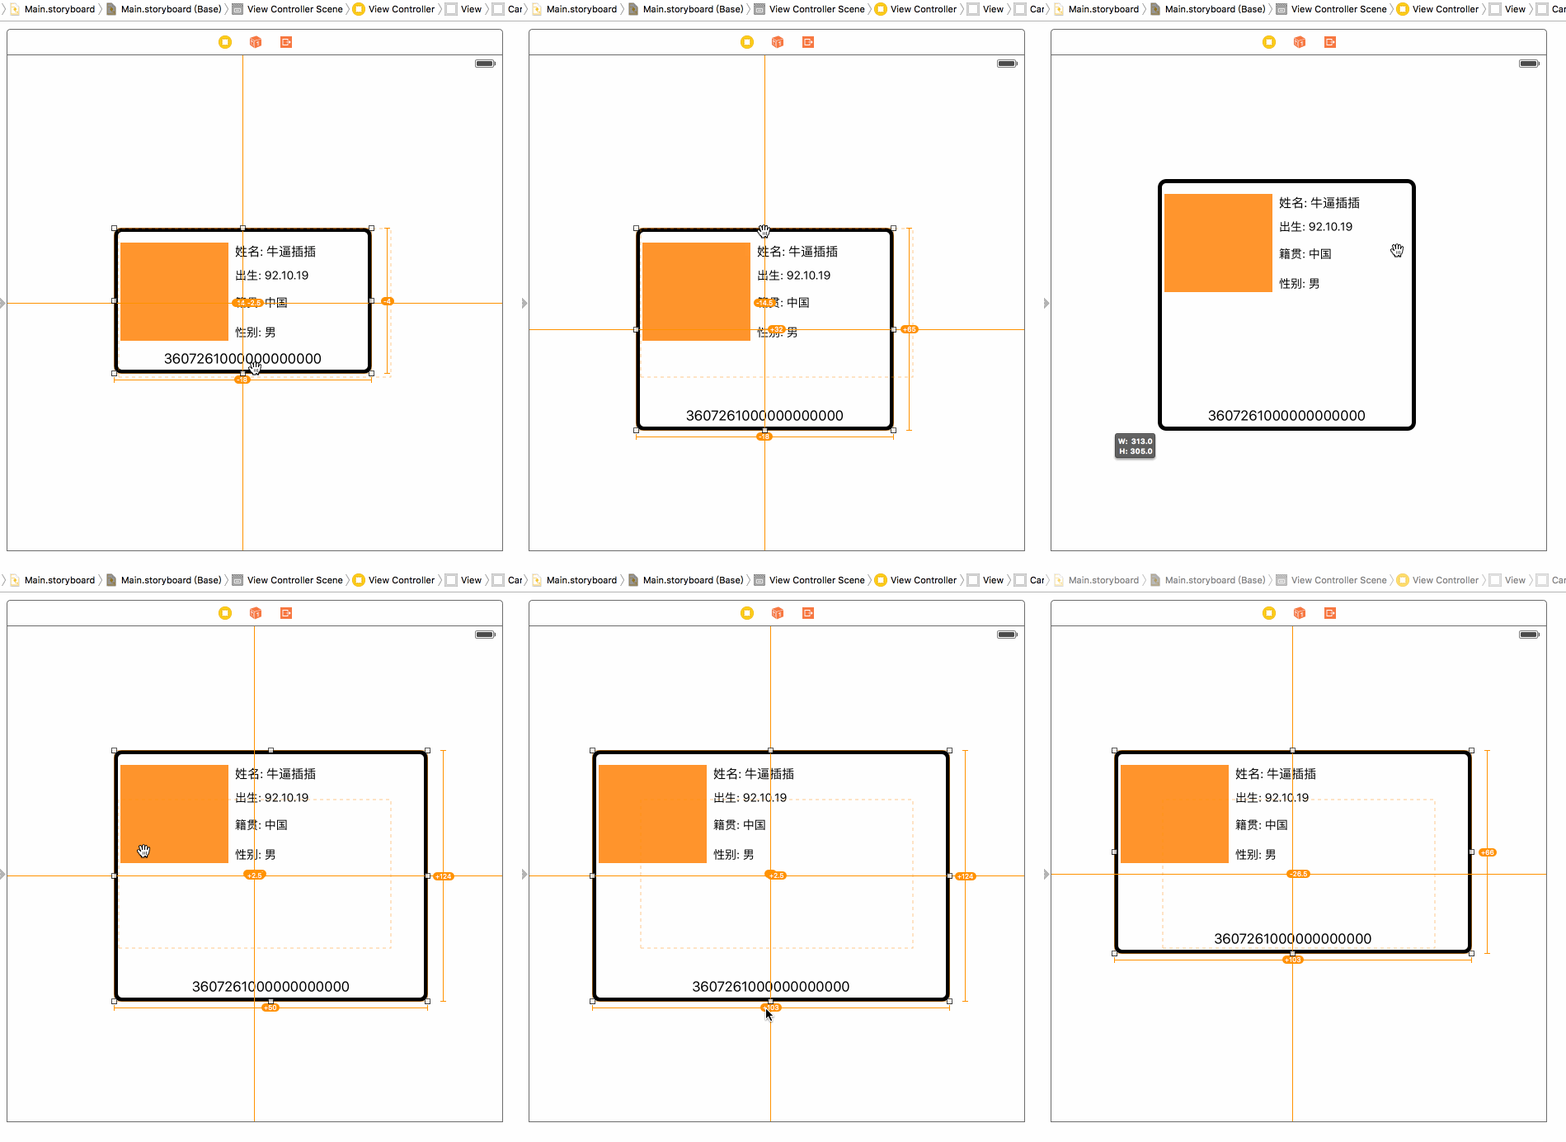
2. 对IDCard.xib添加约束
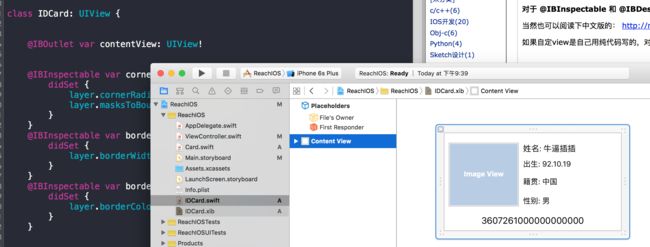
3. 在IDCard.xib的 File's Owner class 设置为IDCard:
4. 在IDCard.swift中添加如下代码,把xib的view连线到代码上的contentView:
5. 绑定xib,实现 @IBInspectable, @IBDesignable这几部分代码
@IBDesignable
class IDCard: UIView {

    @IBOutlet var contentView: UIView!


    @IBInspectable
    var cornerRadius: CGFloat = 0 {
        didSet {
            layer.cornerRadius = cornerRadius
            layer.masksToBounds = cornerRadius > 0
        }
    }
    @IBInspectable
    var borderWidth: CGFloat = 0 {
        didSet {
            layer.borderWidth = borderWidth
        }
    }
    @IBInspectable
    var borderColor: UIColor? {
        didSet {
            layer.borderColor = borderColor?.CGColor
        }
    }

    override init(frame: CGRect) {
        super.init(frame: frame)
        initialFromXib()
    }

    required init?(coder aDecoder: NSCoder) {
        super.init(coder: aDecoder)
        initialFromXib()
    }

    func initialFromXib() {
        let bundle = NSBundle(forClass: self.dynamicType)
        let nib = UINib(nibName: "IDCard", bundle: bundle)
        contentView = nib.instantiateWithOwner(self, options: nil)[0] as! UIView
        contentView.frame = bounds
        addSubview(contentView)

    }

}
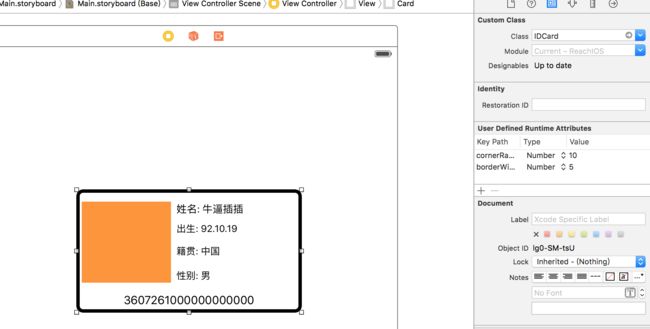
6. 在Main.storyboard实现拖入view,并指定其class为IDCard,并对其进行约束
7. 运行代码,结果如下
总结遇到的一些坑:
1. 如何让 sb上的约束生效
2. 如何让xib渲染到sb上
上面的两个问题都在initialFromXib上解决
func initialFromXib() {
        let bundle = NSBundle(forClass: self.dynamicType) let nib = UINib(nibName: "IDCard", bundle: bundle) contentView = nib.instantiateWithOwner(self, options: nil)[0] as! UIView  contentView.frame = bounds // 问题1的解决方案 addSubview(contentView) }
那么为什么要设置contentView.frame = bounds?
首先我们都知道程序首先会加载vc对应的sb,那么sb上相关的约束等会对其上的view进行渲染,那么这个时候 IDCard.xib也会得到渲染,如果我们这个时候不设置contentView的frame的话,
那么这个时候contentView的frame将会被xib上的覆盖掉,那么这个时候contentView的大小只能是你在xib上的大小。这个时候也是凸显为什么要有contentView这个属性了。因为
self = nib.instantiateWithOwner(self, options: nil)[0] as! UIView
这是不被编译通过的。
问题2, 在写这个例子的时候,我加载这个
contentView = NSBundle.mainBundle().loadNibNamed("Xib", owner: self, options: nil)[0] as! UIView
替代
let bundle = NSBundle(forClass: self.dynamicType)
let nib = UINib(nibName: "IDCard", bundle: bundle)
contentView = nib.instantiateWithOwner(self, options: nil)[0] as! UIView
这个时候我们看在sb上看不到IDCard这个view,或者报错"Failed to update auto layout status"。原因待查,可参考
还有一个可能的原因:
NIb加载会把xib文件加载到内存中,读取快,经常使用的xib文件可以使用nib加载,
Bundle加载,每次会从磁盘上加载,效率会慢一点
3. 还有在其他需要注意的点
在用@IBDesignable时候, 你最好重写init(frame:) 和 init(coder:)这两个初始化方法
在xib中,你不需要给这个view的class设置为IDCard,默认的UIView就好
关联文章: 文章


