《基于MFC的OpenGL编程》Part 10 Blending, Antialiasing and Fog
《基于MFC的OpenGL编程》Part 10 Blending、Antialiasing and Fog
Blending in OpenGL provides pixel-level control of RGBA color storage in the color buffer. To enable blending we must first call glEnable(GL_BLEND). We have to set up the blending function glBlendFunc with two arguments: the source and the destination colors. By default these are GL_ONE andGL_ZERO respectively, which is equivalent toglDisable(GL_BLEND). The blend functions are applied to the source color set by glColor and destination color in the color buffer. The results of the blending functions are added together to generate the new color value which is put onscreen.
Transparency is perhaps the most typical use of blending. In order to produce transparency we should set up the blending function as follows - glBlendFunc(GL_SRC_ALPHA, GL_ONE_MINUS_SRC_ALPHA). This combination takes the source color, scales it based on the alpha component and then adds the destination pixel color scaled by 1 minus the alpha value. It basically takes a fraction of the current drawing color and overlays it on the pixel on the screen.The alpha component can be from 0 (completely transparent) to 1 (completely opaque).
Anti-Aliasing
You might have noticed in some of your OpenGL pictures that lines, especially nearly horizontal or nearly vertical ones, appear jagged. These jaggies appear because the ideal line is approximated by a series of pixels that must lie on the pixel grid. The jaggedness is called aliasing(图像失真). Antialiasing can be enabled by calling the function - glEnable(GL_POLYGON_SMOOTH) for polygons.
Fog
An entire image can be made to appear more natural by adding fog, which makes objects fade into the distance. Fog is a general term that describes similar forms of atmospheric effects; it can be used to simulate haze, mist, smoke, or pollution. Fog is essential in visual-simulation applications, where limited visibility needs to be approximated.
When fog is enabled, objects that are farther from the viewpoint begin to fade into the fog color. You can control the density of the fog, which determines the rate at which objects fade as the distance increases, as well as the fog's color. Since fog is applied after matrix transformations, lighting, and texturing are performed, it affects transformed, lit, and textured objects.
Using fog is easy. Enable it by passingGL_FOG toglEnable(), and you choose the color and the equation that controls the density withglFog*().
1、在CMy2OpenGLView.h中加入下列布尔变量,分别代表是否开启混合,雾和反锯齿效果。
    //Effects
    BOOL m_blend;
    BOOL m_fog;
    BOOL m_antialias;
并在构造函数中对其初始化:
CMy2OpenGLView::CMy2OpenGLView()
{
	// TODO: add construction code here

    m_blend = FALSE;
    m_fog   = FALSE;
    m_antialias = FALSE;

    m_texWrap	= GL_CLAMP;
    m_texMode	= GL_DECAL;
    m_texFilter = GL_NEAREST;

	m_bCubeTexture=FALSE;
	m_bSunMove=FALSE;
	m_bCubeMove=FALSE;

	m_xRot=0.0f;
	m_yRot=0.0f;

	m_xPos = 0.0f;
    m_yPos = 0.0f;
    m_xAngle = 0.0f;
    m_yAngle = 0.0f;

	m_bPoint       = FALSE;
    m_bLine        = FALSE;
    m_bPolygon     = FALSE;
    m_bTriangle    = FALSE;
    m_bCube        = FALSE;
    m_bTorus       = FALSE;
    m_bTeapot      = FALSE;
    m_bIcosahedron = FALSE;
    m_bSimpleCube  = FALSE;
	m_bSun		   = FALSE;

	DayOfYear=1;
	HourOfDay=1;

}
2、加入控制上述三种效果的菜单项及其事件处理函数:
void CMy2OpenGLView::OnEffectsBlending()
{
	// TODO: Add your command handler code here
	m_blend = !m_blend;
	if(m_blend)
		glEnable(GL_BLEND);
	else
		glDisable(GL_BLEND);
	InvalidateRect(NULL,FALSE);
}

void CMy2OpenGLView::OnUpdateEffectsBlending(CCmdUI* pCmdUI)
{
	// TODO: Add your command update UI handler code here
	pCmdUI->SetCheck(m_blend);
}

void CMy2OpenGLView::OnEffectsAntialiasing()
{
	// TODO: Add your command handler code here
	m_antialias=!m_antialias;
	if(m_antialias)
		glEnable(GL_POLYGON_SMOOTH);
	else
		glDisable(GL_POLYGON_SMOOTH);
	InvalidateRect(NULL,FALSE);
}

void CMy2OpenGLView::OnUpdateEffectsAntialiasing(CCmdUI* pCmdUI)
{
	// TODO: Add your command update UI handler code here
	pCmdUI->SetCheck(m_antialias);
}

void CMy2OpenGLView::OnEffectsFog()
{
	// TODO: Add your command handler code here
	m_fog=!m_fog;
	if(m_fog)
		glEnable(GL_FOG);
	else
		glDisable(GL_FOG);
	InvalidateRect(NULL,FALSE);
}

void CMy2OpenGLView::OnUpdateEffectsFog(CCmdUI* pCmdUI)
{
	// TODO: Add your command update UI handler code here
	pCmdUI->SetCheck(m_fog);
}
3、在InitializeOpenGL函数中对雾效果进行设置。
int CMy2OpenGLView::InitializeOpenGL()
{
	//Get a DC for the Client Area
    m_pDC = new CClientDC(this);
    //Failure to Get DC
    if(m_pDC == NULL)
    {
        MessageBox("Error Obtaining DC");
        return FALSE;
    }
    //Failure to set the pixel format
    if(!SetupPixelFormat())
    {
        return FALSE;
    }
    //Create Rendering Context
    m_hRC = ::wglCreateContext (m_pDC->GetSafeHdc ());
    //Failure to Create Rendering Context
    if(m_hRC == 0)
    {
        MessageBox("Error Creating RC");
        return FALSE;
    }
    //Make the RC Current
    if(::wglMakeCurrent (m_pDC->GetSafeHdc (), m_hRC)==FALSE)
    {
        MessageBox("Error making RC Current");
        return FALSE;
    }
    //Specify Black as the clear color
    ::glClearColor(0.5,0.0,0.5,1.0);/////此时为紫色//////////////此处设置背景颜色值1.0,1.0,1.0,1.0(白色)|0.0f,0.0f,0.0f,0.0f(黑色)
    //Specify the back of the buffer as clear depth
    ::glClearDepth(1.0f);
    //Enable Depth Testing
    ::glEnable(GL_DEPTH_TEST);

	::glEnable(GL_SMOOTH);
	//set effect of Fog
	::glFogi(GL_FOG_MODE,GL_EXP);
	GLfloat fog_color[4] = {0.2f,0.2f,0.2f,0.0f};
	::glFogfv(GL_FOG_COLOR,fog_color);
	::glFogf(GL_FOG_DENSITY,0.25);

	//Load Texture
//	LoadGLTextures();

	//Setup Lighting
//	SetupLighting();

	::glBlendFunc(GL_SRC_ALPHA,GL_ONE_MINUS_DST_ALPHA);

    return TRUE;
}
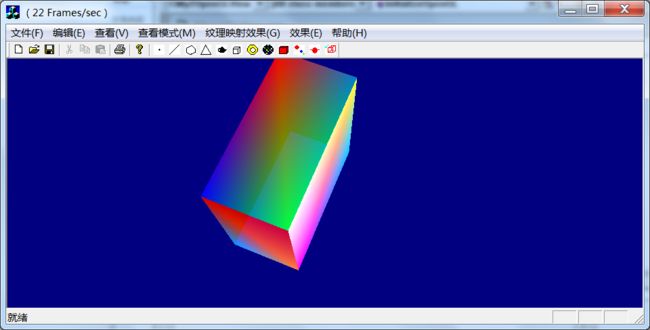
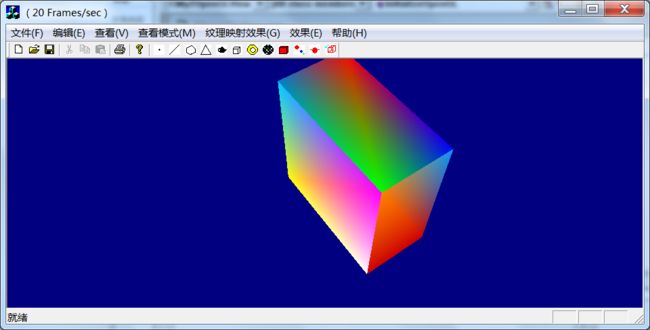
运行效果: