Button button1 = (Button) findViewById(R.id.bt);
InputStream stream = null;
try {
stream = getAssets().open("button_compiled.9.png");
} catch (IOException e1)
{
e1.printStackTrace();
}
Bitmap bitmap = BitmapFactory.decodeStream(stream);
byte[] chunk = bitmap.getNinePatchChunk();
boolean bResult = NinePatch.isNinePatchChunk(chunk);
NinePatchDrawable patchy = new NinePatchDrawable(bitmap, chunk,new Rect(), null);
button1.setBackgroundDrawable(patchy);
效果图:
assets中使用的.9.png图片必须要编译过,否则无法正常使用,如:效果图中的第二个按钮,已经失真。
编译.9.png
.9.png可以使用draw9patch.bat工具来制作,这样的png用图片浏览工具打开可以看到图片的周围有黑色的像素点,这是就是使用draw9patch.bat工具画上去的。当经过android编译后,从apk包中解压出来.9.png,这时使用图片浏览工具打开可以看到图片的周围有黑色的像素点消失了。这就是编译过的.9.png。
编译.9.png: 调用系统的aapt.ext工具对包含png的程序进行处理,zip包,解压zip得到的.9.png即编译过的.9.png
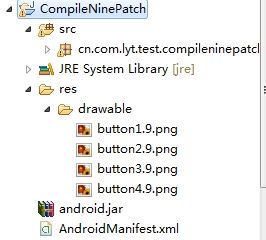
建一个java工程并将android.jar和AndroidManifest.xml放到工程目录下,建一个图片目录res/drawable
工程如下图:

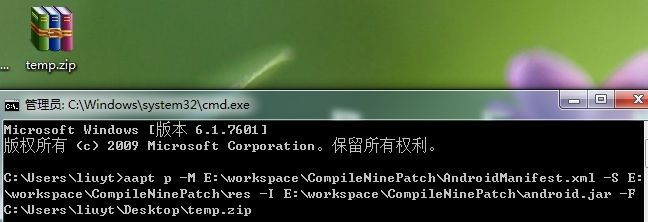
使用aapt命令:
aapt p -M E:\workspace\CompileNinePatch\AndroidManifest.xml -S E:\workspace\CompileNinePatch\res -I E:\workspace\CompileNinePatch\android.jar -F C:\Users\liuyt\Desktop\temp.zip
将编译后的zip包生成到桌面

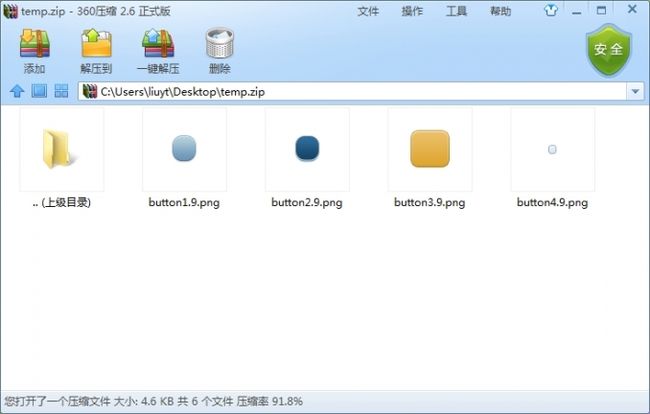
解压后可以看到编译好的.9.png

