Quartz 2D简介
Quartz 2D是苹果公司开发的一个二维图形绘制引擎,同时支持iOS和Mac系统。
它是一套基于C的API框架,提供了低级别、轻量级、高保真度的2D渲染。它能完成的工作有:
- 绘制图形 : 线条\三角形\矩形\圆\弧等
- 绘制文字
- 绘制\生成图片(图像)
- 读取\生成PDF
- 截图\裁剪图片
- 自定义UI控件
- …
Quartz 2D进行绘图
iOS绘图技术主要有UIKit,Quartz 2D,Core Animation和OpenGL ES。我们平常对UIKit应该不陌生,而Quartz 2D与UIKit的一个区别是:
Quartz 2D的坐标原点在左下角,而UIKit的坐标原点在左上角。
在开始前作下准备工作:创建一个新的Cocoa Touch Class,继承自UIView,然后去StoryBoard把view视图关联下新创建的类。
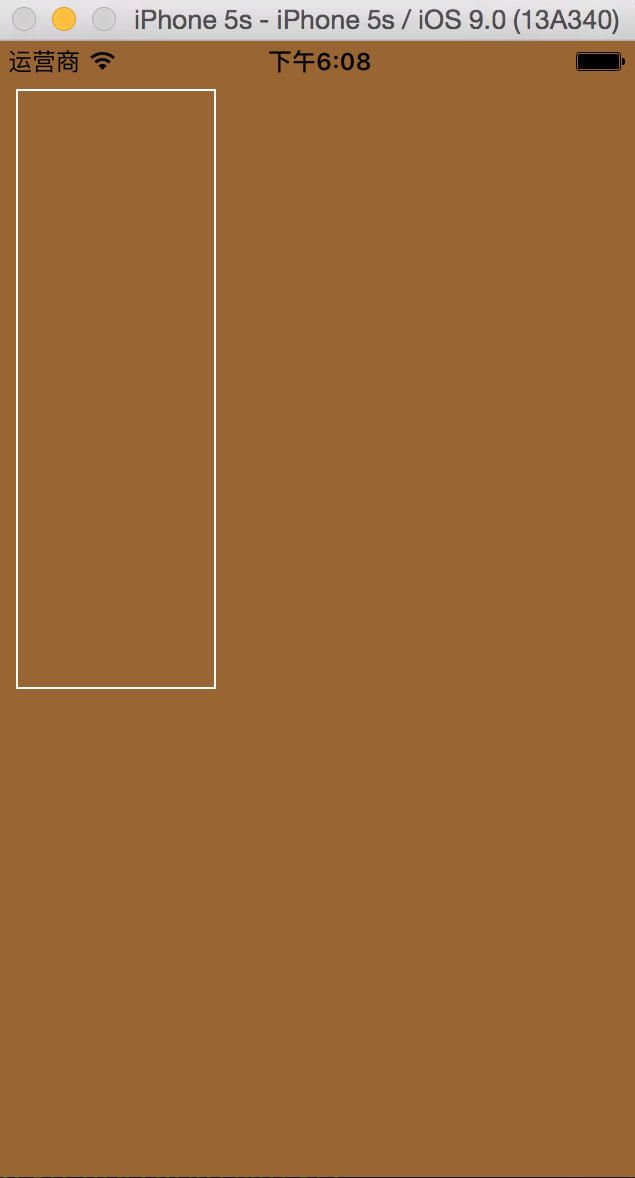
1.填充和描边
重写绘图方法drawRect(),添加代码:
override func drawRect(rect: CGRect) {
//填充背景
UIColor.brownColor().setFill()
//填充矩形
UIRectFill(rect)
UIColor.whiteColor().setStroke()
//矩形描边
let frame = CGRectMake(10, 24, 100, 300)
UIRectFrame(frame)
}
运行效果:
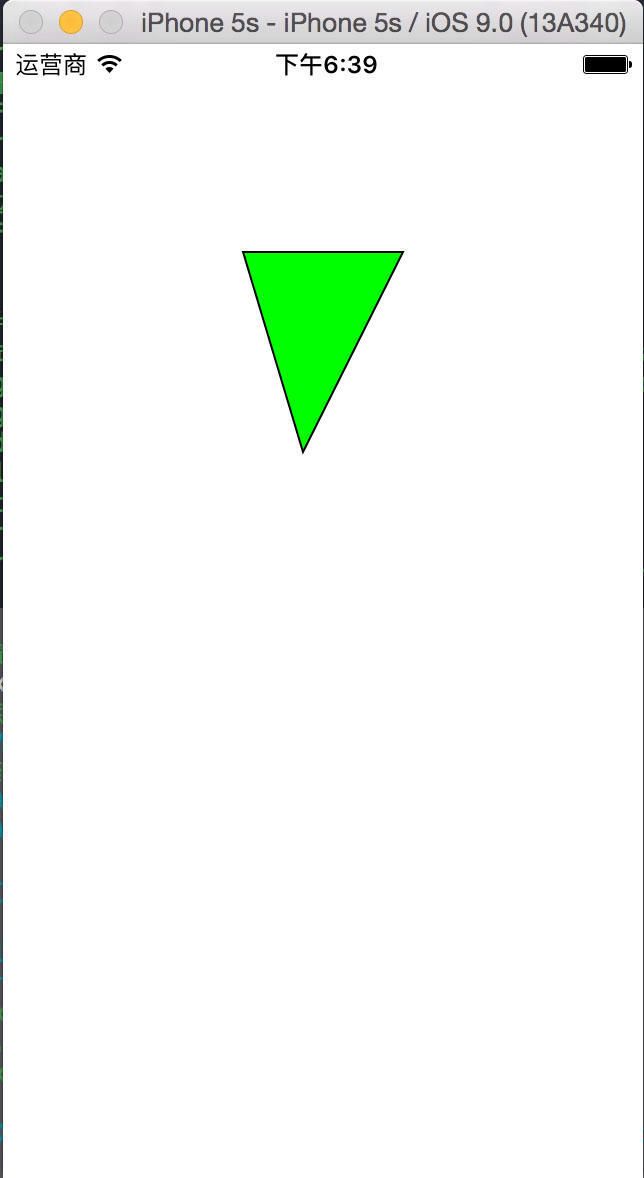
2.绘制三角形
确定三个点就能绘制出三角形,当然其他的图形(如矩形)也是类似。
在drawRect()里添加代码:
override func drawRect(rect: CGRect) {
let context = UIGraphicsGetCurrentContext()
//绘制起始点
CGContextMoveToPoint(context, 120, 104)
//从起始点到这一点
CGContextAddLineToPoint(context, 150, 204)
CGContextAddLineToPoint(context, 200, 104)
//闭合路径
CGContextClosePath(context)
UIColor.blackColor().setStroke()
UIColor.greenColor().setFill()
//绘制路径
CGContextDrawPath(context, CGPathDrawingMode.FillStroke)
}
运行效果:
依此类推,大家可以试试怎么去画长方形,正方形和不规则多边形。
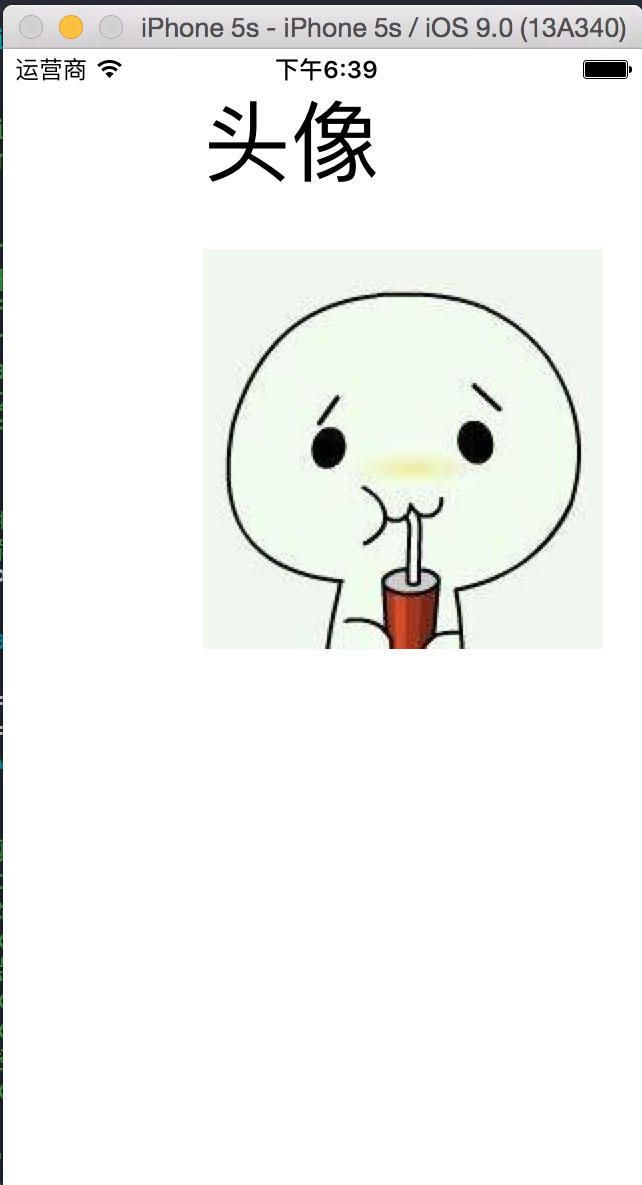
3.绘制图片和文字
首先准备一张图片放入工程中,注意不要放在Assets.xcassets文件夹下,因为这里寻找的路径是在工程文件夹。而如果把图片放在Assets.xcassets文件夹下,就要使用另外的一种方法。
在drawRect()里添加代码:
override func drawRect(rect: CGRect) {
//绘制图片和文字
//这种方式添加图片需要把图片放到根目录下,而不是Assets.xcassets下
let imagePath = NSBundle.mainBundle().pathForResource("头像004", ofType: "jpg")
let image = UIImage(contentsOfFile: imagePath!)
//具体位置根据你的图片来调整
image?.drawInRect(CGRectMake(100,100, 200, 200))
let title = "头像"
let font = UIFont.systemFontOfSize(44)
let attr = [NSFontAttributeName:font]
title.drawAtPoint(CGPointMake(100, 20), withAttributes: attr)
}
运行效果:
Quartz 2D中的坐标变换
注意:坐标变换操作必须要在添加图形之前,如果设置在添加图形之后的话会无效。
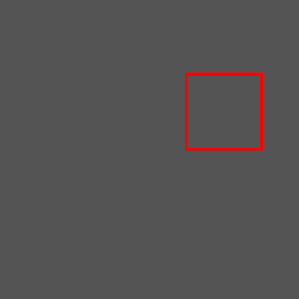
我们先画一个正方形做完参考:
override func drawRect(rect: CGRect) {
let context = UIGraphicsGetCurrentContext()
CGContextSetLineWidth(context, 2.0)
CGContextSetStrokeColorWithColor(context, UIColor.redColor().CGColor)
let rectangle = CGRectMake(125, 50, 50, 50)
CGContextAddRect(context, rectangle)
CGContextStrokePath(context)
}
1、平移
func CGContextTranslateCTM(c: CGContext?, _ tx: CGFloat, _ ty: CGFloat)
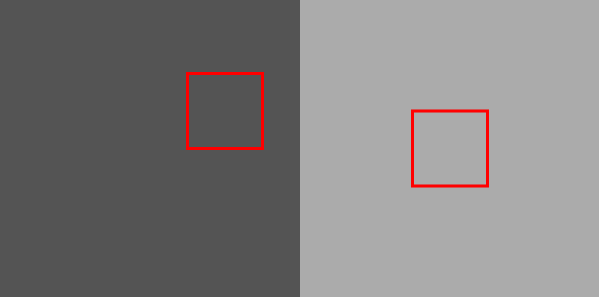
该方法相当于把原来位于 (0, 0) 位置的坐标原点平移到 (tx, ty) 点。在平移后的坐标系统上绘制图形时,所有坐标点的 X 坐标都相当于增加了 tx,所有点的 Y 坐标都相当于增加了 ty。
override func drawRect(rect: CGRect) {
let context = UIGraphicsGetCurrentContext()
CGContextSetLineWidth(context, 2.0)
CGContextSetStrokeColorWithColor(context, UIColor.redColor().CGColor)
CGContextTranslateCTM(context, -50, 25) // 向左向下平移
let rectangle = CGRectMake(125, 50, 50, 50)
CGContextAddRect(context, rectangle)
CGContextStrokePath(context)
}
2、缩放
func CGContextScaleCTM(c: CGContext?, _ sx: CGFloat, _ sy: CGFloat)
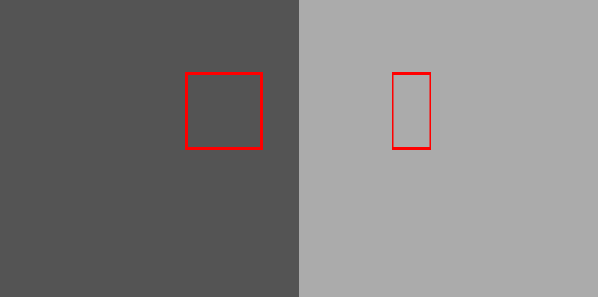
该方法控制坐标系统在水平方向和垂直方向上进行缩放。在缩放后的坐标系统上绘制图形时,所有点的 X 坐标都相当于乘以 sx 因子,所有点的 Y 坐标都相当于乘以 sy 因子。
override func drawRect(rect: CGRect) {
let context = UIGraphicsGetCurrentContext()
CGContextSetLineWidth(context, 2.0)
CGContextSetStrokeColorWithColor(context, UIColor.redColor().CGColor)
CGContextScaleCTM(context, 0.5, 1)
let rectangle = CGRectMake(125, 50, 50, 50)
CGContextAddRect(context, rectangle)
CGContextStrokePath(context)
}
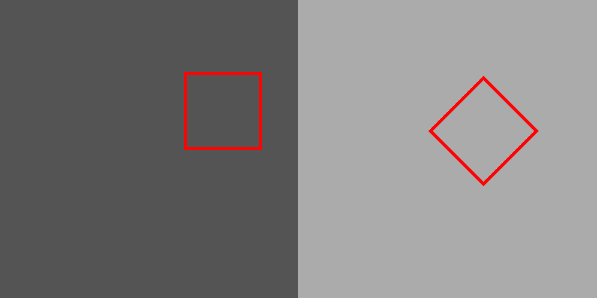
3、旋转
func CGContextRotateCTM(c: CGContext?, _ angle: CGFloat)
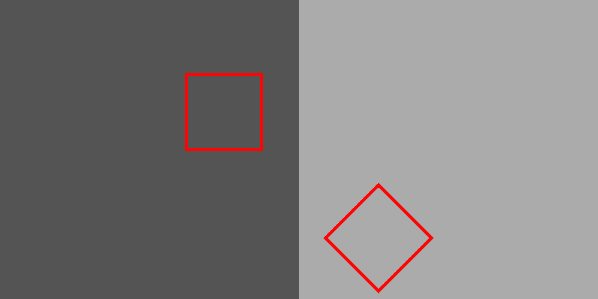
该方法控制坐标系统旋转 angle 弧度。在缩放后的坐标系统上绘制图形时,所有坐标点的 X、Y 坐标都相当于旋转了 angle弧度之后的坐标。
override func drawRect(rect: CGRect) {
let context = UIGraphicsGetCurrentContext()
CGContextSetLineWidth(context, 2.0)
CGContextSetStrokeColorWithColor(context, UIColor.redColor().CGColor)
CGContextRotateCTM(context, CGFloat(M_PI_4))
let rectangle = CGRectMake(125, 50, 50, 50)
CGContextAddRect(context, rectangle)
CGContextStrokePath(context)
}
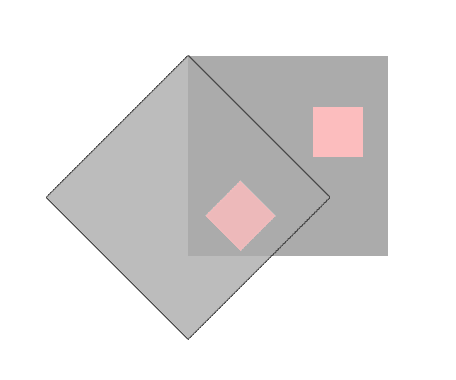
注意:旋转的时候,是整个 layer 都旋转了,所以 layer 看起来应该是这样的:
这个时候若想移动 view ,就应该按照这个旋转过的坐标系来移动:
override func drawRect(rect: CGRect) {
let context = UIGraphicsGetCurrentContext()
CGContextSetLineWidth(context, 2.0)
CGContextSetStrokeColorWithColor(context, UIColor.redColor().CGColor)
CGContextRotateCTM(context, CGFloat(M_PI_4))
CGContextTranslateCTM(context, 0, -100) // 在新坐标系中向上移动100点,视图上看起来像是向右向上都移动了
let rectangle = CGRectMake(125, 50, 50, 50)
CGContextAddRect(context, rectangle)
CGContextStrokePath(context)
}
