级别:★☆☆☆☆
标签:「iOS」「MAMapKit」「高德」
作者: 647
审校: QiShare团队
前言:
前段时间,在一个项目中需要自定义地图。 于是,我们选择了接入了高德地图。
基于这次自定义地图的实践,总结一些使用上的一些小细节,并计划落地一系列地图相关的文章。
目录如下:
iOS 高德SDK应用实践(一)—— 简介与初始化地图
iOS 高德SDK应用实践(二)—— 自定义大头针AnnotationView
iOS 高德SDK应用实践(三)—— 自定义气泡CalloutView
本篇将介绍
CalloutView的默认简单用法,以及如何自定义气泡CalloutView。
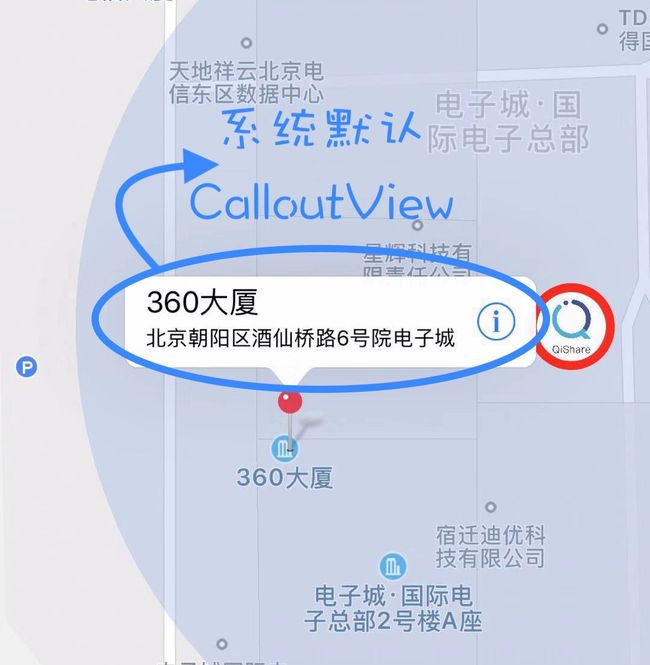
一、什么是气泡CalloutView?
CalloutView(气泡)是高德地图AnnotationView(大头针)上的一个控件,它的存在建立在AnnotationView之上,当选择某个AnnotationView时,就会弹出一个CalloutView(气泡)。
系统默认样式如下:
二、默认CalloutView的简单使用
如果项目的自定义程度不高,直接初始化系统的calloutView使用即可。
在mapView:viewForAnnotation:回调方法中,把annotationView!.canShowCallout = true,同时可以配置一些callout属性。
        // 改变普通标注的AnnotationView
        if annotation.isKind(of: MAPointAnnotation.self) {
            let pointReuseIndetifier = "pointReuseIndetifier"
            var annotationView: MAPinAnnotationView? = mapView.dequeueReusableAnnotationView(withIdentifier: pointReuseIndetifier) as! MAPinAnnotationView?

            if annotationView == nil {
                annotationView = MAPinAnnotationView(annotation: annotation, reuseIdentifier: pointReuseIndetifier)
            }

            annotationView!.canShowCallout = true
            annotationView!.animatesDrop = true
            annotationView!.isDraggable = true
            annotationView!.rightCalloutAccessoryView = UIButton(type: UIButton.ButtonType.detailDisclosure)

            return annotationView!
        }
三、如何添加自定义气泡CalloutView?
- 第一步:首先,需要在
mapView:viewForAnnotation:回调方法中,把系统calloutView关闭。
xxxAnnotationView?.canShowCallout = false
- 第二步:其次,新建一个
CustomCalloutView,继承于UIView。
根据自己的需求,进行自定义UI视图。
import UIKit

class CustomCalloutView: UIView {

    var leftBtn: UIButton!
    var rightBtn: UIButton!

    var leftBtnBlock : ((_:UIButton?)->Void)? // 左边按钮的回调
    var rightBtnBlock : ((_:UIButton?)->Void)? // 右边按钮的回调

    override init(frame: CGRect) {
        super.init(frame: frame)

        self.backgroundColor = .white
        self.layer.cornerRadius = self.frame.size.height / 2
        self.layer.masksToBounds = true

        leftBtn = UIButton(type: .custom)
        leftBtn.frame = CGRect(x: 0, y: 0, width: 45.0, height: 45.0)
        leftBtn.setImage(UIImage(named: "QiShare"), for: .normal)
        leftBtn.addTarget(self, action: #selector(leftBtnClicked(button:)), for: UIControl.Event.touchUpInside)
        self.addSubview(leftBtn)

        rightBtn = UIButton(type: .custom)
        rightBtn.frame = CGRect(x: self.frame.size.width - 45.0, y: 0, width: 45.0, height: 45.0)
        rightBtn.setImage(UIImage(named: "QiShare"), for: .normal)
        rightBtn.addTarget(self, action: #selector(rightBtnClicked(button:)), for: UIControl.Event.touchUpInside)
        self.addSubview(rightBtn)
    }

    required init?(coder aDecoder: NSCoder) {
        fatalError("init(coder:) has not been implemented")
    }

    @objc func leftBtnClicked(button: UIButton) {
        print("left button clicked")
        if leftBtnBlock != nil {
            leftBtnBlock!(button)
        }
    }

    @objc func rightBtnClicked(button: UIButton) {
        print("right button clicked")
        if rightBtnBlock != nil {
            rightBtnBlock!(button)
        }
    }
}
- 第三步:重写
CustomAnnotationView里的setSelected方法。
    override func setSelected(_ selected: Bool, animated: Bool) {

        if self.isSelected == selected{
            return;
        }

        if selected {
            if calloutView == nil {
                calloutView = CustomCalloutView.init(frame: CGRect.init(x: 0, y: 0, width: 100, height: 45))
                calloutView!.center = CGPoint.init(x: bounds.width/2 + calloutOffset.x, y: -calloutView!.bounds.height/2 + calloutOffset.y)
                calloutView?.leftBtnBlock = leftBtnBlock
                calloutView?.rightBtnBlock = rightBtnBlock
            }
            addSubview(calloutView!)
        } else {
            calloutView!.removeFromSuperview()
        }
        super.setSelected(selected, animated: animated)
    }
注意:这时,会发现一个问题。
CalloutView虽然能显示,但是CalloutView上的点击事件并不会响应。
原因如下:
-
CalloutView的superView是AnnotationView。
而CalloutView的frame在AnnotationView的frame之外。
根据iOS 事件响应链的原则:超过父视图frame的子视图无法响应事件,
因此,无法响应CalloutView上的点击事件。
解决方案,如下:
- 第四步:重写
AnnotationView的hitTest方法。
在AnnotationView的hitTest方法中,添加上CalloutView按钮的响应区域。
从而,扩大AnnotationView事件响应的范围。
    override func hitTest(_ point: CGPoint, with event: UIEvent?) -> UIView? {

        var view = super.hitTest(point, with: event)

        if view == nil {

            if self.calloutView == nil {
                return view
            }

            let temPoint1: CGPoint = (self.calloutView?.leftBtn.convert(point, from: self))!
            let temPoint2: CGPoint = (self.calloutView?.rightBtn.convert(point, from: self))!

            if (self.calloutView?.leftBtn.bounds.contains(temPoint1))! {
                view = self.calloutView!.leftBtn
            }

            if (self.calloutView?.rightBtn.bounds.contains(temPoint2))! {
                view = self.calloutView!.rightBtn
            }
        }

        return view
    }
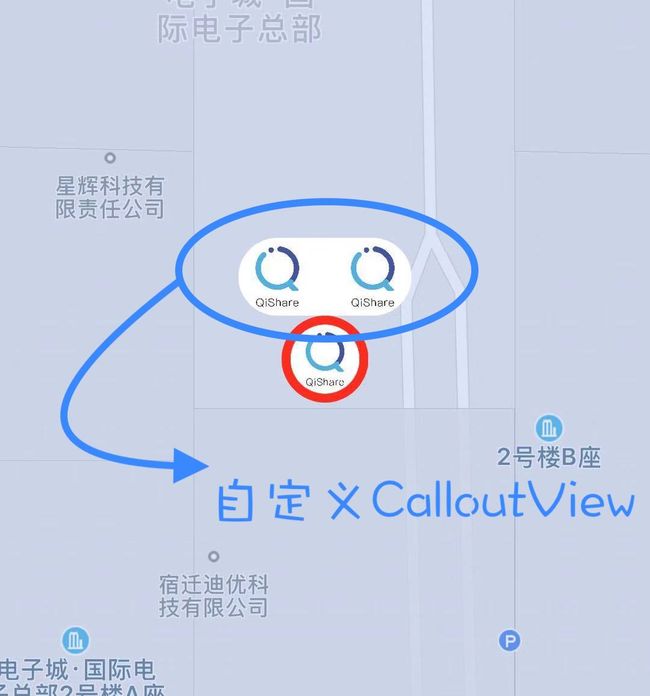
最终,效果如图:
Demo:源码
最后,更多详细信息,请参考:高德地图官方文档
小编微信:可加并拉入《QiShare技术交流群》。

关注我们的途径有:
QiShare()
QiShare(掘金)
QiShare(知乎)
QiShare(GitHub)
QiShare(CocoaChina)
QiShare(StackOverflow)
QiShare(微信公众号)
推荐文章:
2019苹果秋季新品发布会速览
申请苹果开发者账号的流程
Swift 5.1 (3) - 字符串
用Flutter 写一个简单页面
5分钟,带你迅速上手Markdown语法
Swift 5.1 (2) - 运算符
Swift 5.1(1) - 基础
Sign In With Apple(一)
奇舞周刊