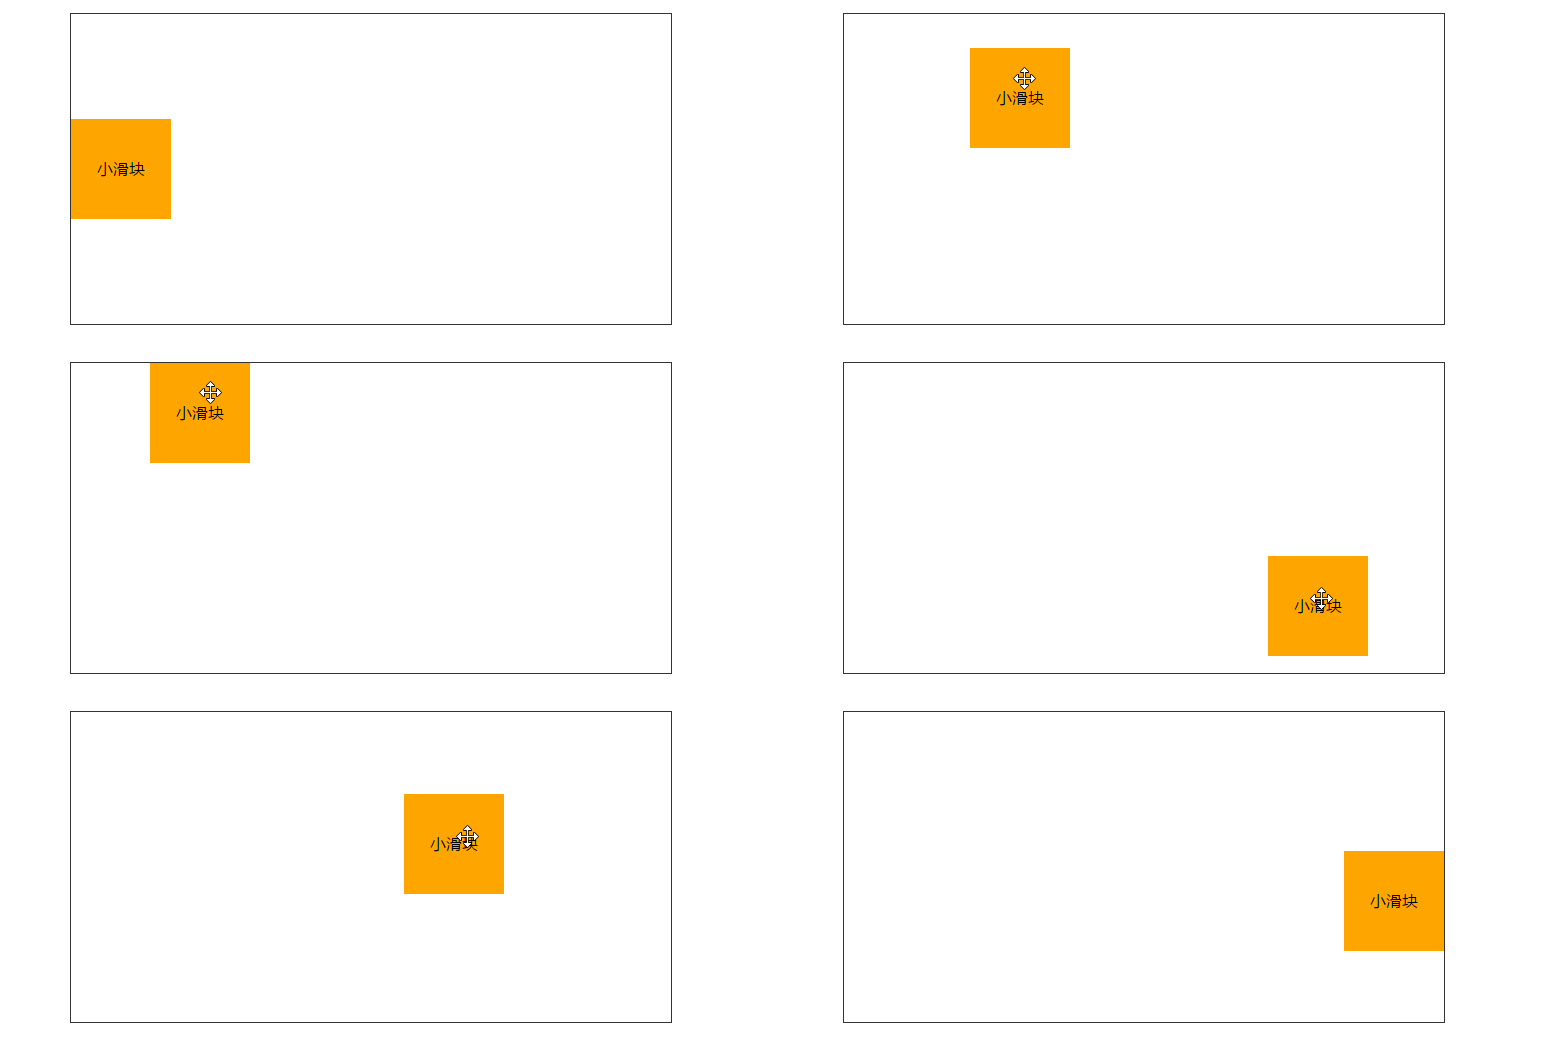
如果我们想实现这样一种效果:拖动某个元素,释放后给该元素一个初速度,然后让其做碰撞运动。就需要将拖拽和碰撞运动结合使用。
拖拽
先来复习一下简单的拖拽:
const inner = document.getElementById("inner");
const par = document.getElementById("par");
let offsetX = 0;
let offsetY = 0;
// 鼠标按下,记录偏移值
inner.onmousedown = function(e){
    offsetX = e.clientX - inner.offsetLeft;
    offsetY = e.clientY - inner.offsetTop;
    // 鼠标移动时,进行时间处理
    document.onmousemove = function(e){
        // 获取最新的 left 和 top 值
        let left = e.clientX - offsetX;
        let top = e.clientY - offsetY;

        // 边缘检测,让小滑块只能在外层容器之内拖动
        if(left <= 0){
            left = 0;
        }else if(left >= par.clientWidth - inner.offsetWidth){
            left = par.clientWidth - inner.offsetWidth;
        }

        if(top <= 0){
            top = 0;
        }else if(top >= par.clientHeight - inner.offsetHeight){
            top = par.clientHeight - inner.offsetHeight;
        }

        inner.style.left = left + "px";
        inner.style.top = top + "px";

        // 防止文字选中
        window.getSelection ? window.getSelection().removeAllRanges():document.selection.empty();
    }
    // 鼠标抬起后,清除 document 上的事件
    document.onmouseup = function(){
        document.onmousemove = null;
        document.onmouseup = null;
    }
}
来看下效果:
面向对象的拖拽
上面的拖拽代码是最简单的拖拽方案了,已经可以实现基础的拖拽功能。但也有一些缺陷,比如添加和清除事件时最好使用 addEventListener / removeEventListener,还需要具有一定的扩展性等。
下面提供一个基于 ES6 class 的拖拽方案:
class Drag{
    constructor(subEle,supEle) {
        // 根元素
        const rootEle = document.documentElement || document.body;
        // 被拖动元素
        this.subEle = subEle;
        // 父级元素,默认为根元素
        this.supEle = supEle || rootEle;
        this.offsetX = null;
        this.offsetY = null;

        // 被拖动元素的宽高
        this.subOffsetWidth = this.subEle.offsetWidth;
        this.subOffsetHeight = this.subEle.offsetHeight;

        // 父级元素的可视区宽高
        this.supClientWidth = this.supEle.clientWidth;
        this.supClientHeight = this.supEle.clientHeight;
        this.drag();
    }

    drag(){
        // 为拖动元素添加事件,初始化
        this.subEle.addEventListener("mousedown",this.dragDown.bind(this));
    }

    // 处理鼠标按下
    dragDown(e){
        this.offsetX = e.clientX - this.subEle.offsetLeft;
        this.offsetY = e.clientY - this.subEle.offsetTop;
        // 将 dragDown 和 dragUp 函数另存一份
        // 解决抬起鼠标后无法 removeEventListener 的问题
        this.move = this.dragMove.bind(this);
        this.up = this.dragUp.bind(this);

        document.addEventListener("mousemove",this.move);
        document.addEventListener("mouseup",this.up);
    }

    // 处理鼠标移动
    dragMove(e){
        let left = e.clientX - this.offsetX;
        let top = e.clientY - this.offsetY;

        if(left <= 0){
            left = 0;
        }else if(left >= this.supClientWidth - this.subOffsetWidth){
            left = this.supClientWidth - this.subOffsetWidth;
        }

        if(top <= 0){
            top = 0;
        }else if(top >= this.supClientHeight - this.subOffsetHeight){
            top = this.supClientHeight - this.subOffsetHeight;
        }
        this.subEle.style.left = left + "px";
        this.subEle.style.top = top + "px";

        // 防止选择拖动
        window.getSelection ? window.getSelection().removeAllRanges():document.selection.empty();
    }

    // 清除事件
    dragUp(e){
        document.removeEventListener("mousemove",this.move);
        document.removeEventListener("mouseup",this.up);
    }

}

// 新建一个对象,让其可以拖动
new Drag(document.getElementById("inner"),document.getElementById("par"));
效果和上面一样,大家可以自行尝试。
或许你在疑惑,为什么需要将方法另存一份呢?
...
// 将 dragDown 和 dragUp 函数另存一份
// 解决抬起鼠标后无法 removeEventListener 的问题
this.move = this.dragMove.bind(this);
this.up = this.dragUp.bind(this);
...
这里算是一个小坑吧,刚开始我在 dragUp 中清除事件函数时,发现没有效果,当时的代码是这样子的:
// 清除事件
dragUp(e){
    document.removeEventListener("mousemove",this.dragMove.bind(this));
    document.removeEventListener("mouseup",this.dragUp.bind(this));
}
最后在这里找到答案,结论是在 ES6 class 中使用 removeEventListener 时,最好将函数另存一份副本。
拖拽的轨迹
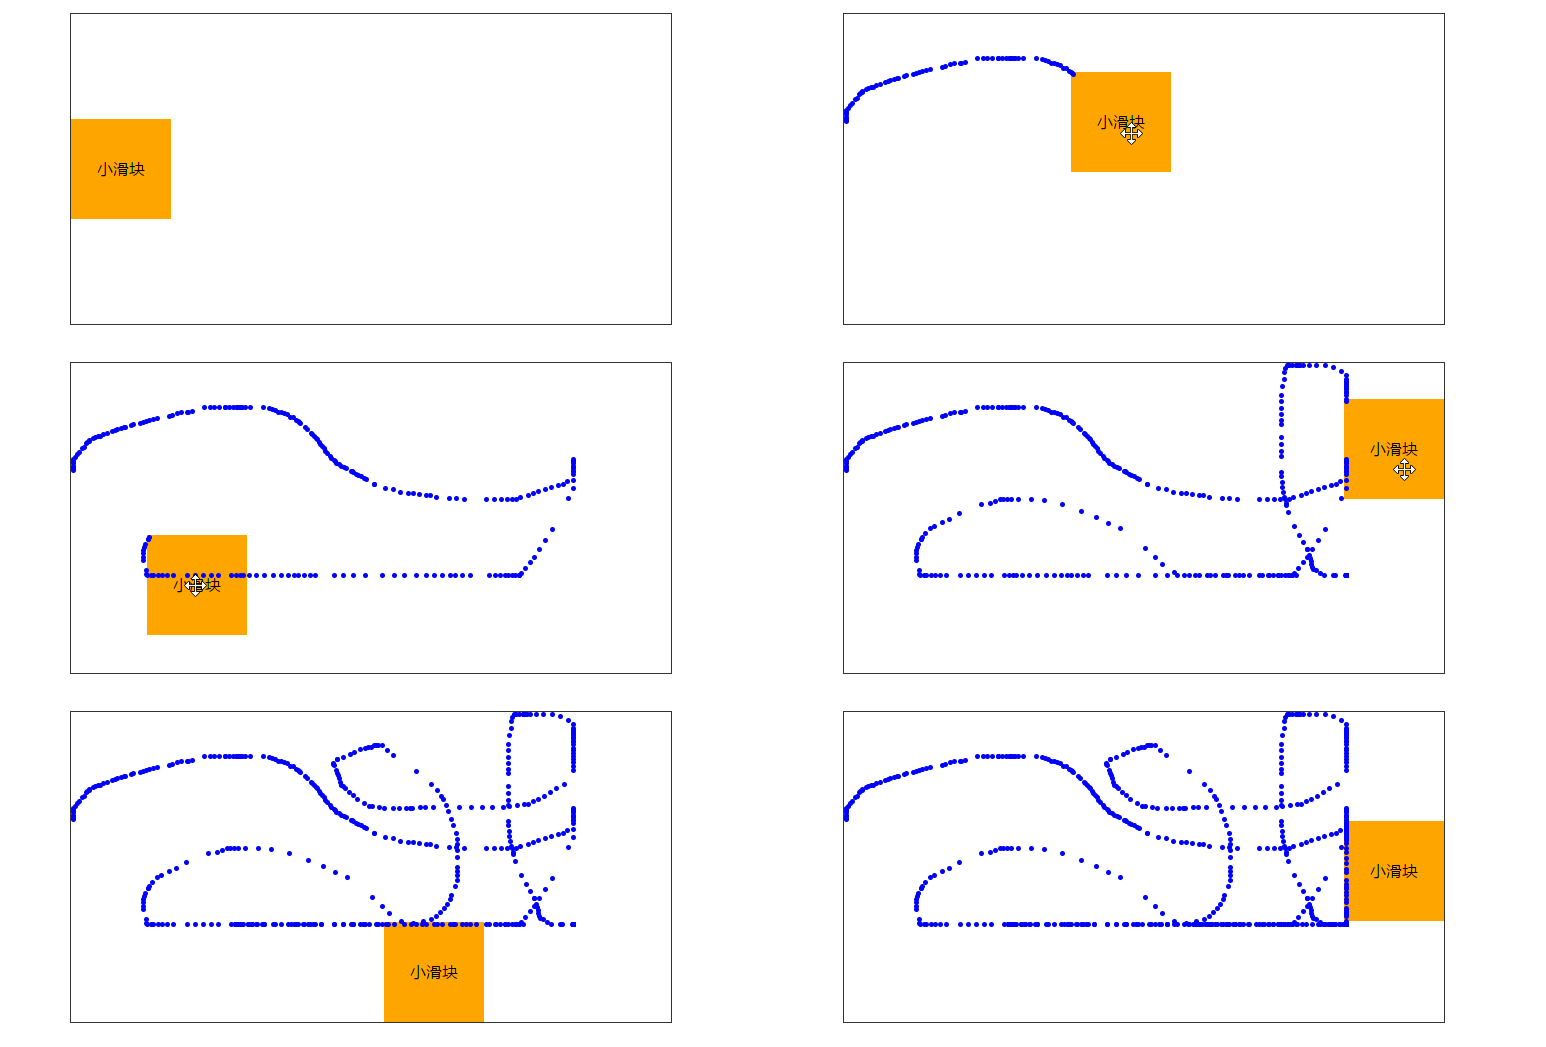
不管你信不信,在拖拽过程中,都是有一条运动轨迹的。我们可以对 Drag 类做一下小改进,以显示出拖拽过程中的轨迹。
先来看布局:
...
.dot{
    width: 5px;
    height:5px;
    background: blue;
    border-radius: 50%;
    position: absolute;
    left: 0;
    top: 0;
}
...
修改 Drag 类:
class Drag{
    constructor(subEle,supEle) {
        // 根元素
        const rootEle = document.documentElement || document.body;
        // 被拖动元素
        this.subEle = subEle;
        // 父级元素,默认为根元素
        this.supEle = supEle || rootEle;
        this.offsetX = null;
        this.offsetY = null;

        // 被拖动元素的宽高
        this.subOffsetWidth = this.subEle.offsetWidth;
        this.subOffsetHeight = this.subEle.offsetHeight;

        // 父级元素的可视区宽高
        this.supClientWidth = this.supEle.clientWidth;
        this.supClientHeight = this.supEle.clientHeight;

        this.drag();
    }

    drag(){
        // 为拖动元素添加事件,初始化
        this.subEle.addEventListener("mousedown",this.dragDown.bind(this));
    }

    // 处理鼠标按下
    dragDown(e){
        this.offsetX = e.clientX - this.subEle.offsetLeft;
        this.offsetY = e.clientY - this.subEle.offsetTop;
        // 将 dragDown 和 dragUp 函数另存一份
        // 解决抬起鼠标后无法 removeEventListener 的问题
        this.move = this.dragMove.bind(this);
        this.up = this.dragUp.bind(this);

        document.addEventListener("mousemove",this.move);
        document.addEventListener("mouseup",this.up);
    }

    // 处理鼠标移动
    dragMove(e){
        let left = e.clientX - this.offsetX;
        let top = e.clientY - this.offsetY;

        if(left <= 0){
            left = 0;
        }else if(left >= this.supClientWidth - this.subOffsetWidth){
            left = this.supClientWidth - this.subOffsetWidth;
        }

        if(top <= 0){
            top = 0;
        }else if(top >= this.supClientHeight - this.subOffsetHeight){
            top = this.supClientHeight - this.subOffsetHeight;
        }
        this.subEle.style.left = left + "px";
        this.subEle.style.top = top + "px";

        // 用来构成运动轨迹的元素
        let dot = document.createElement("div");
        dot.className = "dot";
        dot.style.left = left + "px";
        dot.style.top = top + "px";

        this.supEle.appendChild(dot)
        // 防止选择拖动
        window.getSelection ? window.getSelection().removeAllRanges():document.selection.empty();
    }

    // 清除事件
    dragUp(e){
        document.removeEventListener("mousemove",this.move);
        document.removeEventListener("mouseup",this.up);
    }

}

// 新建一个对象,让其可以拖动
new Drag(document.getElementById("inner"),document.getElementById("par"));
看下效果:
拖拽轨迹的意义
从效果图可以看到,拖拽轨迹是由一个又一个的点构成的,这些点之间的距离有大有小,它们的意义是什么呢?
大家可以自己进行尝试,这里直接给出规律:
- 如果拖拽的速度较慢,那么点之间的距离就较近
- 如果拖拽的速度较快,那么点之间的距离就较远
这些距离的意义在于:我们可以根据鼠标释放那一瞬间最后两个点之间的距离,来确定碰撞运动的初速度。如果拖动的较快,碰撞运动的初始速度就大,如果拖动较慢,碰撞运动的初始速度就小。
速度分解
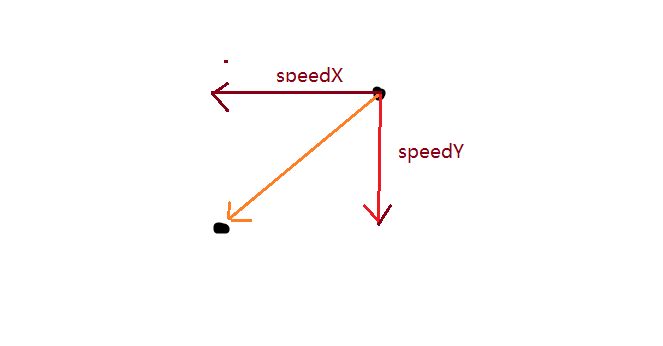
单纯看后两个点之间的连线,是没有任何意义的,因此我们需要对其进行一下速度分解,像这样:
具体操作:
- 最后一个点和倒数第二个点的 left 值之差作为初始水平速度(speedX)
- 最后一个点和倒数第二个点的 top 值之差作为初始垂直速度(speedY)
拖拽结合碰撞运动
拖拽结合碰撞运动的关键点在于:获取初始水平速度(speedX)和初始垂直速度(speedY),而获取初始速度的关键在于获取最后两个点的位置。
现在对 Drag 类进行一些修改:
class Drag{
    constructor(subEle,supEle) {
        // 根元素
        const rootEle = document.documentElement || document.body;
        // 被拖动元素
        this.subEle = subEle;
        // 父级元素,默认为根元素
        this.supEle = supEle || rootEle;
        this.offsetX = null;
        this.offsetY = null;

        // 被拖动元素的宽高
        this.subOffsetWidth = this.subEle.offsetWidth;
        this.subOffsetHeight = this.subEle.offsetHeight;

        // 父级元素的可视区宽高
        this.supClientWidth = this.supEle.clientWidth;
        this.supClientHeight = this.supEle.clientHeight;

        // 速度相关
        this.lastX = 0;
        this.lastY = 0;
        this.speedX = 0;
        this.speedY = 0;

        this.drag();
    }

    drag(){
        // 为拖动元素添加事件,初始化
        this.subEle.addEventListener("mousedown",this.dragDown.bind(this));
    }

    // 处理鼠标按下
    dragDown(e){
        this.offsetX = e.clientX - this.subEle.offsetLeft;
        this.offsetY = e.clientY - this.subEle.offsetTop;
        // 将 dragDown 和 dragUp 函数另存一份
        // 解决抬起鼠标后无法 removeEventListener 的问题
        this.move = this.dragMove.bind(this);
        this.up = this.dragUp.bind(this);

        document.addEventListener("mousemove",this.move);
        document.addEventListener("mouseup",this.up);
        // 按下鼠标时清除定时器
        clearInterval(this.subEle.timer);
    }

    // 处理鼠标移动
    dragMove(e){
        let left = e.clientX - this.offsetX;
        let top = e.clientY - this.offsetY;

        if(left <= 0){
            left = 0;
        }else if(left >= this.supClientWidth - this.subOffsetWidth){
            left = this.supClientWidth - this.subOffsetWidth;
        }

        if(top <= 0){
            top = 0;
        }else if(top >= this.supClientHeight - this.subOffsetHeight){
            top = this.supClientHeight - this.subOffsetHeight;
        }
        this.subEle.style.left = left + "px";
        this.subEle.style.top = top + "px";

        // 更新 speedX、speedY、lastX、lastY
        this.speedX = left - this.lastX;
        this.speedY = top - this.lastY;
        this.lastX = left;
        this.lastY = top;

        // 防止选择拖动
        window.getSelection ? window.getSelection().removeAllRanges():document.selection.empty();
    }

    // 清除事件
    dragUp(e){
        document.removeEventListener("mousemove",this.move);
        document.removeEventListener("mouseup",this.up);
        // 开始运动
        animate(this.subEle,{
            speedX:this.speedX,
            speedY:this.speedY,
            container:this.supEle,
        })
    }

}

// 新建一个对象,让其可以拖动
new Drag(document.getElementById("inner"),document.getElementById("par"));
这次改动中,我们增加了两组变量:lastX、lastY 和 speedX、speedY。
lastX 和 lastY 用来存放上一个轨迹点的 left 和 top 值。
speedX 和 speedY 是用现在的 left 和 top 值减去上一次的 left 和 top 值。
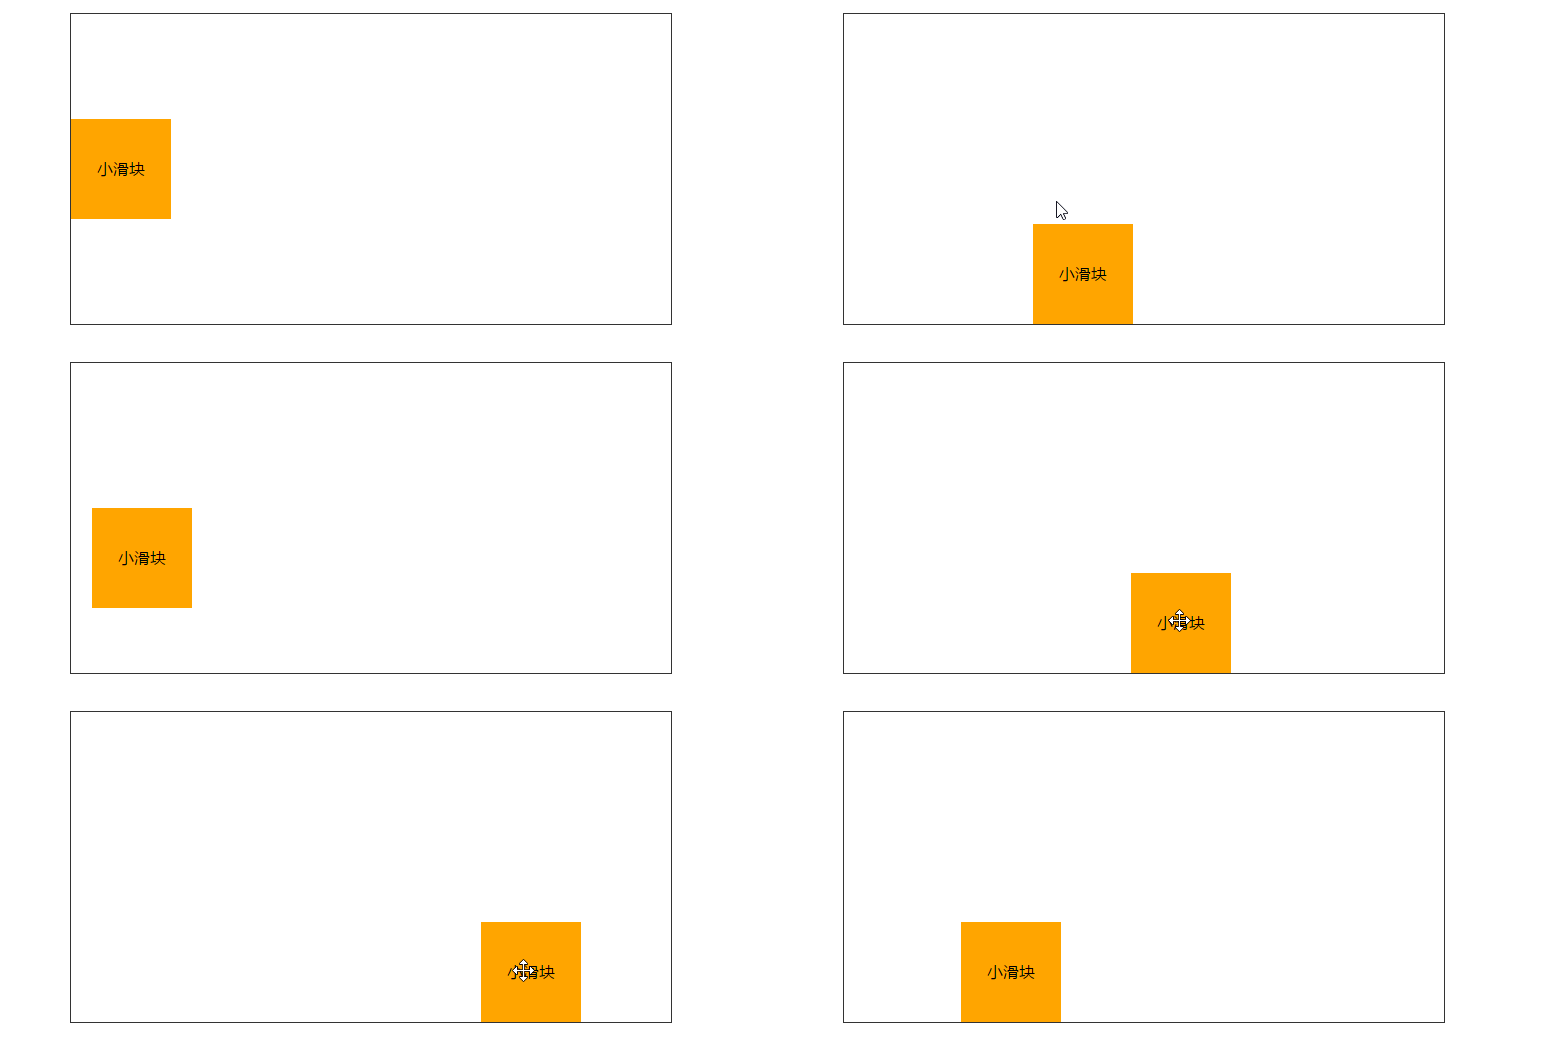
看下最终效果:
总结
本文在前文的带重力碰撞运动基础之上,增加了拖拽触发运动,下面是一些要点:
- 可以通过 onxxx 添加事件,也可以通过 addEventListener 添加,用 addEventListener 的好处是方便移除事件(使用 addEventListener 可以为同一事件添加多个事件处理函数,removeEventListener 移除事件时可以选择移除某个事件处理函数)
- 在 ES6 中使用 removeEventListener 时需要另存一份事件函数的副本
- 拖拽是有轨迹的,我们可以查看拖拽的轨迹
- 拖拽碰撞运动的关键是拖拽轨迹的最后两个点,根据这两个点的相对位置可以计算初始的水平速度(speedX)和垂直速度(speedY)
- 具体实现上,使用两个变量(lastX、lastY)分别记录上一个点的 left 和 top 值,再用当前的 left 和 top 值减去 lastX 和 lastY 获取初始速度
至此,我们已经将几种常见的运动:匀速运动、缓冲运动、弹性运动、碰撞运动、基于拖拽的碰撞运动说完了。并封装了一系列相关的函数,在需要时可以随时取用。通过修改速度值和其他相关的属性,可以实现不同的运动效果。
这几个框架都是速度版本的,所谓速度版本,就是指定一个初始速度和目标位置,然后慢慢运动到目标位置。
既然有速度版的运动框架,那么肯定也是有时间版本的运动框架的,顾名思义,时间版本的运动框架就是指定一个时间,然后在指定的时间内运动到目标位置。是不是更好更强大呢?以后再有机会,将介绍时间版运动的实现。
完。


