说明
原文链接:http://www.ehow.com/ehow-crafts/blog/how-to-paint-a-basic-leaf-with-watercolors
作者:Lucy Akins
版权:原文及图画、照片归原作者所有,译文版权归苏珊姐所有,如需转载或商用请申请授权。可以参考译文学习。译文仅为本人理解,不一定完全准确,欢迎讨论。
正文
How to Paint a Basic Leaf with Watercolors
如何用水彩画一片普通的树叶
As an artist, I enjoy experimenting with various mediums. One of my favorite mediums of late is watercolor. I appreciate it can be daunting medium to some, but as with most things in life, the more you practice, the easier it becomes. The beauty of watercolor is the dynamic results you can achieve by manipulating it for simple abstract art, or stunning and complex realism art.
It’s no wonder watercolor has made such a great come back, not only in fashion but decor and design.
作为一个艺术家,我喜欢尝试各种绘画媒介。我最喜欢的媒介之一是水彩。我欣赏它的难以掌握,就像生活中的大多数事情一样,你越练习,就越容易。水彩画的魅力在于,晕染会出现的很多不同的效果,你可以通过操纵水彩获得简单的抽象艺术作品,或迷人而复杂的写实作品。
这也难怪,水彩画取得了这么大的反响,不仅画面有时尚感,更具有装饰性和设计感。
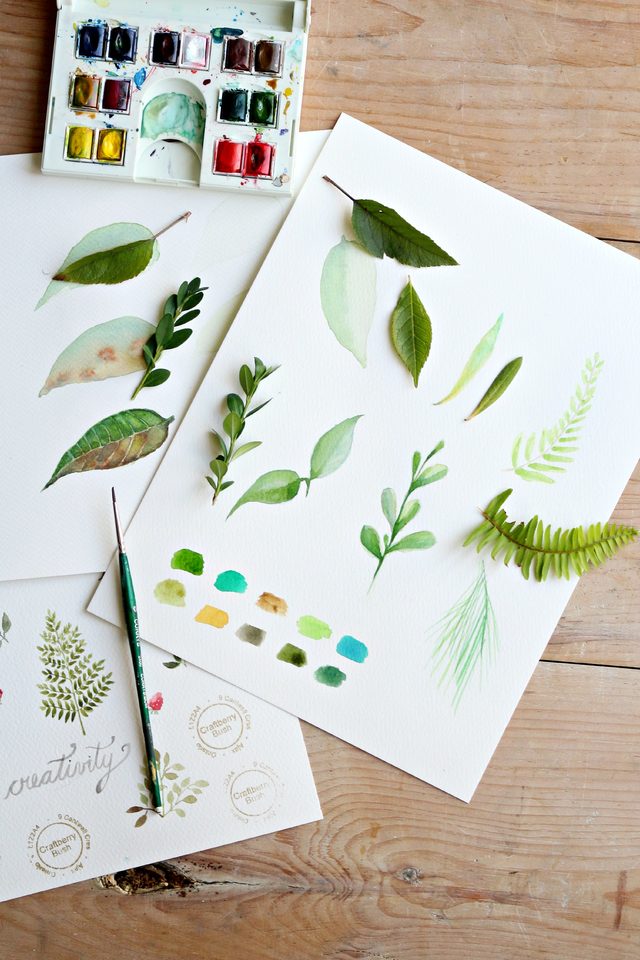
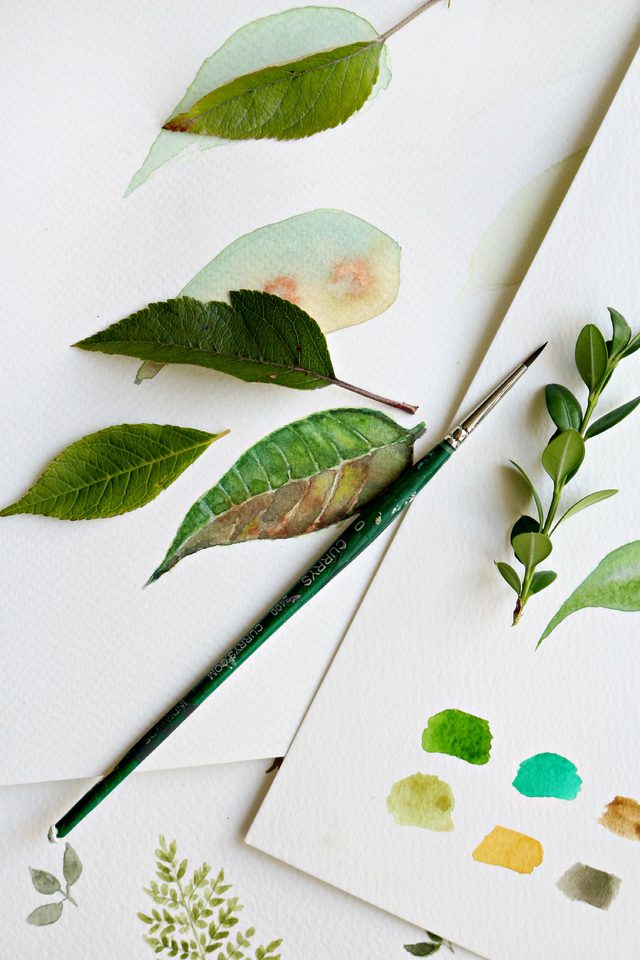
With fall fast approaching, I thought it would be fun and appropriate to show how to paint a very basic watercolor leaf. You can apply the same technique to various leaves and create a beautiful work of art.
Foliage can be found everywhere and in all seasons, coming in an array of shapes, sizes and colors.
The following tutorial provides a basic technique to paint leaves, but hopefully encourages you to try various techniques to achieve your own painting style.
Supplies required:
Watercolor set
Various watercolor brushes (I used #0, #10 and #20)
Watercolor paper
Various leaves from the garden or photos of leaves for reference
Palette
随着秋天的临近,我觉得,做一个“如何用水彩画一片普通的树叶”教程,是有趣而应景的事。你可以用同样的技法来画各种树叶,及创造一个美丽的艺术作品。
在所有季节中,树叶随处可得,可以按形状,大小和颜色来分组。
下面的教程,提供了一个基本的画叶子的技法,希望能鼓励你尝试各种技法,以形成自己的绘画风格。
所需用品:
水彩颜料
各种水彩笔刷(我用#0,#10和#20)
水彩纸
各种新鲜的树叶 或树叶的照片
调色板
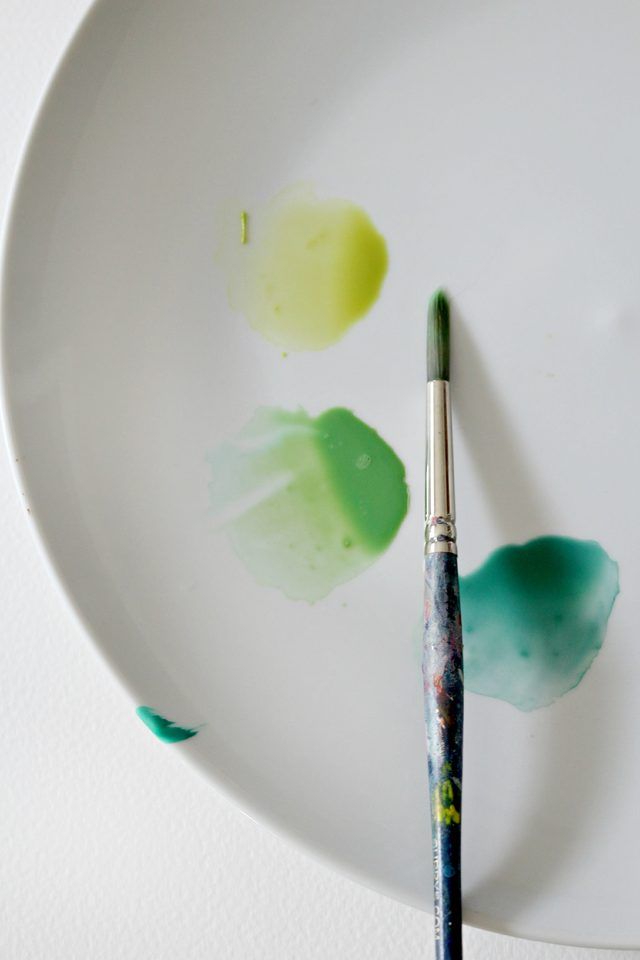
The first thing you will need to do is prepare your color palette and test the colors on a separate piece of paper. Do not be afraid to play around with the various shades until you arrive at colors you are pleased with and ensure you have fun with this process.
你需要做的第一件事是,准备好你的调色板,并在一张纸上调试颜色。别害怕,慢慢调到你满意的颜色为止,确保你喜欢并觉得这个过程的很有趣。
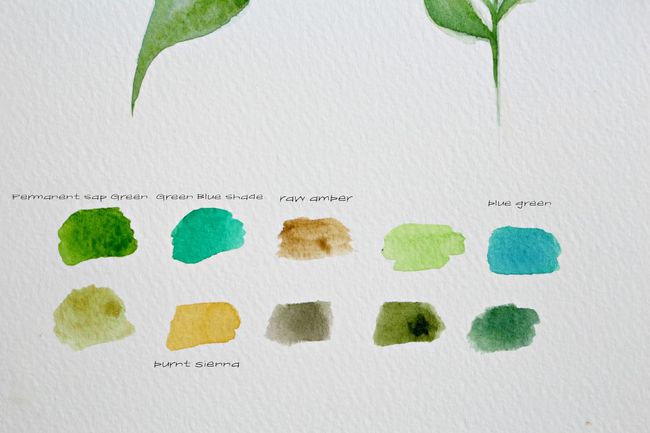
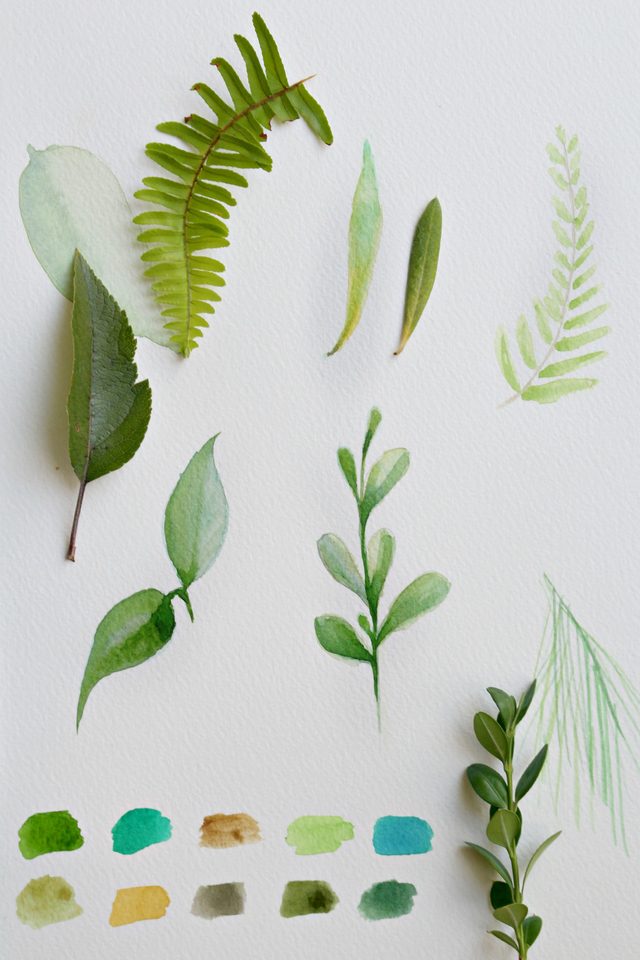
Here is a quick chart of the colors I used:
1. Permanent sap green
2. Green blue shade
3. Raw amber
4. Blue green
5. Burnt sienna
(the other shades are a mixture of the various colors above)
下面是我使用的颜色色卡:
1.深绿色
2.孔雀蓝
3.琥珀色
4.草绿色
5.熟褐色
(其他的颜色是上述各种颜色的混合)
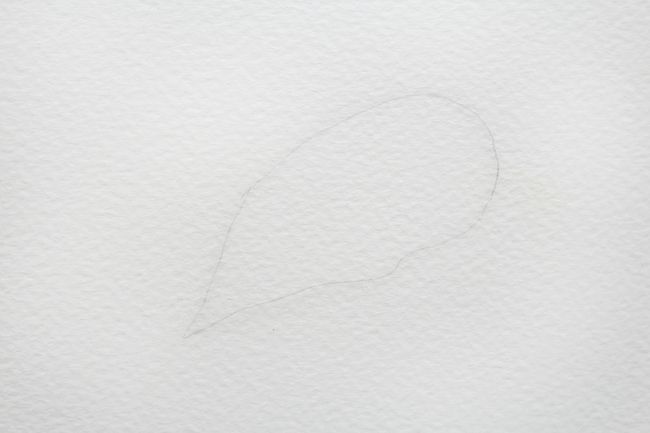
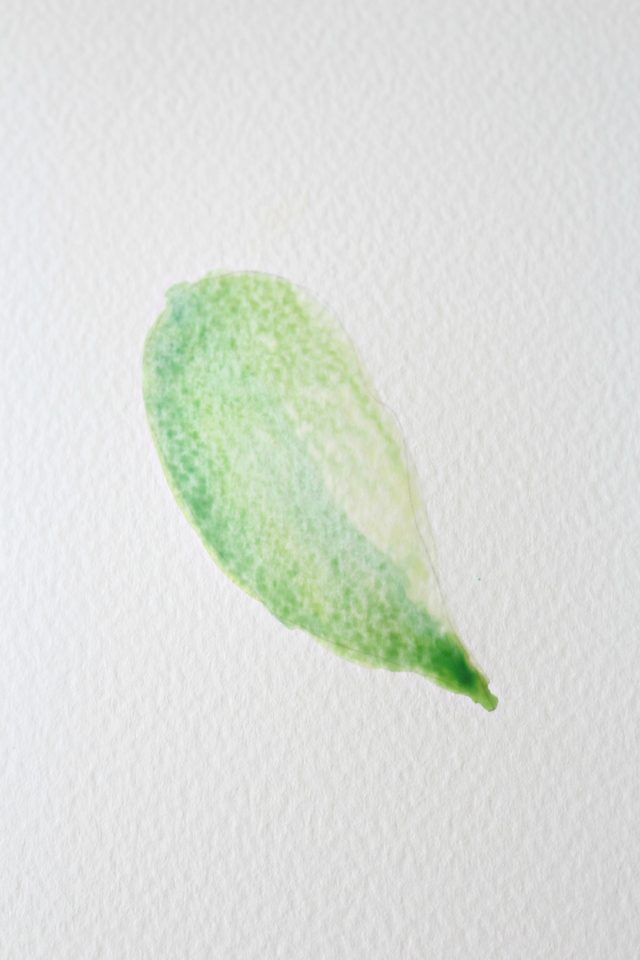
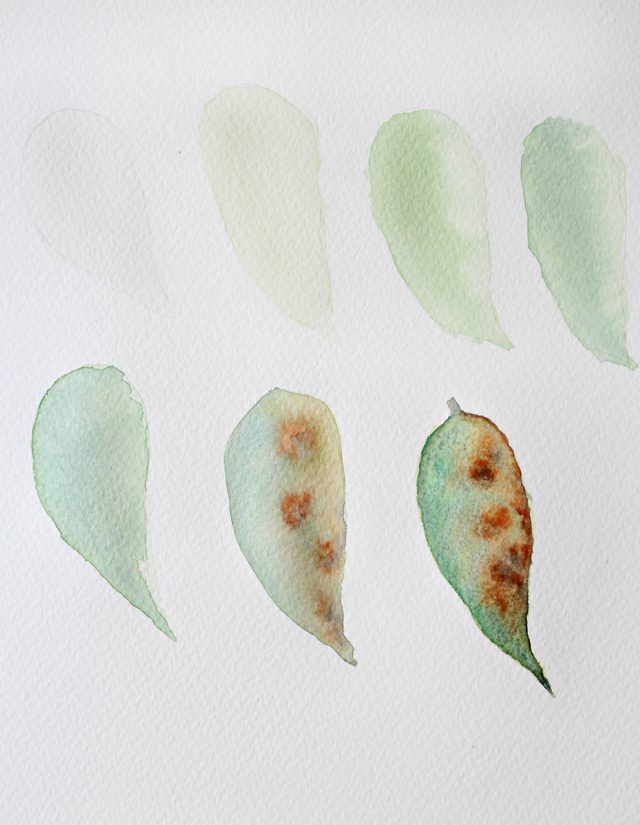
Lightly sketch a basic leaf shape and fill it in with a wet brush. This will make the spreading of the first layer easier.
用铅笔轻轻勾画出叶子的轮廓,并用湿毛笔涂一遍。这会使得第一次的晕染更容易。
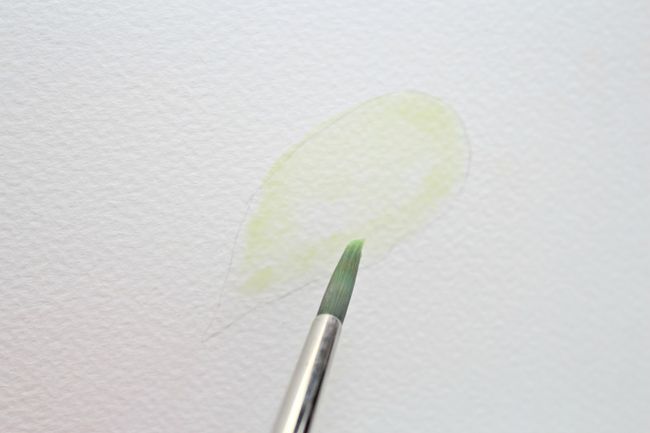
Apply the lightest shade of green you have prepared.
用已经准备好的草绿色,调出最浅的颜色色,进行平涂。
Allow first layer to dry slightly and apply the second lightest shade (you will see a little bit of bleeding occur).
等之前的颜色稍微干一些,再上第二次草绿色(你会看到一点晕染效果)。
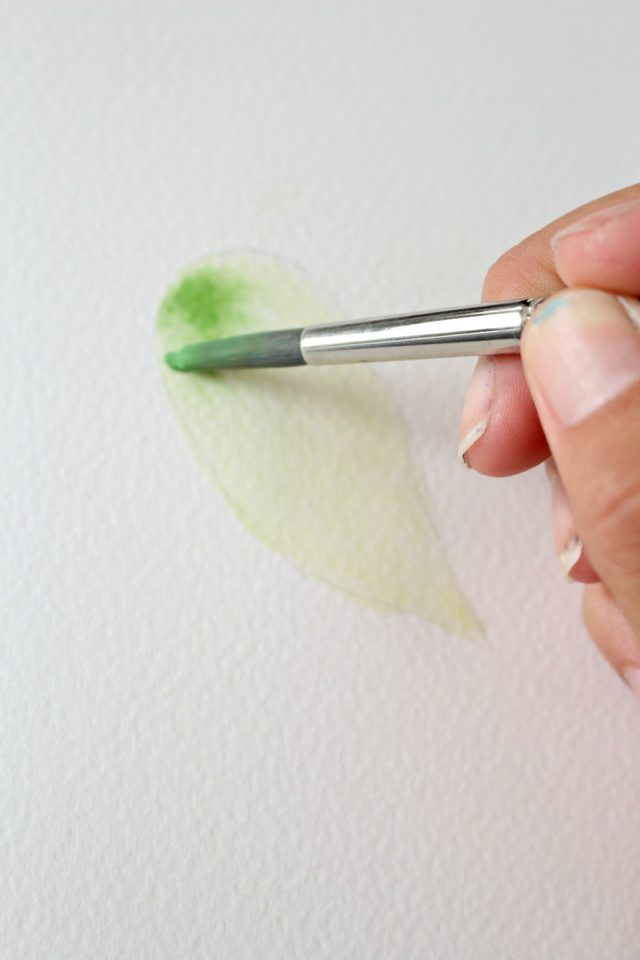
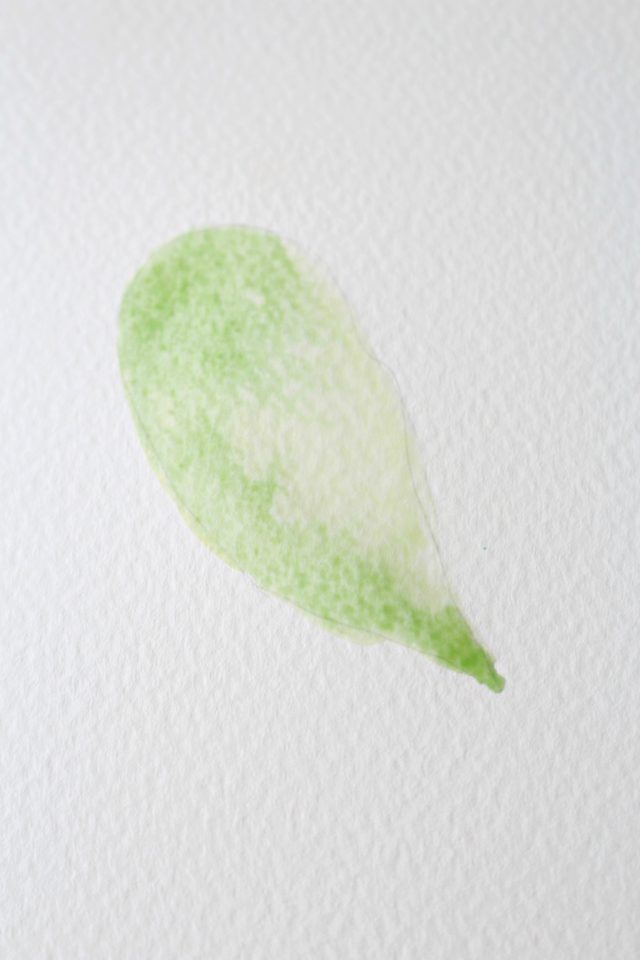
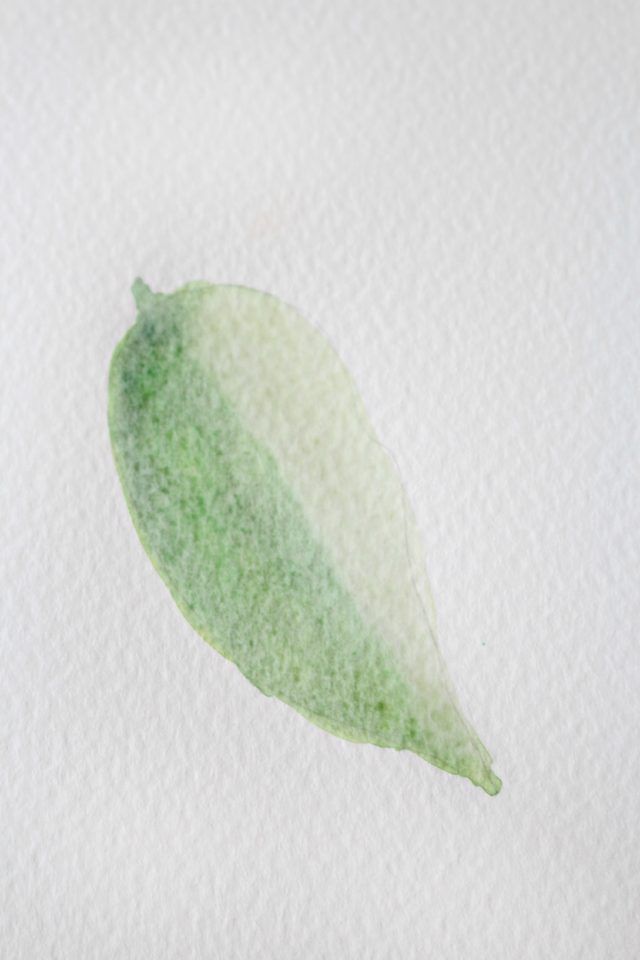
Here I applied yet another layer of the same color and while the paint was still wet, I tilted the paper ever so slightly to allow the paint to travel to the tip of the leaf. You can see the darker concentration of paint.
这里,在张纸还湿时,我继续用之前的绿色涂一层,并微微倾斜纸张,使得颜料流向叶子尾部,你会看到颜色变厚。
Allow to dry and apply yet another shade of green.
等纸张干了之后,再上一些蓝绿色。
As you have undoubtedly noticed, watercolor is all about layers; the more layers you apply, the more vivid the image becomes.
诚如你所见,水彩画就在于层层叠加,你叠加得越多,画面就会变得越生动。
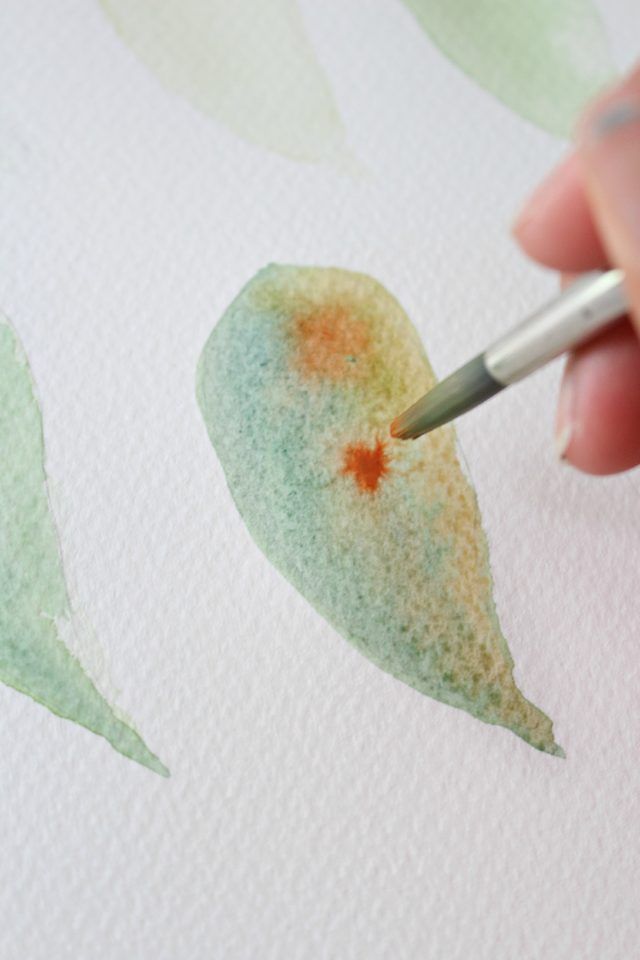
Dip your brush in water and go over the surface of the leaf. While still wet, apply a light layer of the raw amber to the lighter side of the leaf.
用水打湿画笔,然后在叶子上涂一层,趁着湿,在叶子颜色较浅的一侧点上一些琥珀色。
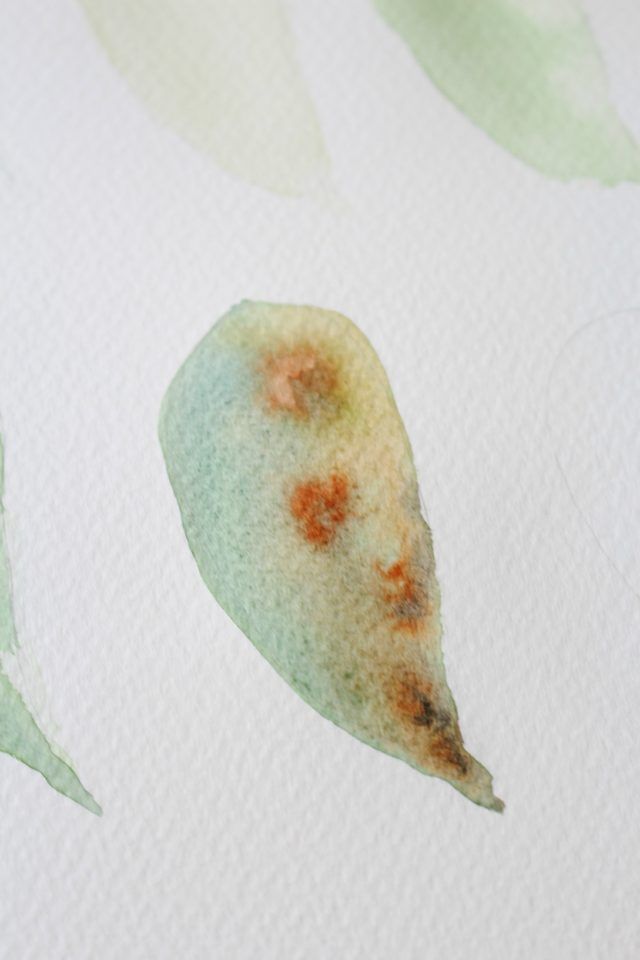
While the paint is still wet, load your brush with burnt sienna and allow paint to drip onto leaf. You can see the paint colors bleeding into each other.
趁着颜色还湿,用画笔蘸一些熟褐色,轻轻滴在叶子上。你会看到几个颜色在互相晕染。
Drip the paint in various areas as desired.
根据需要,再滴几滴熟褐色。
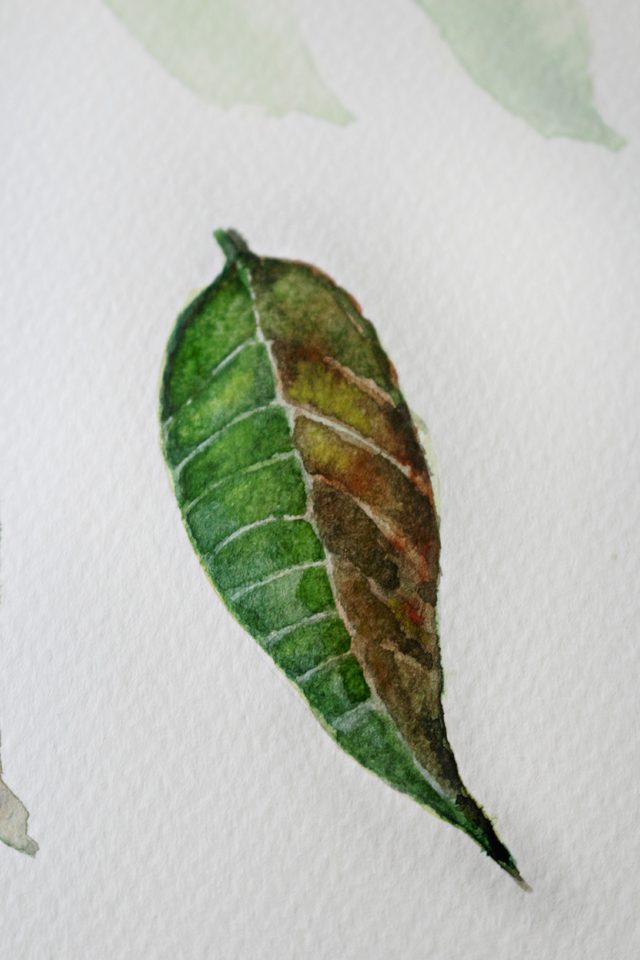
With a wet thin brush (#0), draw in some veins and allow to dry.You can continue to add more details if you wish.
用0号笔刷,湿水后刷出叶脉,然后等待画面干燥。你也可以继续增加你想要的细节。
Here is the entire process so you can see the progress.
这是过程图,你可以看整个过程。
As you become more familiar with this process, you can start to really enhance the detail. Personally, I like the looseness of watercolor.
当你对这个过程更熟练之后,你就可以开始真正提高细节了。就个人而言,我喜欢水彩画的通透感。
Practice and have fun with it!
愉快地练习吧!
A (good) word of caution – watercolor can become very addictive and the more you pick up that brush, the more likely you will be to fall in love with it.
提醒一句——画水彩是会变得上瘾的,当你拿起画笔画得越多,你就越有可能会爱上它。
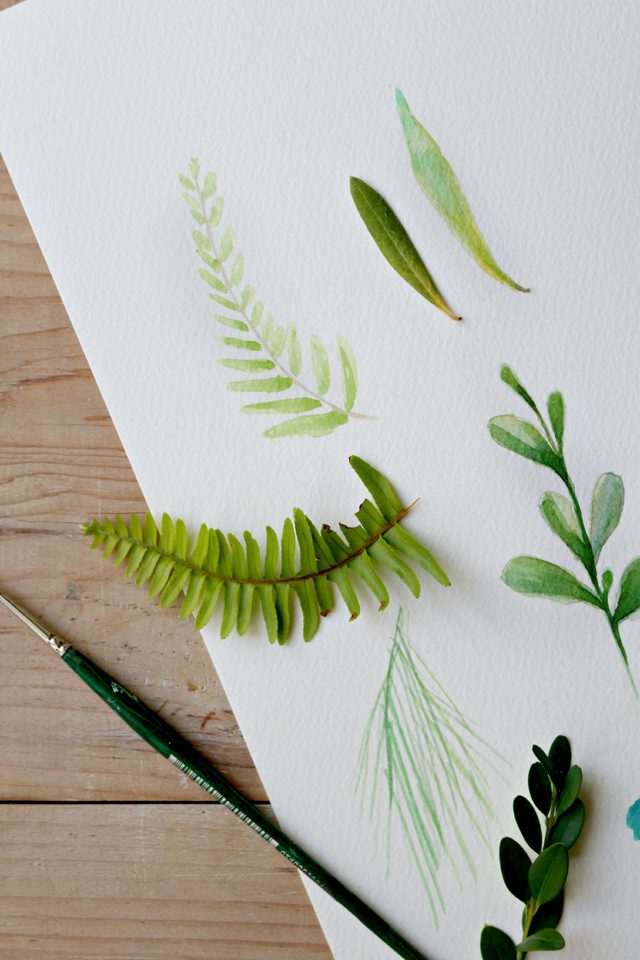
You can apply the same technique to paint variations of leaves, remembering the beauty of watercolor is it does not have to be perfect.
你可以用同样的技法来画不同的叶子,记住水彩的美就在于它的不完美。
Here is a fun piece I did using similar principles.
这是很有趣的部分,我用了相似原则进行组合创意。
I hope you check back for future posts, where I will continue to provide watercolor tutorials.
希望你继续关注,我将持续更新水彩教程。
Have any questions or need clarification? Please feel free to leave a comment or drop me a line at [email protected]. Or, leave a comment below!
有任何的疑问或需求,请给我留言或发邮件到邮箱,或在文档下方留言。
写在最后
最近在尝试画水彩,但自己画始终不得要领,于是闲逛之,偶见这篇教程,浅显易懂(英文也是),过程中透着一种快乐。一边自己学着,一边分享着,希望给想画画的朋友带来一丝清凉。苏珊姐的英文其实很差的,仅凭着对绘画的喜欢喝了解来进行翻译,有不地道的地方还请留言指出。
同时也希望大家尊重版权,如需用画稿请联系原作者,文中有作者的联系方式,谢谢!
