前言
当我们在storyboard里拖线设置各种约束,本质上每一根线都被编译器转换成了代码。由于使用纯代码设置布局太过麻烦,于是产生了Masonry这个第三方框架,非常好用,功能十分强大。
- github地址:Masonry
What is Masonry ?
- 官方给出的解释
- Masonry是一个轻量的布局框架,它用更好的语法包含了Autolayout
- Masonry有它自己的布局数字模拟语言,它提供了一个可链接的方式去描述你的NSLayoutConstraints代码
- 结果就是在你的布局里代码里变得更加简洁并且易读懂
- Masonry支持iOS和macOS
举个例子
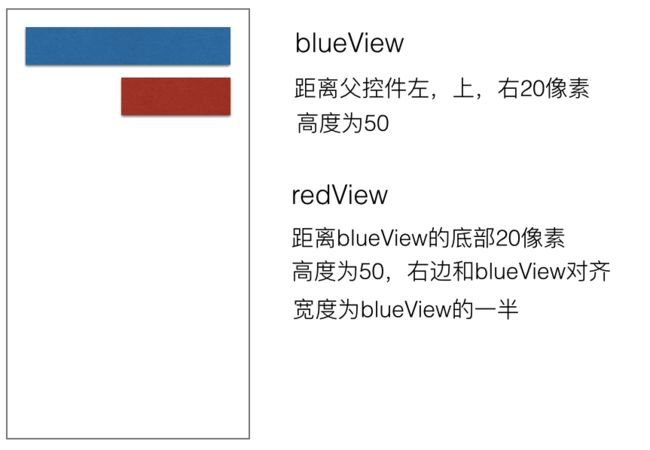
- 有这样两个view需要满足下面的要求
先用苹果官方给出的代码来实现一下
- (void)viewDidLoad {
    [super viewDidLoad];
    //  蓝色View
    UIView *blueView = [[UIView alloc] init];
    blueView.backgroundColor = [UIColor blueColor];
    //  不要将AutoresizingMask转为Autolayout约束
    blueView.translatesAutoresizingMaskIntoConstraints = NO;
    [self.view addSubview:blueView];

    //  红色View
    UIView *redView = [[UIView alloc] init];
    redView.backgroundColor = [UIColor redColor];
    //  不要将AutoresizingMask转为Autolayout约束
    redView.translatesAutoresizingMaskIntoConstraints = NO;
    [self.view addSubview:redView];


    //---------------- Blue View ---------------
    //  左边约束
    NSLayoutConstraint *leftConstraint = [NSLayoutConstraint constraintWithItem:blueView attribute:NSLayoutAttributeLeft relatedBy:NSLayoutRelationEqual toItem:self.view attribute:NSLayoutAttributeLeft multiplier:1.0 constant:20];
    [self.view addConstraint:leftConstraint];

    //  右边约束
    NSLayoutConstraint *rightConstraint = [NSLayoutConstraint constraintWithItem:blueView attribute:NSLayoutAttributeRight relatedBy:NSLayoutRelationEqual toItem:self.view attribute:NSLayoutAttributeRight multiplier:1.0 constant:-20];
    [self.view addConstraint:rightConstraint];

    //  顶部约束
    NSLayoutConstraint *topConstraint = [NSLayoutConstraint constraintWithItem:blueView attribute:NSLayoutAttributeTop relatedBy:NSLayoutRelationEqual toItem:self.view attribute:NSLayoutAttributeTop multiplier:1.0 constant:20];
    [self.view addConstraint:topConstraint];

    //  高度约束
    NSLayoutConstraint *heightConstraint = [NSLayoutConstraint constraintWithItem:blueView attribute:NSLayoutAttributeHeight relatedBy:NSLayoutRelationEqual toItem:nil attribute:NSLayoutAttributeNotAnAttribute multiplier:0.0 constant:50];
    [blueView addConstraint:heightConstraint];

    //---------------- Red View --------------
    [self.view addConstraints:@[
                                [NSLayoutConstraint constraintWithItem:redView
                                                             attribute:NSLayoutAttributeLeft
                                                             relatedBy:NSLayoutRelationEqual
                                                                toItem:blueView
                                                             attribute:NSLayoutAttributeCenterX
                                                            multiplier:1.0
                                                              constant:0.0],

                                [NSLayoutConstraint constraintWithItem:redView
                                                             attribute:NSLayoutAttributeRight
                                                             relatedBy:NSLayoutRelationEqual
                                                                toItem:blueView
                                                             attribute:NSLayoutAttributeRight
                                                            multiplier:1.0 constant:0.0],


                                [NSLayoutConstraint constraintWithItem:redView
                                                             attribute:NSLayoutAttributeTop
                                                             relatedBy:NSLayoutRelationEqual
                                                                toItem:blueView
                                                             attribute:NSLayoutAttributeBottom
                                                            multiplier:1.0
                                                              constant:20],

                                [NSLayoutConstraint constraintWithItem:redView
                                                             attribute:NSLayoutAttributeHeight
                                                             relatedBy:NSLayoutRelationEqual
                                                                toItem:blueView
                                                             attribute:NSLayoutAttributeHeight
                                                            multiplier:1.0
                                                              constant:0.0]
   ]];

}
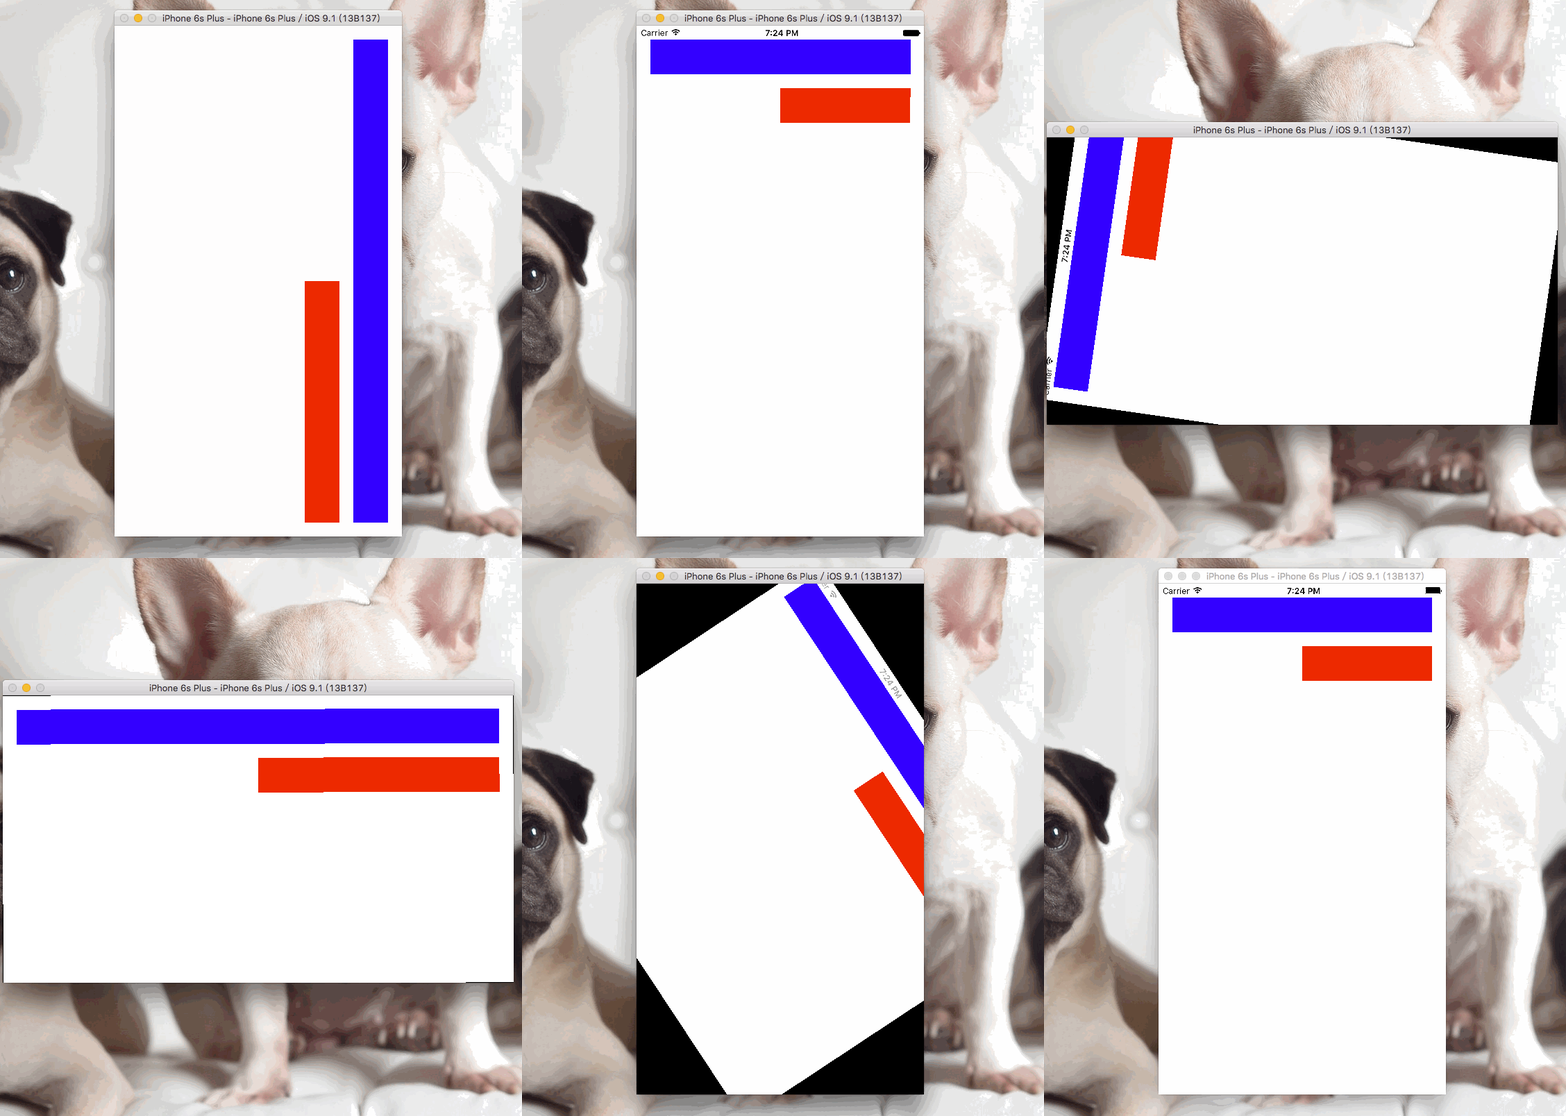
- 效果
使用Masonry来实现上面的效果
- 准备工作
- 怎么导入?
- 使用CocoaPods导入
- 新手也可以手动导入
- 怎么导入?
简单讲讲如何手动导入
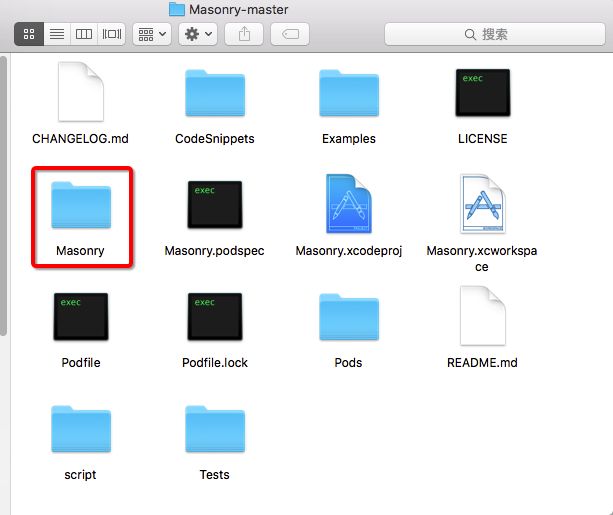
- 首先将下面这个文件整个拖拽到我们的工程里
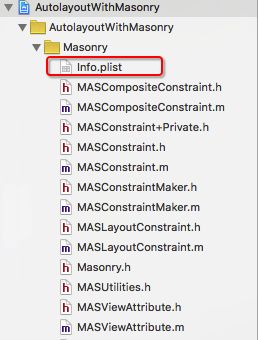
- 导入后记得删掉Masonry文件夹里的Info.plist
- 因为一个项目有两个Info.plist容易引起冲突
- 在项目里导入头文件
- 准备工作做完了,下面我们来看看Masonry有多强大
- (void)viewDidLoad {
    [super viewDidLoad];

    //  蓝色View
    UIView *blueView = [[UIView alloc] init];
    blueView.backgroundColor = [UIColor blueColor];
    [self.view addSubview:blueView];

    //  红色View
    UIView *redView = [[UIView alloc] init];
    redView.backgroundColor = [UIColor redColor];
    [self.view addSubview:redView];

    //  bluView的约束
    [blueView mas_makeConstraints:^(MASConstraintMaker *make) {
        make.left.equalTo(self.view).offset(20);
        make.right.equalTo(self.view).offset(-20);
        make.top.equalTo(self.view).offset(20);
        make.height.equalTo(@50);
    }];

    //  redView的约束
    [redView mas_makeConstraints:^(MASConstraintMaker *make) {
        make.left.equalTo(blueView.mas_centerX);
        make.right.equalTo(blueView.mas_right);
        make.top.equalTo(blueView.mas_bottom).offset(20);
        make.height.equalTo(blueView.mas_height);
    }];
}
- Masonry对代码做了相当精简的封装
- 对比官方的代码少了很多
三个核心的方法
- 添加约束
- (NSArray *)mas_makeConstraints:(void(^)(MASConstraintMaker *))block {
}
- 更新约束
- (NSArray *)mas_updateConstraints:(void(^)(MASConstraintMaker *))block {
}
- 重写约束
- (NSArray *)mas_remakeConstraints:(void(^)(MASConstraintMaker *make))block {
}
-
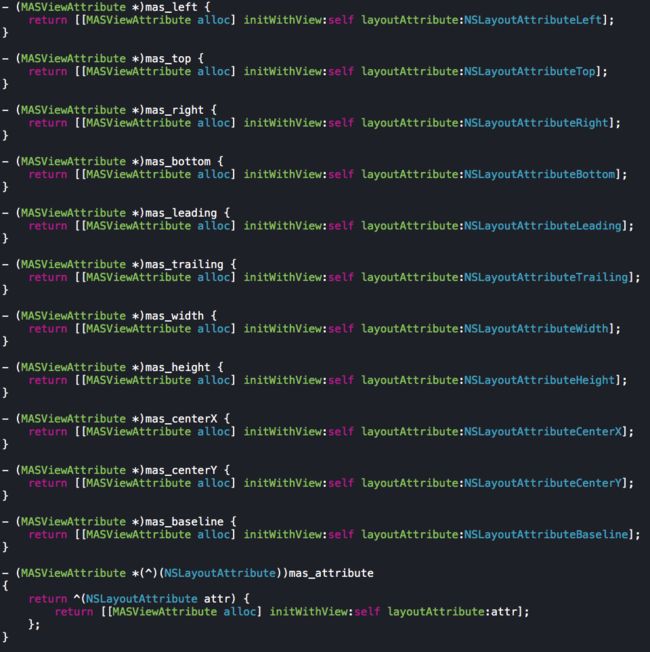
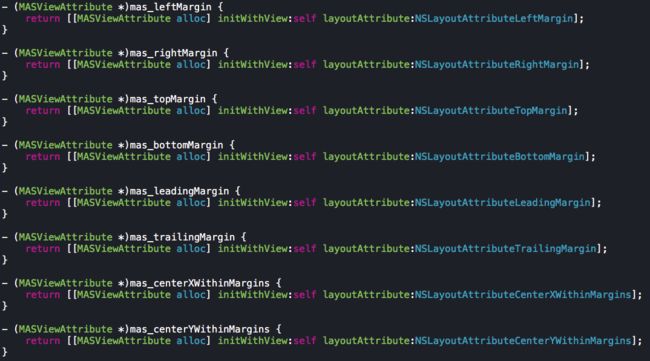
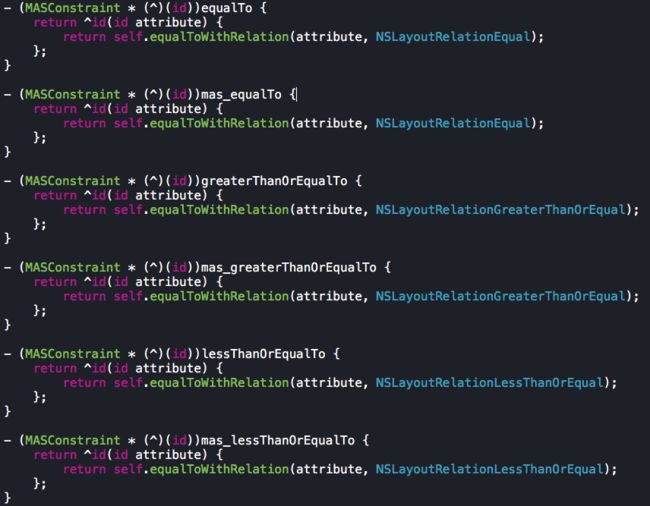
框架对所有用到的约束进行了封装,并加上了mas前缀来区分
- 关系(大于,小于,等于)
- 最后两个比较常用的方法
insets表示距离一个视图上左下右的间距
    [blueView mas_makeConstraints:^(MASConstraintMaker *make) {
        make.edges.equalTo(self.view).insets(UIEdgeInsetsMake(50, 50, 50, 50));
    }];
offset表示距离一个视图有多少的偏移
- 比如下面代码的意思分别为
- 让blueView的 左边 等于 self.view的左边 偏移 20 像素
- 让blueView的 右边 等于 self.view的 右边 偏移 -20 像素
- 让blueView的 顶部 等于 self.view的顶部偏移20像素
- 让blueViewd的 高度 等于 50
    [blueView mas_makeConstraints:^(MASConstraintMaker *make) {
        make.left.equalTo(self.view).offset(20);
        make.right.equalTo(self.view).offset(-20);
        make.top.equalTo(self.view).offset(20);
        make.height.equalTo(@50);
    }];
两个很重要的宏
- 新手刚接触Masonry的时候可能对于什么时候写mas
- 什么时候需要传递NSNumber对象比较糊涂
- 框架的作者也考虑到了这个问题
- 为我们提供了两个宏解决了上面的问题
- 只要把这个两个宏复制到项目里就完美解决
 //define this constant if you want to use Masonry without the 'mas_' prefix
    #define MAS_SHORTHAND

//define this constant if you want to enable auto-boxing for default syntax
    #define MAS_SHORTHAND_GLOBALS
最后
大家如果想深入了解Masonry这个框架,可以查看一下它的源码,一是学习大神的编码风格,比如代码规范的问题;二是学习别人是如何封装的,学习别人的思想。

