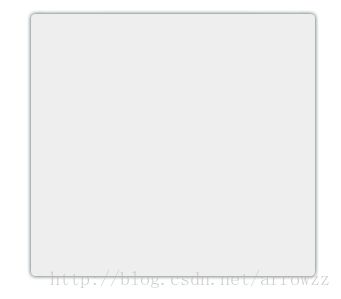
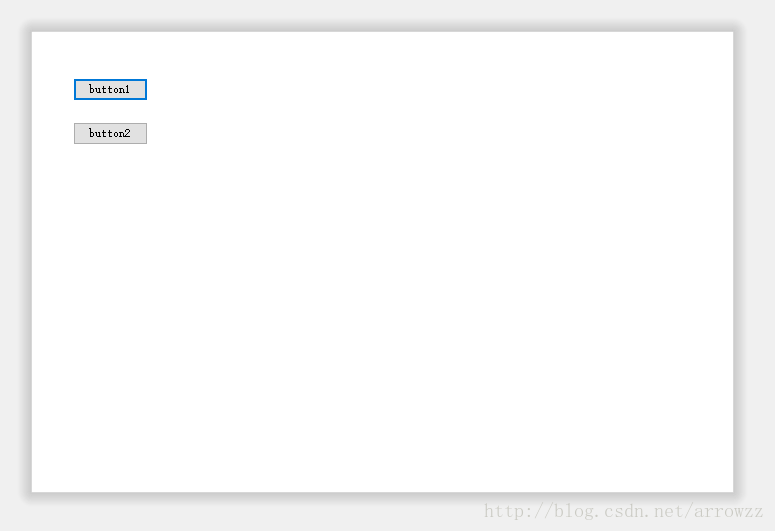
C# WinForm窗体四周阴影效果
一、起因
关于winform窗体无边框的问题很简单,只需要设置winform的窗体属性即可:
FormBorderStyle = FormBorderStyle.None;但是这中无边框窗口实现的效果和背景完全没有层次的感觉,所以能加上阴影,突出窗口显示的感觉。
二、网上搜索的解决方案
方法 1
首先,发现了使用 user32.dll 中方法实现的方案:
C# WinForm无边框窗体设置阴影效果
缺点:这种方法只能实现右边和下边的阴影效果,效果不是很好。
方法 2
然后发现了使用双层窗体,底层窗体贴阴影的PNG来实现的方式:
教你实现Winform窗体的四边阴影效果
缺点:PNG格式特点是,支持alpha通道半透明,但是放大会失真
三、最终解决方案
我使用的方法是绘制阴影到bitmap上,然后使用双层窗体的原理把bitmap绘制到背景层上去。
其中比较重要的是:
1、绘制圆角矩形
public static void DrawRoundRectangle(Graphics g, Pen pen, Rectangle rect, int cornerRadius)
{
    using (GraphicsPath path = CreateRoundedRectanglePath(rect, cornerRadius))
    {
        g.DrawPath(pen, path);
    }
}
public static void FillRoundRectangle(Graphics g, Brush brush, Rectangle rect, int cornerRadius)
{
    using (GraphicsPath path = CreateRoundedRectanglePath(rect, cornerRadius))
    {
        g.FillPath(brush, path);
    }
}
internal static GraphicsPath CreateRoundedRectanglePath(Rectangle rect, int cornerRadius)
{
    GraphicsPath roundedRect = new GraphicsPath();
    roundedRect.AddArc(rect.X, rect.Y, cornerRadius * 2, cornerRadius * 2, 180, 90);
    roundedRect.AddLine(rect.X + cornerRadius, rect.Y, rect.Right - cornerRadius * 2, rect.Y);
    roundedRect.AddArc(rect.X + rect.Width - cornerRadius * 2, rect.Y, cornerRadius * 2, cornerRadius * 2, 270, 90);
    roundedRect.AddLine(rect.Right, rect.Y + cornerRadius * 2, rect.Right, rect.Y + rect.Height - cornerRadius * 2);
    roundedRect.AddArc(rect.X + rect.Width - cornerRadius * 2, rect.Y + rect.Height - cornerRadius * 2, cornerRadius * 2, cornerRadius * 2, 0, 90);
    roundedRect.AddLine(rect.Right - cornerRadius * 2, rect.Bottom, rect.X + cornerRadius * 2, rect.Bottom);
    roundedRect.AddArc(rect.X, rect.Bottom - cornerRadius * 2, cornerRadius * 2, cornerRadius * 2, 90, 90);
    roundedRect.AddLine(rect.X, rect.Bottom - cornerRadius * 2, rect.X, rect.Y + cornerRadius * 2);
    roundedRect.CloseFigure();
    return roundedRect;
}
2、绘制阴影
internal void DrawShadow()
{
    Bitmap bitmap = null;
    Graphics g = null;
    try
    {
        bitmap = new Bitmap(Width, Height);
        g = Graphics.FromImage(bitmap);
        g.SmoothingMode = SmoothingMode.AntiAlias;

        Color c = Color.FromArgb(0, 0, 0, 0);
        Pen p = new Pen(c, 3);

        for (int i = 0; i < Main.ShadowWidth; i++)
        {
            p.Color = Color.FromArgb((255 / 10 / Main.ShadowWidth) * i, c);
            DrawRoundRectangle(g, p, new Rectangle(i, i, Width - (2 * i) - 1, Height - (2 * i) - 1), Main.ShadowWidth - i);
        }
        SetBits(bitmap);
    }
    catch { }
    finally
    {
        g?.Dispose();
        bitmap?.Dispose();
    }
}
3、绘制半透明bitmap到窗口上
protected override CreateParams CreateParams
{
    get
    {
        CreateParams cParms = base.CreateParams;
        cParms.ExStyle |= 0x00080000; // WS_EX_LAYERED
        return cParms;
    }
}
public void SetBits(Bitmap bitmap)
{
    if (!Image.IsCanonicalPixelFormat(bitmap.PixelFormat) || !Image.IsAlphaPixelFormat(bitmap.PixelFormat))
        throw new ApplicationException("图片必须是32位带Alhpa通道的图片。");
    IntPtr oldBits = IntPtr.Zero;
    IntPtr screenDC = FormStyleAPI.GetDC(IntPtr.Zero);
    IntPtr hBitmap = IntPtr.Zero;
    IntPtr memDc = FormStyleAPI.CreateCompatibleDC(screenDC);

    try
    {
        FormStyleAPI.Point topLoc = new FormStyleAPI.Point(Left, Top);
        FormStyleAPI.Size bitMapSize = new FormStyleAPI.Size(Width, Height);
        FormStyleAPI.BLENDFUNCTION blendFunc = new FormStyleAPI.BLENDFUNCTION();
        FormStyleAPI.Point srcLoc = new FormStyleAPI.Point(0, 0);

        hBitmap = bitmap.GetHbitmap(Color.FromArgb(0));
        oldBits = FormStyleAPI.SelectObject(memDc, hBitmap);

        blendFunc.BlendOp = FormStyleAPI.AC_SRC_OVER;
        blendFunc.SourceConstantAlpha = Byte.Parse(((int)(Main.Opacity * 255)).ToString());
        blendFunc.AlphaFormat = FormStyleAPI.AC_SRC_ALPHA;
        blendFunc.BlendFlags = 0;

        FormStyleAPI.UpdateLayeredWindow(Handle, screenDC, ref topLoc, ref bitMapSize, memDc, ref srcLoc, 0, ref blendFunc, FormStyleAPI.ULW_ALPHA);
    }
    finally
    {
        if (hBitmap != IntPtr.Zero)
        {
            FormStyleAPI.SelectObject(memDc, oldBits);
            FormStyleAPI.DeleteObject(hBitmap);
        }
        FormStyleAPI.ReleaseDC(IntPtr.Zero, screenDC);
        FormStyleAPI.DeleteDC(memDc);
    }
}
四、最终方案的效果和源码
源码下载


