前言
这个博客由东北大学Reading note团队管理,团队人员由卓文杰、赵晨旭、田野、王卫博组成,此次主要记录我们团队在学习UWP过程中,对于XAML Control Gallery中一些插件的一些学习总结,包括他对我们这次项目的帮助以及他在其他平台上类似的实现方法。
ComboBox ——王卫博
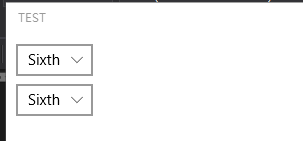
选择特定选项可以使用listbox和Combobox,但一方面listbox布局稍显困难,另一方面Combobox比较美观最终选择了后者。在应用的设计中选择某个选项还是十分必要的,例如字号选择、颜色更改等都需要用下选框实现。后续可以通过添加属性来响应事件。实现代码如下:
在安卓端
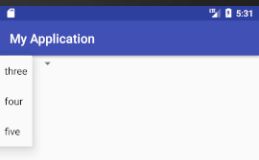
另一个平台选择了Android,对应控件为spinner。
控件代码如下:
下拉数组资源文件如下:
- three
- four
- five
Button ——卓文杰
Button在现实生活中随处可见,同时也广泛存在于各种设计中,是人们都比较熟悉的一种控件元素。相比于文字链接或者图片,“按钮”拥有着更加强烈的点击暗示。我们这次设计的App中也会有一些按钮,比如图片的上传按钮,文件的删除按钮,以及进行前后翻页的分页按钮等等。
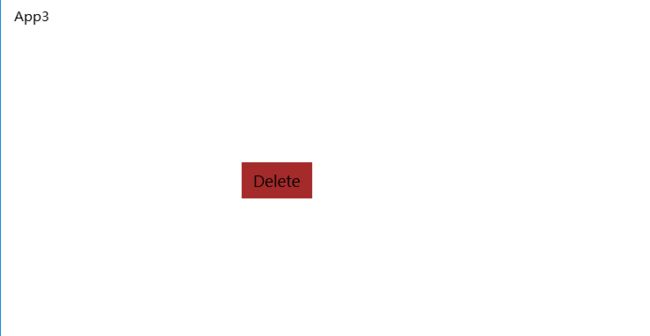
Button的实现相对来说非常简单,例如设计一个删除按钮:
并在Button的Click事件中添加对话框事件,来达到对用户进行删除操作前的确保性工作:
        private async void DisplayDeleteFileDialog()
        {
            ContentDialog deleteFileDialog = new ContentDialog
            {
                Title = "Delete file permanently?",
                Content = "If you delete this file, you won't be able to recover it. Do you want to delete it?",
                PrimaryButtonText = "Delete",
                CloseButtonText = "Cancel"
            };

            ContentDialogResult result = await deleteFileDialog.ShowAsync();

            // Delete the file if the user clicked the primary button.
            /// Otherwise, do nothing.
            if (result == ContentDialogResult.Primary)
            {
                // Delete the file.
            }
            else
            {
                // The user clicked the CLoseButton, pressed ESC, Gamepad B, or the system back button.
                // Do nothing.
            }
        }

        private void Button_Click(object sender, RoutedEventArgs e)
        {
            DisplayDeleteFileDialog();
        }
最终的运行效果如下:
触发click事件后:
在安卓端上
安卓端上button的实现方法有很多,其中有一种方法与上述的方法类似。
首先是在布局文件中设置button及其属性:
之后在activity中定义事件:
public class MainActivity extends AppCompatActivity {
    @Override
    protected void onCreate(Bundle savedInstanceState) {
        super.onCreate(savedInstanceState);
        setContentView(R.layout.activity_main);
    }
    private void DisplayDeleteFileDialog()
    {
        ContentDialog deleteFileDialog = new ContentDialog
        {
            Title = "Delete file permanently?",
            Content = "If you delete this file, you won't be able to recover it. Do you want to delete it?",
            PrimaryButtonText = "Delete",
            CloseButtonText = "Cancel"
        };
        ContentDialogResult result = await deleteFileDialog.ShowAsync();
        if (result == ContentDialogResult.Primary)
        {
            // Delete the file.
        }
        else
        {
            // The user clicked the CLoseButton, pressed ESC, Gamepad B, or the system back button.
            // Do nothing.
        }
    }
    public void click(View view){
        DisplayDeleteFileDialog();
    }
TextBlock ——赵晨旭
对于我们的APP,展示文本是最核心的功能。在可以显示文本的几个控件中,选择TextBlock的原因是它最简单朴素,而且应该能够胜任我们的应用。
简单使用:设置Text属性、或者在
通过设置FontWeight, FontFamily, FontStyle, Foreground这几个属性可以设置整段文字的样式。
Textblock还有Inlines属性。在Inlines属性中可以设置Run元素等标签分割文本,来达到不同部分文本信息设置成不同样式的目的。
在APP中的使用:
需求:
1.设置、显示纯文本
2. 根据鼠标点击、划取,使得特定文字样式改变
3. 根据鼠标点击、划取,获得对应文字
显示文本的要求中,我们需要显示的文本内容不是固定的,所以,应该在C#代码中完成设置。特别的,我们需要实现文本换行,这是默认时Textblock不支持的,需要设置TextWrapping="Wrap"。
而改变文字样式、获取选中文字,则应该由事件完成。为了达到这个目的,应该首先设置属性IsTextSelectionEnabled="True"。然后声明事件、编写事件函数。对于这个功能的实现,还在尝试。
public MainPage()
        {
            this.InitializeComponent();
            //在C#代码中设置TextBlock的内容、样式
            string s = "If you were to examine the birth certific" +
                "ates of every soccer player in ";
            //因为要达到一段文字中 某些元素特殊的显示,所以会用到Run、Bord等内联元素
            Run srun1 = new Run();
            srun1.Text = " and professional ranks, you would find this " +
                "strange phenomenon to be even more pronounced.";
            tb1.Text = s;
            srun1.Foreground = new SolidColorBrush(Windows.UI.Colors.Blue);
            srun1.FontSize = 24;

            tb1.Inlines.Add(srun1);

        }
private void tb1_SelectionChanged(object sender, RoutedEventArgs e)
        {
            //还没有想到如何实现交互,选中文字改变样式
            //暂时没有找到修改部分文字样式的方法,Run元素没有名字属性
            //或许是,重新设置整个TextBlock的内容,在一个单独文件中保存文字、和样式
            //而通过解析文件的方式设置TextBlock,每次交互都重新设置TextBlock的内容
        }
运行结果
Slider ——田野
我们的程序中使用slider来调整页面的缩放比例和页面所在的位置,以满足用户的需求。具体实现可以将slider的数值和所显示的字号进行绑定。
1
10
11
12
14
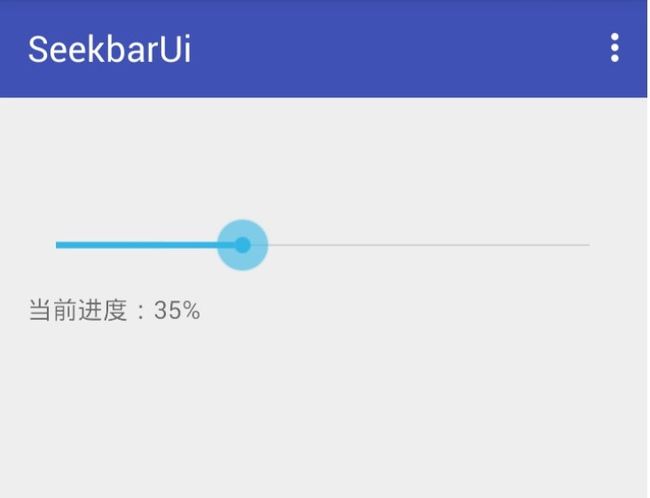
在Android开发中我们使用Seekbar来达到同样的作用,可以将Seekbar的开始和暂停绑定不同的动作来实现各种不同的功能。
1
2
9
1 public class MainActivity extends AppCompatActivity {
2 private SeekBar sb;
3 private TextView tv;
4
5 @Override
6 protected void onCreate(Bundle savedInstanceState) {
7 super.onCreate(savedInstanceState);
8 setContentView(R.layout.activity_main);
9 sb=(SeekBar)findViewById(R.id.sb);
10 tv=(TextView) findViewById(R.id.tv);
11 sb.setOnSeekBarChangeListener(new SeekBar.OnSeekBarChangeListener() {
12 @Override
13 public void onProgressChanged(SeekBar seekBar, int progress, boolean fromUser) {
14 tv.setText("The progress is "+progress+"%");
15 }
16
17 @Override
18 public void onStartTrackingTouch(SeekBar seekBar) {
19
20 }
21
22 @Override
23 public void onStopTrackingTouch(SeekBar seekBar) {
24
25
26 }
27 });
28 }
29 }


