
在Android N中对Notification进行了很大的更新,添加了一些新的API
Android N,Notification的新特性
- 新的样式模板-更简约,显的不是那么凌乱
- 不在和status bar捆绑
- 不需要打开应用,就可以直接回复
- 个性化定制
Notification 新模板
在Android N中引入了一些新的通知模板,使得通知看起来更简洁,这些模板是系统提供的,不
需要开发者修改自己的代码
NotificationCompat.Builder builder = new NotificationCompat.Builder(context)
        .setSmallIcon(R.drawable.ic_phonelink_ring_primary_24dp)
        .setContentTitle(title)
        .setContentText(message)
        .setLargeIcon(largeIcon)
        .setAutoCancel(true);
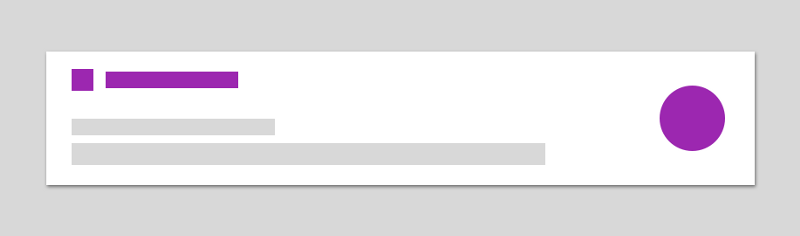
在Android N之前的版本上的效果图如下

同样的代码在Android N的效果图如下

不需要修改任何代码,在Android N上就可以体验到新的通知模板
使用 setColor()
在创建通知时也可以使用方法 setColor(),来改变字体的颜色
NotificationCompat.Builder builder = new NotificationCompat.Builder(context)
    // Other properties
    .setColor(ContextCompat.getColor(context, R.color.primary));

效果图
捆绑通知

在Android N中捆绑通知-就是一个通知组可以显示很多条通知,对于同一个应用的多个通知
就可以使用这个特性,这样可以避免很多的通知对用户造成干扰
必须为这组通知设置组的描述
在创建通知时使用setGroup()
NotificationCompat.Builder builderOne = new NotificationCompat.Builder(context)
    // Other properties
    .setGroupSummary(true)
    .setGroup(KEY_NOTIFICATION_GROUP);

NotificationCompat.Builder builderTwo = new NotificationCompat.Builder(context)
    // Other properties
    .setGroupSummary(true)
    .setGroup(KEY_NOTIFICATION_GROUP);

NotificationCompat.Builder builderThree = new NotificationCompat.Builder(context)
    // Other properties
    .setGroupSummary(true)
    .setGroup(KEY_NOTIFICATION_GROUP);
效果图
和创建标准的通知的方式一样,创建不同的通知的实例,然后将这些实例设置一个 setGroup()
PendingIntent archiveIntent = PendingIntent.getActivity(...);
NotificationCompat.Action replyAction = ...;
NotificationCompat.Action archiveAction = ...;

NotificationCompat.Builder builder = new NotificationCompat.Builder(context)
    // Other properties
    .setGroup(KEY_NOTIFICATION_GROUP)
    .addAction(replyAction)
    .addAction(archiveAction);
直接回复
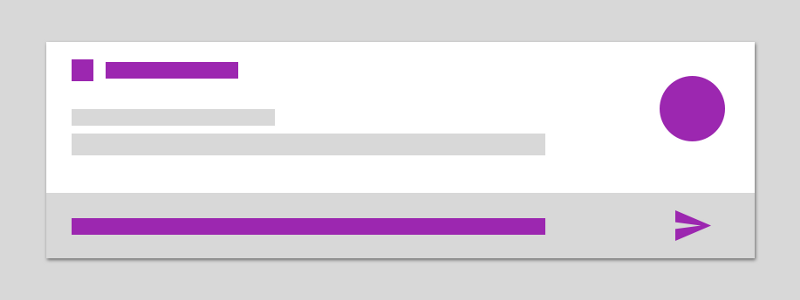
使用API RemoteInput 就可以在通知中直接进行回复
添加直接回复操作
需要创建一个RemoteInput的实例
RemoteInput remoteInput = new RemoteInput.Builder(KEY_TEXT_REPLY)
    .setLabel(LABEL_REPLY)
    .build();
- 通过创建PendingIntent 实例,和应用进行交互
PendingIntent replyIntent = PendingIntent.getActivity(context,
        REPLY_INTENT_ID,
        getDirectReplyIntent(context, LABEL_REPLY),
        PendingIntent.FLAG_UPDATE_CURRENT);

PendingIntent archiveIntent = PendingIntent.getActivity(context,
        ARCHIVE_INTENT_ID,
        getDirectReplyIntent(context, LABEL_ARCHIVE),
        PendingIntent.FLAG_UPDATE_CURRENT);

private static Intent getDirectReplyIntent(Context context, String label) {
        return MessageActivity.getStartIntent(context)
                .addFlags(Intent.FLAG_INCLUDE_STOPPED_PACKAGES)
                .setAction(REPLY_ACTION)
                .putExtra(CONVERSATION_LABEL, label);
}
- 创建
NotificationCompat.Action
有了PendingIntents,我们就需要结合RemoteInput来创建 NotificationCompat.Action
NotificationCompat.Action replyAction =
        new NotificationCompat.Action.Builder(R.drawable.ic_reply,
                LABEL_REPLY, replyIntent)
                .addRemoteInput(remoteInput)
                .build();

NotificationCompat.Action archiveAction =
        new NotificationCompat.Action.Builder(R.drawable.ic_archive,
                LABEL_ARCHIVE, archiveIntent)
                .build();
- 创建
Notification实例
NotificationCompat.Builder builder = new NotificationCompat.Builder(context)
        .setSmallIcon(R.drawable.ic_phonelink_ring_primary_24dp)
        .setContentTitle(title)
        .setContentText(message)
        .setLargeIcon(largeIcon)
        .addAction(replyAction);
        .addAction(archiveAction);
        .setAutoCancel(true);

应用接收
创建了直接回复,还需要在应用端对回复的内容做处理
Bundle bundle = RemoteInput.getResultsFromIntent(intent);
if (remoteInput != null) {
    return bundle.getCharSequence(NotificationUtil.KEY_TEXT_REPLY);
}
定制通知
定制尽量的按照Android Design 的规则进行定制化,主要是使用 RemoteViews 来定制通知
RemoteViews remoteViews = new RemoteViews(context.getPackageName(), R.layout.notif_custom_view);
remoteViews.setImageViewResource(R.id.image_icon, iconResource);
remoteViews.setTextViewText(R.id.text_title, title);
remoteViews.setTextViewText(R.id.text_message, message);
remoteViews.setImageViewResource(R.id.image_end, imageResource);
文中的代码示例
原文