springboot就我目前的不成熟理解,是对ssm项目的快速开发。通过大量的约定优于配置,可以快速开发ssm项目。
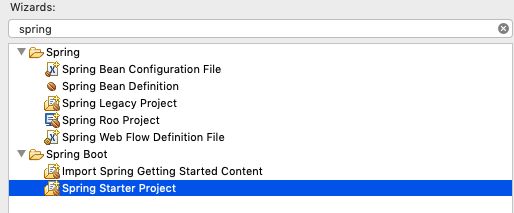
首先new一个springboot项目
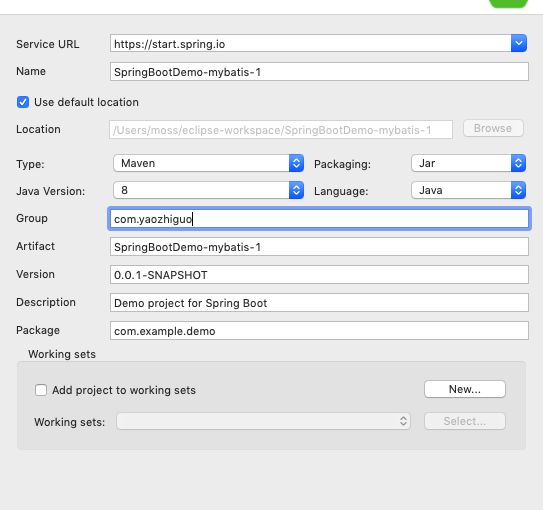
接下来就是命名和选择项目形式,选择maven 打包为jar形式
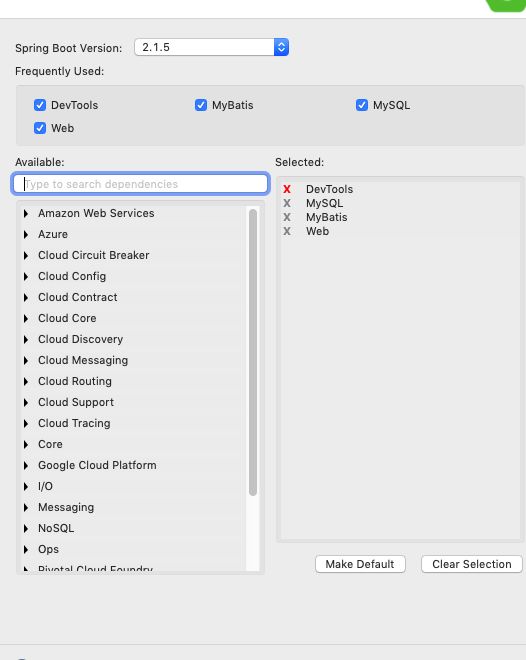
next,选择需要的引入的插件,库之类的
finish,如此就生成一个springboot项目demo了。
然后我需要实现上次ssm框架的实例功能,查询学生表中学生信息。
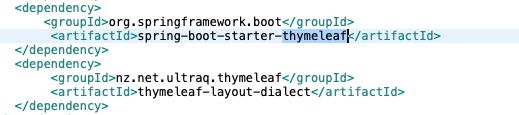
springboot不支持jsp,所以使用推荐的模板引擎thymeleaf——在pom.xml文件引入
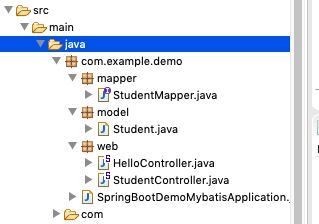
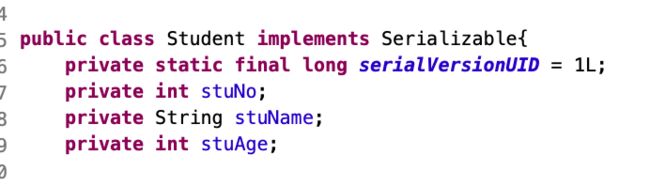
然后写实体类,mapper接口,和控制层
student类 省略了set/get方法
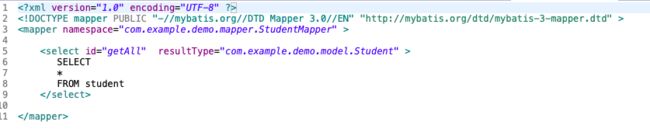
然后写mapper映射文件——StudentMapper.xml
只有一个简单的查询全部学生的方法
此时再写对应的mapper接口

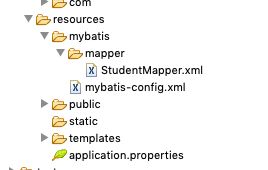
接下来就是数据库信息配置,mybatis配置
application.properties
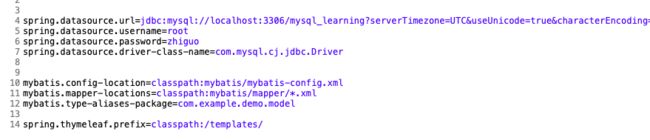
Spring Boot 会自动加载 spring.datasource.* 相关配置,数据源就会自动注入到 sqlSessionFactory 中,sqlSessionFactory 会自动注入到 Mapper 中,对了,你一切都不用管了,直接拿起来使用就行了。
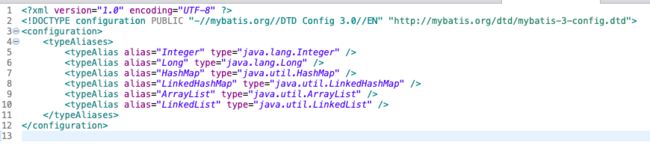
mybatis-config.xml(本例中没有用到该配置)
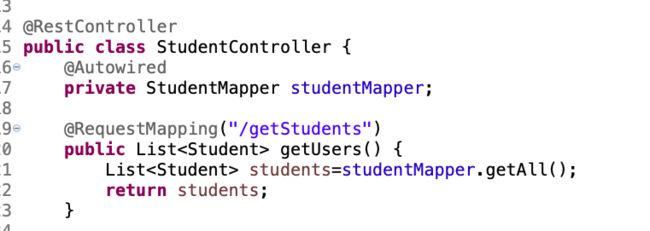
这么算来dao层算是完成了。考虑到控制层
web包中有两个控制类,一个是为了测试初始默认访问页面到其他页面的跳转,一个用来实现查询功能。
HelloController类实现的是跳转功能

StudentController是实现查询功能
其中的一些注解后文细说
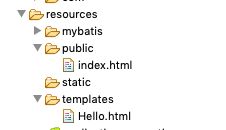
这样只剩下前端没有处理了。在resources目录新建public文件夹,新建初始页面index.html,然后在templates下新建要跳转的页面Hello.html
index.html——两个简单的超链接。一个用来查询,一个用来跳转
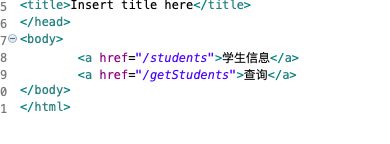
Hello.html仅有一个超链接,用来查询

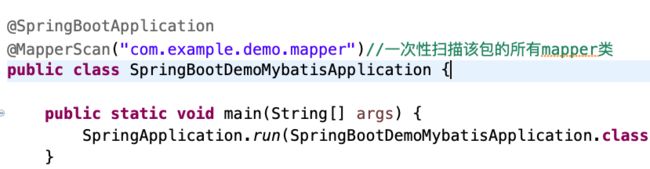
最后在SpringBootDemoMybatisApplication 类开头扫描所有的mapper类
右击,run as java application即可启动项目。
结果如下:
初始页面index.html
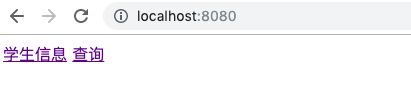
点击查询

点击学生信息,跳转到Hello.html
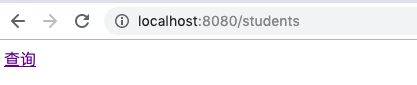
点击查询

至此一个简单的springboot项目完成。
才疏学浅之处,切莫在意。
——2019.5.24 早上