CALayer
CALayer属于QuartzCore框架,用于在iOS和Mac OS系统上可见元素的绘制,和属于UIKit框架的UIView的关系是,UIView默认会创建一个CALayer属性,用于图象的绘制和显示.当然,CALayer也可以单独创建.
区别
UIView可以处理用户交互事件,而CALayer不行.
CALayer具备以下UIView没有的功能:
- 阴影, 圆角, 边框
- 3D变换
- 非矩形范围
- 透明遮罩
- 多级非线性动画
布局
要分析CALayer的anchorPoint和position属性,首先要讨论一下CALayer的布局.
我们所熟悉的UIView有三个重要的布局属性:frame,bounds和center,CALayer对应的叫做 frame,bounds和position.
-
frame代表了图层的外部坐标(在父图层上占据的空间) -
bounds为内部坐标 -
position代表了相对父图层anchorPoint的位置
锚点
如何理解anchorPoint (锚点)?
- 和
position共同决定图层相对父图层的位置,即frame的x,y - 在图层旋转时的固定点
锚点使用单位坐标来描述,范围为左上角{0, 0}到右下角{1, 1},默认坐标是{0.5, 0.5}.
锚点和position的关系
position是图层的anchorPoint在父图层中的位置坐标.
anchorPoint和position共同决定图层相对父图层的位置,即frame属性的frame.origin.
单方面修改anchorPoint或者position并不会对彼此产生影响,修改其中一个值,受影响的只会是frame.origin.
苹果官方文档有如下描述
Layers have an implicit frame that is a function of the position, bounds, anchorPoint, and transform properties.
以防transform的引入混淆大家对position和anchorPoint的理解,我们先不讨论图层旋转的问题.
根据上述文档我们知道,frame属性是通过position和anchorPoint共同决定的,那么所说的function又是什么呢?根据一系统推导可以得出
frame.origin.x = position.x - anchorPoint.x * bounds.size.width;

frame.origin.y = position.y - anchorPoint.y * bounds.size.height
官方文档还有另一段描述
- When you specify the frame of a layer, position is set relative to the anchor point. When you specify the position of the layer, bounds is set relative to the anchor point.
可以理解为:
- 当你设置图层的frame属性的时候,position点的位置(也就是position坐标)根据锚点(anchorPoint)的值来确定,而当你设置图层的position属性的时候,bounds的位置(也就是frame的orgin坐标)会根据锚点(anchorPoint)来确定.
图层旋转时,如何修改锚点
在图层旋转时,锚点就是图层的固定点,旋转是沿着这个定点进行的.
来根据一个钟表的demo进行说明吧.
表盘布局:
CGFloat clockWidht = 380;
UIView *backgroundView = [[UIView alloc] initWithFrame:CGRectMake(20, 100, clockWidht, clockWidht)];
[self.view addSubview:backgroundView];
backgroundView.backgroundColor = [UIColor lightGrayColor];

UIImage *image = [UIImage imageNamed:@"clock"];
backgroundView.layer.contents = (__bridge id)image.CGImage;

秒针布局
CALayer *secondLayer = [CALayer layer];
secondLayer.frame = CGRectMake(clockWidht / 2 - 20, 70, 40, 120);
secondLayer.contentsGravity = kCAGravityResizeAspect;
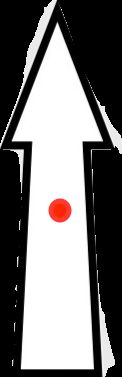
secondLayer.contents = (__bridge id)[UIImage imageNamed:@"second"].CGImage;
[backgroundView.layer addSublayer:secondLayer];
self.secondLayer = secondLayer;

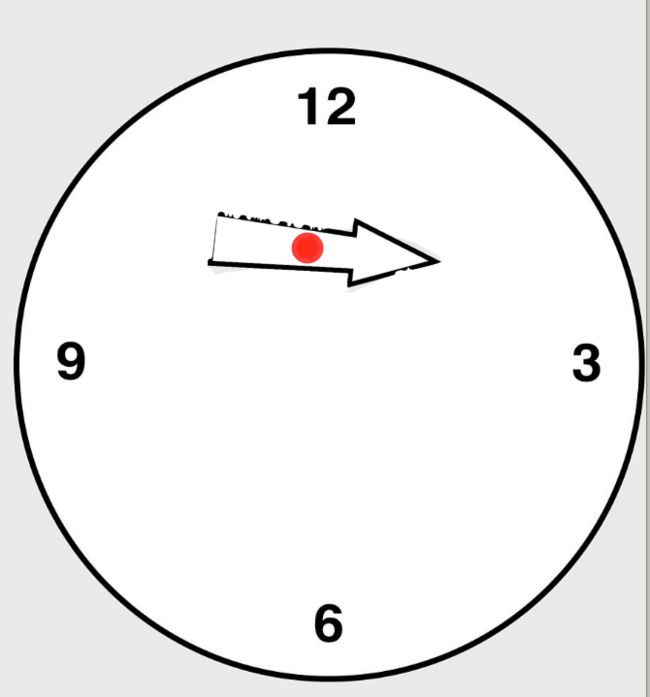
以上代码只设置了秒针的frame属性,当前默认的锚点是秒针图片的中心位置,{0.5, 0.5},如图
所以如果不改变锚点,设置一个定时器:
self.timer = [NSTimer scheduledTimerWithTimeInterval:1.0 target:self selector:@selector(tick) userInfo:nil repeats:YES];

[self tick];

- (void)tick {
    NSCalendar *calendar = [[NSCalendar alloc] initWithCalendarIdentifier:NSGregorianCalendar];
    NSUInteger units = NSHourCalendarUnit | NSMinuteCalendarUnit | NSSecondCalendarUnit;
    NSDateComponents *components = [calendar components:units fromDate:[NSDate date]];
    CGFloat secsAngle = (components.second / 60.0) * M_PI * 2.0;
    self.secondLayer.transform = CATransform3DMakeRotation(secsAngle, 0, 0, 1);
}
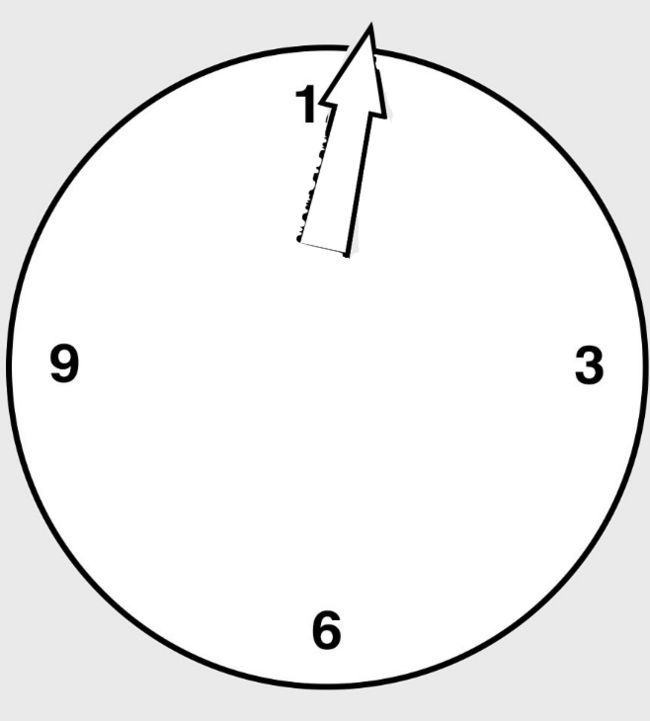
得到的效果如图
如果想要使得秒针沿着底部旋转,应该改变锚点:
secondLayer.anchorPoint = CGPointMake(0.5, 1);
发生了什么变化呢?
由图片可以看到,图层的frame.origin发生了变化,为什么呢?我们回顾上面的内容
frame.origin.x = position.x - anchorPoint.x * bounds.size.width;

frame.origin.y = position.y - anchorPoint.y * bounds.size.height
anchorPoint和position共同决定了frame,所以需要重新改变图层的frame:
secondLayer.position = CGPointMake(clockWidht / 2, clockWidht / 2);
再次运行,效果正常!!
总结
单方面修改
anchorPoint或者position并不会对彼此产生影响,修改其中一个值,受影响的只会是frame.origin.anchorPoint和position共同决定了frame
frame.origin.x = position.x - anchorPoint.x * bounds.size.width;
frame.origin.y = position.y - anchorPoint.y * bounds.size.heightanchorPoint是图层在旋转时的固定点
相关引用
iOS核心动画高级技巧|锚点
彻底理解position与anchorPoint