一、CAReplicatorLayer介绍
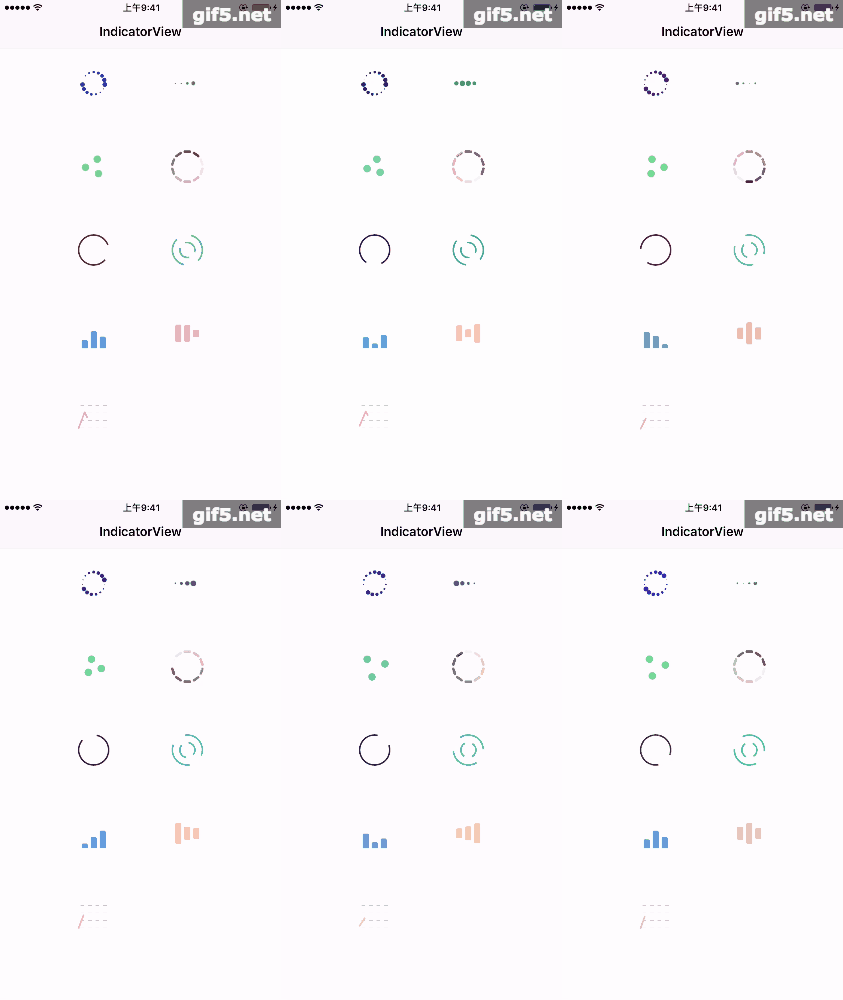
CAReplicatorLayer是一个容器层,可以添加内容到其中让复制图层复制其中内容。如果你把一个单一的形状,通过简单的设置,在屏幕上就可以显示多个相同的形状,再此基础上可以添加动画改变透明度或者缩放等等,便可制作出很多酷炫的动画。本章利用CAReplicatorLayer制作几个可以充当加载提示的指示器,顺便加强一下核心动画、CAShapeLayer的使用。
效果如下:
二、CAReplicatorLayer方法介绍
常用的设置
// 复制元素的数量,默认为1
@property NSInteger instanceCount;
// 复制元素之间的延迟时间,默认为0
@property CFTimeInterval instanceDelay;
// 可以移动、缩放、旋转
@property CATransform3D instanceTransform;
三、简单使用
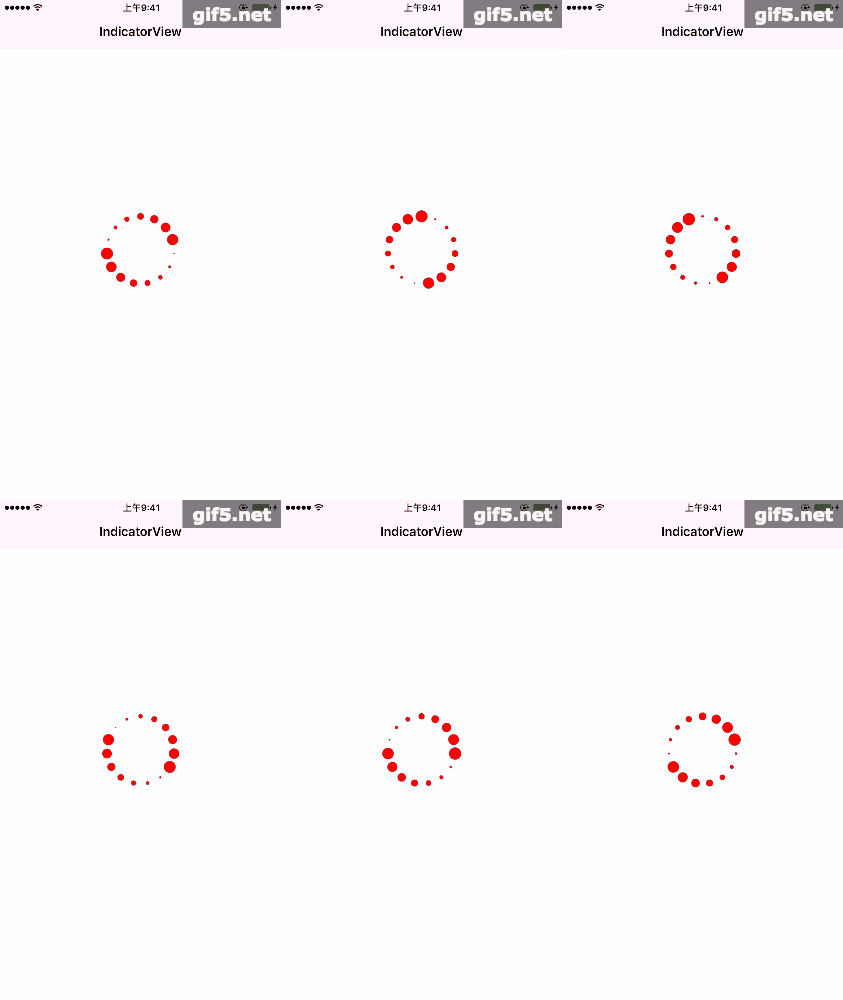
1、制作如下效果
a、先使用CALayer制作一个圆点(元素圆点)
CGSize size = CGSizeMake(100, 100); // 大小
UIColor *color = [UIColor redColor];    // 颜色
CALayer* itemLayer = [CALayer layer];
itemLayer.bounds = CGRectMake(0, 0, size.width/6, size.width/6);
itemLayer.position = CGPointMake(size.width/2, 5);
itemLayer.cornerRadius = itemLayer.bounds.size.width/2; // 圆形
itemLayer.backgroundColor = color.CGColor;  // 颜色
itemLayer.transform = CATransform3DMakeScale(0.1, 0.1, 0.1);    // 最初大小缩小为0.1
b、再给该元素点添加基础动画
// 缩放效果
CABasicAnimation *animation = [CABasicAnimation animationWithKeyPath:@"transform.scale"];
animation.fromValue = @1;
animation.toValue = @0.1;
animation.duration = 0.5;   // 动画时间
animation.repeatCount = HUGE_VALF;  // 重复次数为最大(无限)
[itemLayer addAnimation:animation forKey:@"animation"];
c、最后我们来使用CAReplicatorLayer复制层,将我们的元素圆点复制多个
CAReplicatorLayer *replicatorLayer = [CAReplicatorLayer layer];
replicatorLayer.frame = CGRectMake(0, 0, size.width, size.height);
replicatorLayer.position = self.view.center;
replicatorLayer.backgroundColor = [UIColor clearColor].CGColor;
// 核心代码:
NSInteger numOfSpot = 15;   // 复制的数量
replicatorLayer.instanceCount = numOfSpot;
CGFloat angle = (M_PI*2.0)/numOfSpot;   // 旋转的角度
replicatorLayer.instanceTransform = CATransform3DMakeRotation(angle, 0, 0, 1);  // 旋转
replicatorLayer.instanceDelay = 1.0/numOfSpot;  // 延迟时间
[replicatorLayer addSublayer:itemLayer];    // 添加元素圆点
// 最后添加到父视图上
[self.view.layer addSublayer:replicatorLayer];
2、制作如下效果
b、给该元素点添加关键帧动画
// 计算三个圆点位置
CGPoint p0,p1,p2;
p0 = CGPointMake(size.width/2.0, size.height);
p1 = CGPointMake(size.width/2.0*(1-cos(M_PI*30/180.0)), size.width/2.0*(1-sin(M_PI*30/180.0)));
p2 = CGPointMake(size.width/2.0*(1+cos(M_PI*30/180.0)), size.width/2.0*(1-sin(M_PI*30/180.0)));
// 添加关键帧动画
CAKeyframeAnimation *animation = [CAKeyframeAnimation animationWithKeyPath:@"position"];
animation.duration = 1.5;   // 时间
animation.values = @[[NSValue valueWithCGPoint:p0],[NSValue valueWithCGPoint:p1],[NSValue valueWithCGPoint:p2],[NSValue valueWithCGPoint:p0]];  // 关键帧
animation.timingFunctions = @[
                             [CAMediaTimingFunction functionWithName:kCAMediaTimingFunctionEaseInEaseOut],
                             [CAMediaTimingFunction functionWithName:kCAMediaTimingFunctionEaseInEaseOut],
                             [CAMediaTimingFunction functionWithName:kCAMediaTimingFunctionEaseInEaseOut]
                              ];  // 运动速率
animation.repeatCount = HUGE_VALF;  // 重复数量
[itemLayer addAnimation:animation forKey:@"animation"]; // 图层添加动画
c、CAReplicatorLayer复制出多个元素圆点
// 核心代码
NSInteger numOfSpot = 3;    // 数量
replicatorLayer.instanceCount = numOfSpot;
CGFloat angle = (M_PI*2) / numOfSpot;   // 计算角度
replicatorLayer.instanceTransform = CATransform3DMakeRotation(angle, 0, 0, 1);  // 旋转
[replicatorLayer addSublayer:itemLayer];    // 添加元素圆点
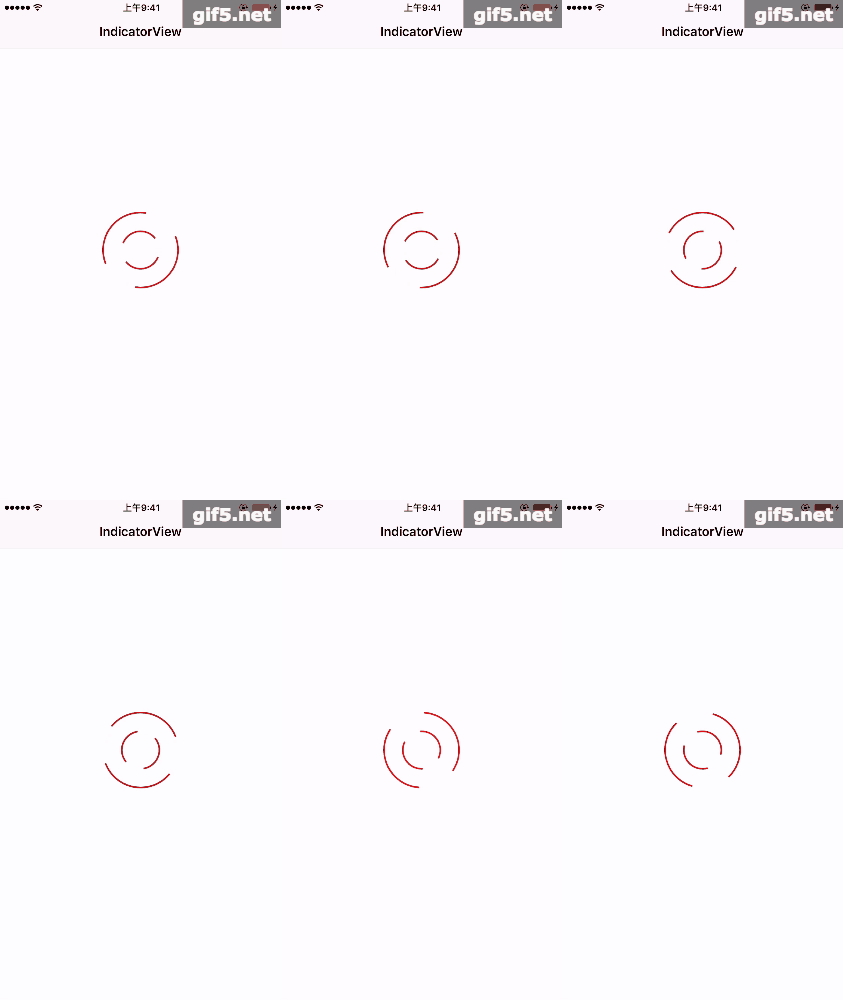
3、制作如下效果
a、复制层
-(CAReplicatorLayer *)newCAReplicatorLayerWithNumPer:(NSInteger)num size:(CGSize)size{
    CAReplicatorLayer *replicatorLayer = [CAReplicatorLayer layer];
    replicatorLayer.frame = CGRectMake(0, 0, size.width, size.height);
    replicatorLayer.position = CGPointZero;
    replicatorLayer.backgroundColor = [UIColor clearColor].CGColor;
    replicatorLayer.instanceCount = num;
    CGFloat angle = (M_PI *2) / num;
    replicatorLayer.instanceTransform = CATransform3DMakeRotation(angle, 0, 0, 1);
    return replicatorLayer;
}
b、CAShapeLayer层绘制圆弧
-(CAShapeLayer*)newCAShapeLayerWithColor:(UIColor*)color{
    CAShapeLayer *newItemLayer = [CAShapeLayer layer];
    newItemLayer.position = CGPointZero;
    newItemLayer.strokeColor = color.CGColor;
    newItemLayer.fillColor = [UIColor clearColor].CGColor;
    newItemLayer.lineWidth = 2.0;
    return newItemLayer;
}
c、动画
-(CABasicAnimation*)newCABasicAnimationWithFormValue:(id)formValue toValue:(id)toValue{
    CABasicAnimation *animation = [CABasicAnimation animationWithKeyPath:@"transform.rotation"];
    animation.duration = 1.0;
    animation.repeatCount = HUGE_VALF;
    animation.fromValue = formValue;
    animation.toValue = toValue;
    return animation;
}
d、使用
NSInteger numOfCycle = 2;   // 圆环的个数   可变
NSInteger numOfArc = 2;     // 内圈圆弧的个数    可变

for (int i = 0; i < numOfCycle; i++) {
//       numOfArc = numOfArc + i;   根据圈数设置圆弧数量
    CAReplicatorLayer *replicatorLayer = [self newCAReplicatorLayerWithNumPer:numOfArc size:size];
    [layer addSublayer:replicatorLayer];

    // 根据圆圈数和圆弧数设置 弧度
    CGFloat perRadius = size.width/2.0 / numOfCycle;
    CGFloat radius =  perRadius * (i+1);
    CAShapeLayer *newItemLayer = [self newCAShapeLayerWithColor:color];
    UIBezierPath *path = [UIBezierPath bezierPathWithArcCenter:CGPointMake(size.width/2.0, size.height/2.0) radius:radius startAngle:0 endAngle:M_PI*2/(numOfArc+1) clockwise:YES];
    newItemLayer.path = path.CGPath;
    // 确定动画旋转方向
     id formValue,toValue;
    if (i%2) {
        formValue = @(0);
        toValue = @(M_PI*2);
    }else{
        formValue = @(M_PI*2);
        toValue = @(0);
    }
    CABasicAnimation *animation = [self newCABasicAnimationWithFormValue:formValue toValue:toValue];
    // 让复制层运动起来
    [replicatorLayer addAnimation:animation forKey:@"animation"];
    // 添加到复制层上
    [replicatorLayer addSublayer:newItemLayer];

}
四、Demo地址
1、更多样式参考地址:Demo地址
2、只要你脑洞够大,复制层帮你实现更多更酷炫的动画


