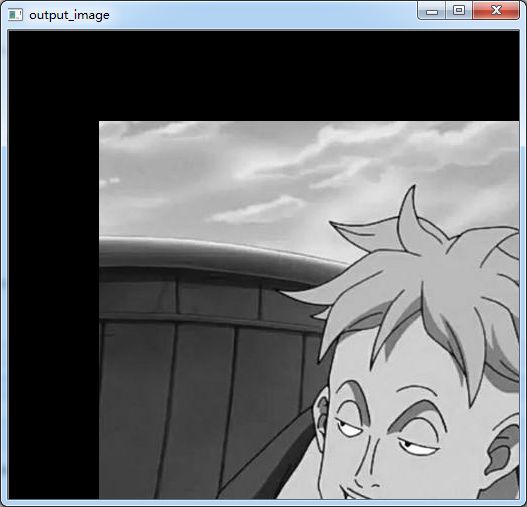
图像平移:
1.不改变图像大小
2.改变图像大小
编程按照目标图像的角度去编写
不改变大小的平移
1 void imageTranslation1(Mat& src, Mat& dst, const int& xoffset, const int& yoffset) 2 { 3 cvtColor(src, src, CV_BGR2GRAY); 4 const int height = src.rows; 5 const int width = src.cols; 6 dst.create(src.size(), src.type()); 7 dst.setTo(0); 8 for (size_t i = 0; i < height; i++) 9 { 10 for (size_t j = 0; j < width; j++) 11 { 12 int x = j - xoffset;//列x=j 13 int y = i - yoffset;//行y=i 14 if (x >= 0 && y >= 0 && x <= width && y <= height) 15 { 16 dst.at(i, j) = src.at (y, x); 17 } 18 } 19 } 20 }
//----改变图像大小的平移 void imageTranslation2(Mat& src, Mat& dst, const int& xoffset, const int& yoffset) { cvtColor(src, src, CV_BGR2GRAY); dst.create(Size(src.cols + abs(xoffset), src.rows + abs(yoffset)), src.type()); dst.setTo(0); const int height = dst.rows; const int width = dst.cols; for (size_t i = 0; i < height; i++) { for (size_t j = 0; j < width; j++) { int x = j - xoffset;//列x=j int y = i - yoffset;//行y=i if (x >= 0 && y >= 0 && x <= width && y <= height) { dst.at(i, j) = src.at (y, x); } } } }
图像的缩放:
1.基于等间隔提取图像缩放
2.基于区域子块提取图像缩放
等间隔
1 void imageReduction1(Mat& src, Mat& dst, float kx, float ky) 2 { 3 4 cvtColor(src, src, CV_BGR2GRAY); 5 dst.create(Size(cvRound(src.cols*kx), cvRound(src.rows*ky)), src.type()); 6 const int height = dst.rows; 7 const int width = dst.cols; 8 dst.setTo(0); 9 for (size_t i = 0; i < height; i++) 10 { 11 for (size_t j = 0; j < width; j++) 12 { 13 int y = static_cast<int>((i + 1) / kx); 14 int x = static_cast<int>((j + 1) / ky); 15 dst.at(i, j) = src.at (y, x); 16 } 17 } 18 }
区域子块
1 void imageReduction2(Mat& src, Mat& dst, float kx, float ky) 2 { 3 4 cvtColor(src, src, CV_BGR2GRAY); 5 dst.create(cvRound(src.rows*ky), cvRound(src.cols*kx), src.type()); 6 int height = src.rows; 7 int width = src.cols; 8 dst.setTo(0); 9 const int dx = cvRound(1 / kx); 10 const int dy = cvRound(1 / ky); 11 for (size_t i = 0, x = 0; i < height; i += dy, x++) 12 { 13 for (size_t j = 0, y = 0; j < width; j += dx, y++) 14 { 15 dst.at(x,y) = areaAverage(src, Point(j, i), Point(j + dx, i + dy)); 16 } 17 } 18 19 } 20 //--------求一个矩形区域像素平均值 21 uchar areaAverage(Mat& src, Point& leftPoint, Point& rightPoint) 22 { 23 Mat roi = src(Rect(leftPoint, rightPoint)); 24 const int height = roi.rows; 25 const int width = roi.cols; 26 float sumPix = 0; 27 for (size_t i = 0; i < height; i++) 28 { 29 for (size_t j = 0; j < width; j++) 30 { 31 sumPix += (roi.at (i, j) / (height*width)); 32 } 33 } 34 return sumPix; 35 }
图像旋转
没怎么看懂书上的代码


