初次尝试了纯代码编写UI,了解到ios的屏幕适配比较麻烦 , 于是乎稍微学习了一下关于屏幕适配的知识,了解了NSLayoutConstraint约束。
首先NSLayoutConstraint的参数
    * 约束 NSLayoutConstraint  参数 说明:
    * item 自身控件
    * attribute  自身控件的属性
    * relatedBy 大小判断 如:大于等于 小于等于 等于
    * toItem 相对控件
    * attribute 相对控件的属性
    * multiplier 属性值乘多少
    * constant : 属性值加多少
    * NSLayoutConstraint : ( item:某个控件  attribute:属性值  relatedBy:等于  toItem:相对控件  attribute:属性值  multiplier:属性值乘多少  constant:属性值价多少)
    *
    * 添加约束 addConstraint
然后Swift代码
        let myView = UIView(frame: (self.view?.bounds)!)
        let label = UILabel()

        self.view = myView
        self.view.addSubview(label)

        label.text = "hello"
        label.textAlignment = .center

        //self.view.translatesAutoresizingMaskIntoConstraints = false
        //label!.superview!.translatesAutoresizingMaskIntoConstraints = false
        //这里貌似设置顶层的View的为false
        label.translatesAutoresizingMaskIntoConstraints = false
        //需要将控件  label.translatesAutoresizingMaskIntoConstraints = false
        //系统默认赋予控件autoresizing约束,需要关闭,否则会出现崩溃

        let widthConstraint = NSLayoutConstraint(item: label, attribute: .width, relatedBy: .equal, toItem: nil, attribute: .notAnAttribute, multiplier: 1.0, constant: 50)
        //设置约束条件
        label.addConstraint(widthConstraint)
        //为控件添加约束

        let heightConstraint = NSLayoutConstraint(item: label, attribute: .height, relatedBy: .equal, toItem: nil, attribute: .notAnAttribute, multiplier: 1.0, constant: 30)
        label.addConstraint(heightConstraint)

        let rightConstraint = NSLayoutConstraint(item: label, attribute: .right, relatedBy: .equal, toItem: self.view, attribute: .right, multiplier: 1.0, constant: -50)
        label.superview!.addConstraint(rightConstraint)
        //为父级控件添加约束

        let topConstraint = NSLayoutConstraint(item: label, attribute: .bottom, relatedBy: .equal, toItem: self.view, attribute: .bottom, multiplier: 1.0, constant: -50)
        label.superview!.addConstraint(topConstraint)

//        let centerYConstraint = NSLayoutConstraint(item: label, attribute: .centerY, relatedBy: .equal, toItem: self.view, attribute: .centerY, multiplier: 1.0, constant: 0)
//        label.superview!.addConstraint(centerYConstraint)
//
//        let centerXConstraint = NSLayoutConstraint(item: label, attribute: .centerX, relatedBy: .equal, toItem: self.view, attribute: .centerX, multiplier: 1.0, constant: 0)
//        label.superview!.addConstraint(centerXConstraint)
要注意的是:控件必须已经添加入视图后才能添加约束
SE的显示效果

5.png
7的显示效果
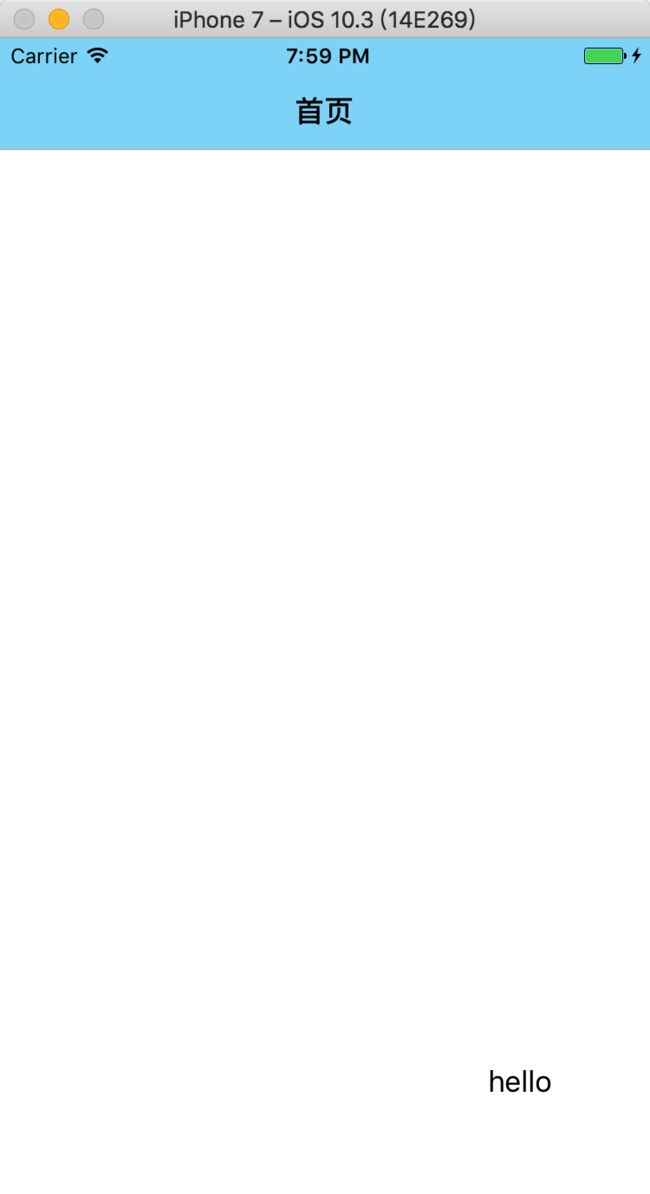
7.png
初学ios开发,如有错误,还请帮忙指出