列表
列表类型
每个列表都有个对应的标记(marker),可以是圆点或是1,2,3等数字。通过list-style-type属性修改:
属性可以继承,所以要修改只有在css中进行覆盖:
ul {list-style-type: disc;}
ul ul {list-style-type: circle;}
ul ul ul {list-style-type: square;}
字符串的标记
.list01 {list-style-type: "%";}
.list02 {list-style-type: "Hi! ";}
.list03 {list-style-type: "†";}
.list04 {list-style-type: "⌘";}
.list05 {list-style-type: " ";}
图片的标记
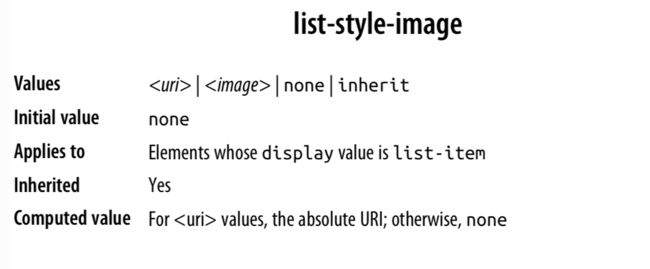
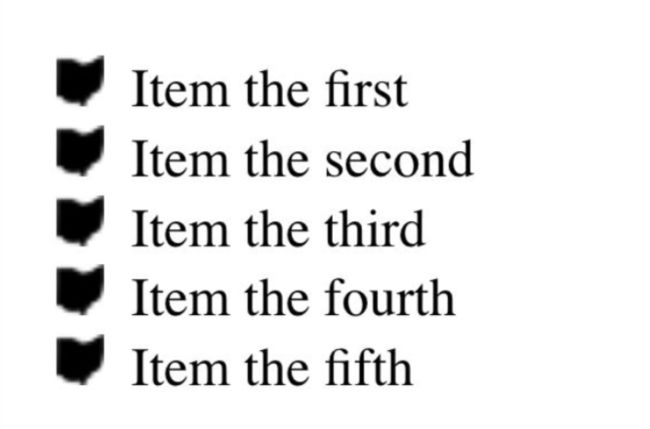
有时候需要用图片来作为标记,这就可以使用list-style-image:
ul li {list-style-image: url(ohio.gif);}
如果碰到加载失败,也可以提供备选方案:
ul li {list-style-image: url(ohio.png); list-style-type: square;}
图片属性同样支持渐变操作:
.list01 {list-style-image: radial-gradient(closest-side,
orange, orange 60%, blue 60%, blue 95%, transparent);}
.list02 {list-style-image:
linear-gradient(45deg, red, red 50%, orange 50%, orange);}
.list03 {list-style-image:
repeating-linear-gradient(-45deg, red, red 1px, yellow 1px, yellow 3px);}
.list04 {list-style-image:
        radial-gradient(farthest-side at bottom right,
            lightblue, lightblue 50%, violet, indigo, blue, green,
            yellow, orange, red, lightblue);}
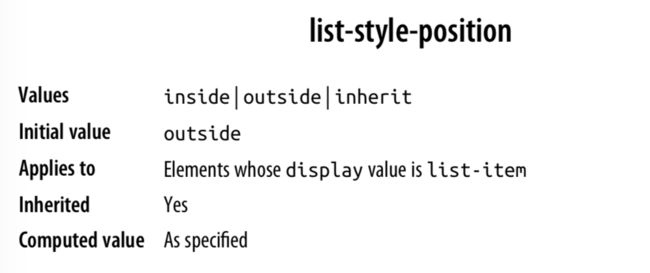
定义marker的位置
li.first {list-style-position: inside;}
li.second {list-style-position: outside;}
list样式的简写
例如:
li {list-style: url(ohio.gif) square inside;}
生成的内容(generated content)
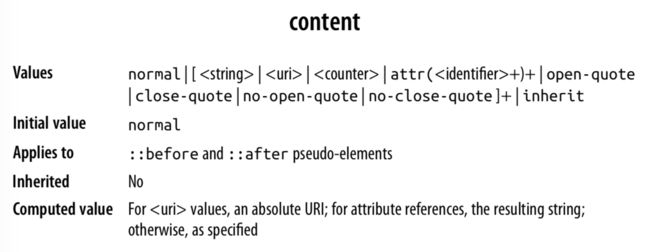
标记就是生成的内容,那如何插入内容呢?可以通过::before, ::after伪类的形式:
a[href]::before {content: "(link)";}
而其中的content属性支持多种方式的传递:
如果想要将属性值作为content的内容,必须使用attr()函数:
a[href]::after {content: attr(href);}
a[href]::after {content: " [" attr(href) "]";}
计数器
每个有序的列表都需要有计数器,CSS1是不支持修改他们的,CSS2提供了零星的几个支持。
使用计数器
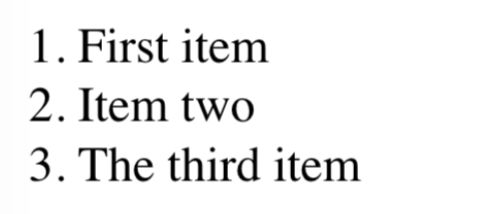
list[type="ordered"] {counter-reset: ordered;} /* defaults to 0 */ list[type="ordered"] item {display: block;}
list[type="ordered"] item::before {counter-increment: ordered;
content: counter(ordered) ". "; margin: 0.25em 0;}
定义计数模式
近些年,CSS中兴起了一种定义计数模式的恶心方法。使用@counter-style格式:
@counter-style  { ...declarations...
}
例如:
@counter-style triangles { system: cyclic;
symbols: ▶ ▷; }
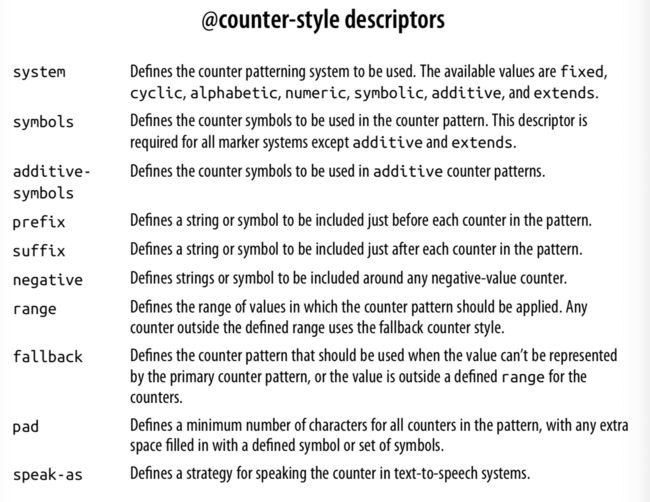
至于描述符,总结如下:
循环计数模式
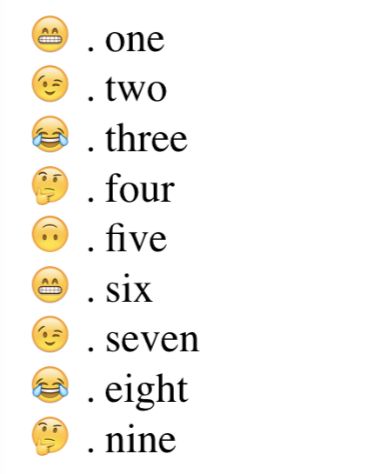
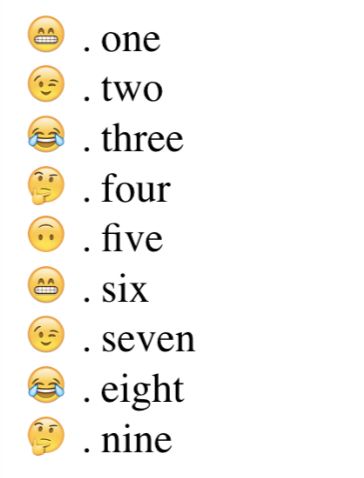
@counter-style emojiverse { system: cyclic;
symbols: ; }
ul.emoji {list-style: emojiverse;}
符号的计数模式
@counter-style footnotes { system: symbolic; symbols: "*" "†" "§"; suffix: ' ';
}
@counter-style letters {
system: symbolic;
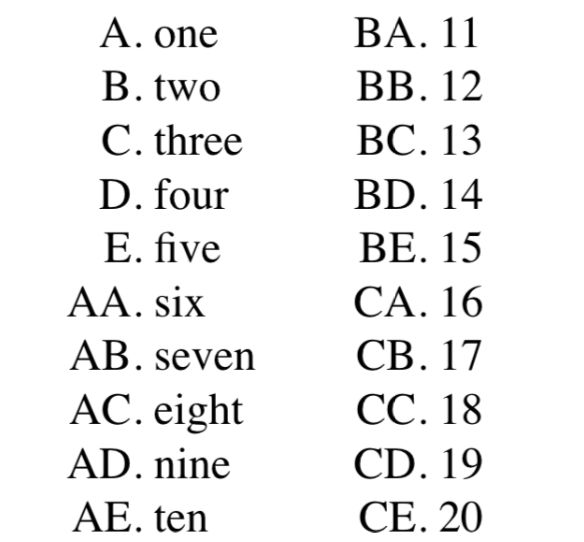
symbols:ABCDE; }
字母的排序模式
@counter-style letters {
system: alphabetic;
symbols:ABCDE;
/* once more cut off at 'E' to show the pattern’s effects more quickly */
}
数值计数模式
模拟10进制,16进制,1进制:
@counter-style decimal { system: numeric;
symbols: '0' '1' '2' '3' '4' '5' '6' '7' '8' '9'; }
@counter-style hexadecimal { system: numeric;
symbols: '0' '1' '2' '3' '4' '5' '6' '7' '8' '9' 'A' 'B' 'C' 'D' 'E' 'F'; }
@counter-style binary { system: numeric;
symbols: '0' '1'; }
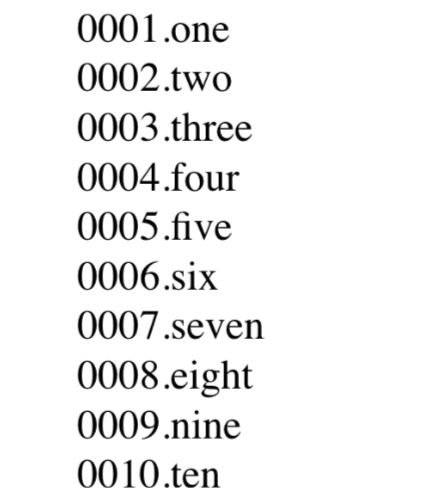
如果想指定位数的话可以使用pad描述符:
@counter-style padded { system: numeric;
symbols: '0' '1' '2' '3' '4' '5' '6' '7' '8' '9'; suffix: '.';
pad: 4 "0";
}
小结
看上去猎豹不是很复杂,但是浏览器的对于生成内容的支持却参差不齐,对标志的使用会使显示效果更加漂亮。


