前言:
在面前已经写过一篇有关AutoLayout的东西了(项目干货挖掘4——如何优雅地使用AutoLayout自动布局)。这几天在看《iOS Auto Layout开发秘籍》这本书,又捞到了些干货。所以作此篇,用于补充。
约束:
约束是什么?
AutoLayout是给相应的视图添加“约束”来进行布局的。所谓“约束”Constraint,就是有关视图布局的限定。
有关约束的类
NSLayoutConstraint,唯一一个共有的,我们可以直接操作的类,所谓自动布局时给视图添加约束就是使用该类;
NSContentSizeLayoutConstraint,内容大小约束,私有。像UILabel和UIImageView有内容大小,我们可以指定视图尺寸和内容大小的规则,比如内容吸附规则尽量避免添加补白,而内容压缩规则防止内容被剪切。这个类就是用来处理这个的。
NSAutoresizingMaskLayoutConstrain,自动尺寸调整约束,私有。该类将自动尺寸调整掩码转换成AutoLayout系统中对应的约束。
_UILayoutSupportConstraint,布局支持约束,私有。iOS 7新增的约束,它用来建立视图控制器实例顶部和底部的实际边界。布局支持约束防止视图的内容与状态栏之类的障碍物重叠。
NSIBPrototypingLayoutConstraint,原型约束,私有。iOS 7新增的约束,它是Interface Builder(IB)为你添加的约束。
在这些约束中,我们直接可以使用的只有NSLayoutConstraint这个共有类,但是其他这几个私有的约束类型,我们也要了解一下。因为当布局有问题时,在控制器的日志里,会打印出布局时有问题的约束信息,即约束的类名,通过类名,我们可以快速明白哪里出了问题。
约束应该添加在哪个视图上?
约束添加在该约束所引用几个视图的最近公共祖先中。
约束的优先级:
@property UILayoutPriority priority;
typedef float UILayoutPriority;
static const UILayoutPriority UILayoutPriorityRequired NS_AVAILABLE_IOS(6_0) = 1000; // A required constraint.  Do not exceed this.
static const UILayoutPriority UILayoutPriorityDefaultHigh NS_AVAILABLE_IOS(6_0) = 750; // This is the priority level with which a button resists compressing its content.
static const UILayoutPriority UILayoutPriorityDefaultLow NS_AVAILABLE_IOS(6_0) = 250; // This is the priority level at which a button hugs its contents horizontally.
static const UILayoutPriority UILayoutPriorityFittingSizeLevel NS_AVAILABLE_IOS(6_0) = 50; // When you send -[UIView systemLayoutSizeFittingSize:], the size fitting most closely to the target size (the argument) is computed.  UILayoutPriorityFittingSizeLevel is the priority level with which the view wants to conform to the target size in that computation.  It's quite low.  It is generally not appropriate to make a constraint at exactly this priority.  You want to be higher or lower.
优先级在NSLayoutConstraint中,以priority属性来修改,它是UILayoutPriority类型的,而该类型其实是对float的再定义,也就是说优先级其实是浮点类型的,范围是从1到1000。
苹果为我们提供了几个优先级枚举,UILayoutPriorityRequired的优先级为1000,表示这是一个必需执行的优先级;UILayoutPriorityDefaultHigh的优先级为750,表示这是一个抵抗压缩阻力的优先级,假如我们设置某Label尺寸的约束优先级为751,且尺寸小于Label的内容大小,则会执行尺寸的优先级,因为它的优先级更高,更迫切。这样的话会造成Label被剪切了;UILayoutPriorityDefaultLow的优先级为250,表示这是一个抵抗拉伸阻力的优先级。
苹果建议我们采用更灵活的数字来给约束设置优先级,而少用枚举的几个值。
内容大小,压缩阻力,拉伸阻力:
** 内容大小:**
对于像UILabel和UIImageView之类的有内容的视图,一般都有内容大小intrinsicContentSize,即不用你指定该视图的尺寸大小,它的尺寸默认是内容大小,内容有多大,它就显示多大。对于普通的,无内容的视图,intrinsicContentSize则默认是是(-1,-1)。无内容的视图,intrinsicContentSize的getter方法返回(UIViewNoIntrinsicMetric, UIViewNoIntrinsicMetric),若你想让其有内容大小,则可以子类化该视图,重写intrinsicContentSize的getter方法。
- (CGSize)intrinsicContentSize
{
    return CGSizeMake(30, 30);
}
** 压缩阻力和拉伸阻力:**
压缩阻力是为了防止视图内容被剪切,拉伸阻力是为了防止视图内容被扩大。决定压缩阻力或拉伸阻力是否能够成功的是你设置的内容大小的约束优先级是多少。以压缩阻力来说,前面提到过,枚举值UILayoutPriorityDefaultHigh表示的就是压缩阻力的优先级,即750。若你给视图设置的保持内容大小的约束优先级大于750,则说明保持视图内容大小更迫切,则即使设置的尺寸约束比内容大小要小,也不会对视图进行剪切,因为压缩阻力起作用了。用代码来写就是这样:
    CustomView *customView =  [CustomView new];

    // 压缩阻力
    [customView setContentCompressionResistancePriority:751 forAxis:UILayoutConstraintAxisHorizontal];
    [customView setContentCompressionResistancePriority:751 forAxis:UILayoutConstraintAxisVertical];

    // 拉伸阻力
    [customView setContentHuggingPriority:251 forAxis:UILayoutConstraintAxisHorizontal];
    [customView setContentHuggingPriority:251 forAxis:UILayoutConstraintAxisVertical];
约束的冲突:P131页
在添加可能最常遇见的问题是不充分的约束和有冲突的约束。不充分的约束就是指约束不足以将视图确定,有冲突的约束就是给视图添加的约束逻辑有冲突。这两种情况都会导致最终界面显示出现意外,很可能在界面上看不到该视图。此时,就需要你发现有问题的约束,做出修改调整了。
一般来说出现约束冲突有两种可能性。首先第一种就是我们没有关闭视图的“自动尺寸调整”属性,“自动尺寸调整”autoresizingMask和AutoLayout本身并不冲突。两者其实是可以同时使用的,只要两者所约束的逻辑不冲突,则不会影响界面布局。而且前面我们也提到了NSAutoresizingMaskLayoutConstrain这个类,它是将自动尺寸调整的东西转换成了AutoLayout中对应的约束。
默认情况下,视图是没有关闭“自动尺寸调整”属性的,若我们打算在项目中统一使用AutoLayout来进行界面布局的话,就得将其关闭。代码如下:
    CustomView *customView =  [CustomView new];
    customView.translatesAutoresizingMaskIntoConstraints = NO;
自动布局的动画;
若你的界面是以frame进行布局的,则在进行UIView动画时,对frame进行相应的修改就行了。那若你的界面是AutoLayout的,在UIView动画时该怎样执行动画呢?其实和修改frame一样,需要我们在执行动画时对约束进行调整。
    [UIView animateWithDuration:1.f animations:^{

        [_frontView removeAllConstraint]; // 移除原有的约束,开始重新添加约束
        LAY(_frontView.left, _bottomView.left, 1, 0);
        LAY(_frontView.centerY, _bottomView.centerY, 1, 0);
        LAY(_frontView.height, _bottomView.height, 1, 0);
        LAY(_frontView.width, _bottomView.width, 0.9, 0);

        [self.contentView layoutIfNeeded]; // 立即重新布局
    }];
关于layoutIfNeeded方法,详情请见:UIView的layoutSubviews、layoutIfNeeded、setNeedsLayout区别和联系
滚动视图的自动布局:
如果用frame布局,滚动视图的用法我们已经非常熟悉了。创建scrollView并设置其frame,然后设置contentSize,这个属性表示scrollView可滚动的区域,有了该属性设置的区域,滑动scrollView时,才会在有限的frame区域中滑出所有的视图。这个contentSize属性是必不可少的,不然不会显示scrollView上的子视图。
    _scrollView = [[UIScrollView alloc] initWithFrame:CGRectMake(0, 100, PDWidth_mainScreen, 300)];
    _scrollView.backgroundColor = [UIColor grayColor];
    _scrollView.contentSize = CGSizeMake(PDWidth_mainScreen*4, 0);
    [self.contentView addSubview:_scrollView];

    for(int i=0; i<4; i++)
    {
        UIView *subView = [[UIView alloc] initWithFrame:CGRectMake(i*PDWidth_mainScreen, 0, PDWidth_mainScreen, 300)];
        subView.backgroundColor = PDColor_Random;
        [_scrollView addSubview:subView];
    }
但如果,我们将frame布局,直接替换为AutoLayout布局。虽然打印出来的contentSize是正常的,但是程序跑起来后发现根本就没subView显示:
    _scrollView = [UIScrollView create];
    _scrollView.backgroundColor = [UIColor grayColor];
    _scrollView.contentSize = CGSizeMake(PDWidth_mainScreen*4, 0);
    [self.contentView addSubview:_scrollView];
    LAY(_scrollView.left, self.contentView.left, 1, 0);
    LAY(_scrollView.right, self.contentView.right, 1, 0);
    LAY(_scrollView.centerY, self.contentView.centerY, 1, 0);
    LAYC(_scrollView.height, 300);

    for(int i=0; i<4; i++)
    {
        UIView *subView = [UIView create];
        subView.backgroundColor = PDColor_Random;
        [_scrollView addSubview:subView];
        LAY(subView.top, _scrollView.top, 1, 0);
        LAY(subView.bottom, _scrollView.bottom, 1, 0);
        LAYC(subView.width, self.contentView.bounds.size.width);
        if(i==0){
            LAY(subView.left, _scrollView.left, 1, 0);
        }else{
            UIView *preView = _scrollView.subviews[i-1];
            LAY(subView.left, preView.right, 1, 0);
        }
    }

    NSLog(@"⚠️⚠️⚠️:scrollView.contentSize = %@", NSStringFromCGSize(_scrollView.contentSize));
这篇文章对此问题做些较详细的解说(史上最简单的UIScrollView+Autolayout出坑指南),我直接给出正确的方案吧。
可以看到,我们建了个containerView放在了scrollView上,然后将多个子视图是添加在这个containerView上的,而并非直接添加在scrollView上。而且最最重要的是有关containerView的布局约束,containerView的top,left,bottom,right和scrollView的top,left,bottom,right的间距均为0。普通情况下我们只需要这四个约束就已足够,因为可以将一个视图的布局固定了。但是这里,我们之所以创建containerView添加在scrollView上,其实是为了正确地算出滚动的范围,所以也要给containerView添加width和height的约束,这个是关键!
    _scrollView = [UIScrollView create];
    _scrollView.backgroundColor = PDColor_Name_Black;
//    _scrollView.contentSize = CGSizeMake(PDWidth_mainScreen*4, 0);
    _scrollView.pagingEnabled = YES;
    [self.contentView addSubview:_scrollView];
    LAY(_scrollView.left, self.contentView.left, 1, 0);
    LAY(_scrollView.right, self.contentView.right, 1, 0);
    LAY(_scrollView.centerY, self.contentView.centerY, 1, 0);
    LAYC(_scrollView.height, 150);

    UIView *containerView = [UIView create];
    containerView.backgroundColor = PDColor_Orange;
    [_scrollView addSubview:containerView];
    LAY(containerView.top, _scrollView.top, 1, 0);
    LAY(containerView.left, _scrollView.left, 1, 0);
    LAY(containerView.bottom, _scrollView.bottom, 1, 0);
    LAY(containerView.right, _scrollView.right, 1, 0);
    LAYC(containerView.width, PDWidth_mainScreen*4);
    LAYC(containerView.height, 150);

    for(int i=0; i<4; i++)
    {
        UIView *subView = [UIView create];
        subView.backgroundColor = PDColor_Random;
        [containerView addSubview:subView];
        LAY(subView.top, containerView.top, 1, 0);
        LAY(subView.bottom, containerView.bottom, 1, 0);
        LAYC(subView.width, PDWidth_mainScreen);
        if(i==0){
            LAY(subView.left, containerView.left, 1, 0);
        }else{
            UIView *preV = containerView.subviews[i-1];
            LAY(subView.left, preV.right, 1, 0);
        }
    }
    NSLog(@"⚠️⚠️⚠️:scrollView.contentSize = %@", NSStringFromCGSize(_scrollView.contentSize));
注意:在上面的代码中,我们没有给contentSize赋值,所以contentSize打印出的值为(0,0)
如何封装一个AutoLayout库:
见项目干货挖掘4——如何优雅地使用AutoLayout自动布局
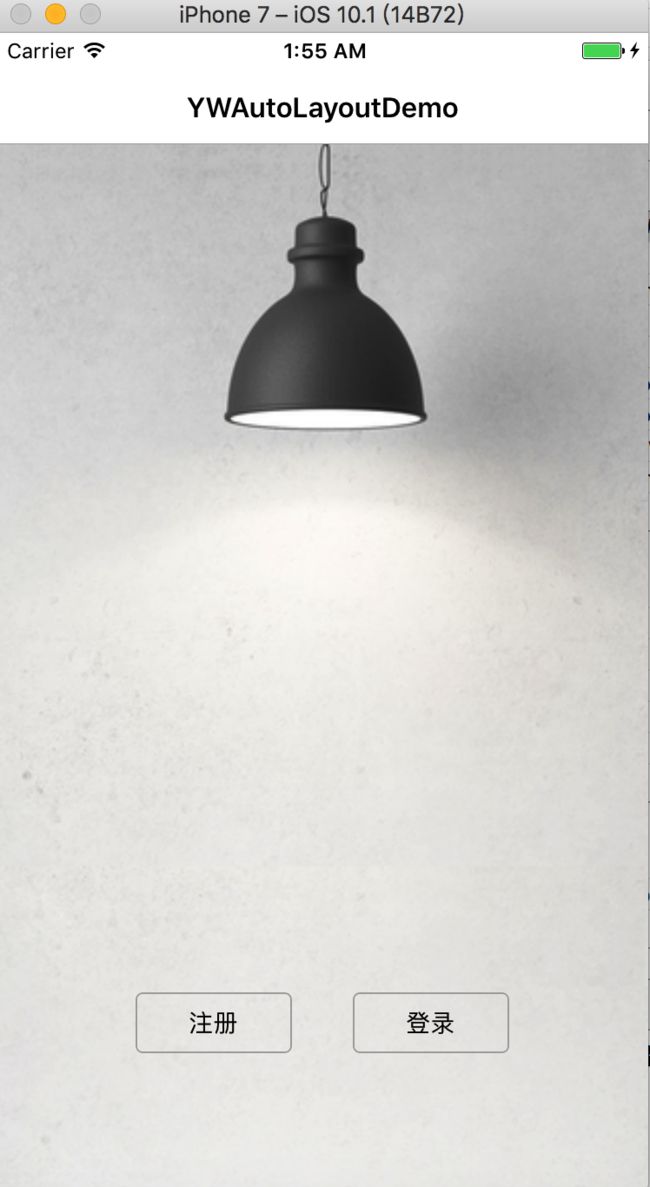
对AutoLayout的封装以及Demo,我上传至GitHub了(YWAutoLayoutGitHub地址)。Demo效果如下:
如何在xCode设置,使其在模拟器上显示自动布局的边线:
Xcode——>Debug——>View Debugging——>Show View Frames或者Show Alignments Rectangles。

