CKEditor is a free, Open Source HTML text editor designed to simplify website content creation.
背景
项目中需要用到富文本编辑器,朋友推荐用CKEditor。CKEditor可以和Spring mvc很好的集成。CKEditor与CKFinder学习--整合SpringMVC介绍的不错,内容很详细,可是我们用的是Spring boot,这就蛋疼了,加上CKeditor不熟悉,走了一些弯路,搞了好久,参考一些前辈的文章,加上自己的理解,终于run起来了。通过这次捣鼓,搞明白了一件事,一步步走,一步步实现效果,之前看到网上有现成的,直接搞起,到最后灰头土脸。
集成
1.官网demo
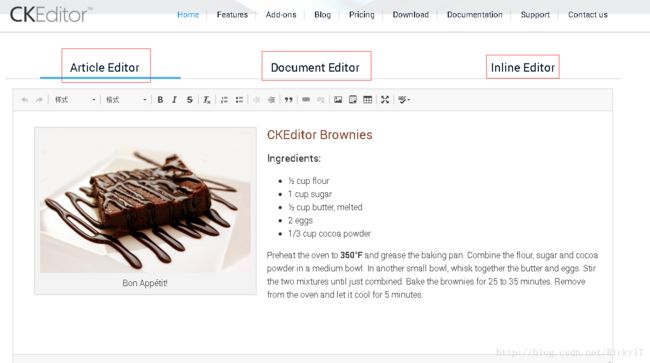
官网给出了几种使用样式,可以参考一下。Github上有源码,可以过去玩玩ckeditor-docs-samples.
我是参考的Article-editor,感觉这个就不错。
2.搭建工程
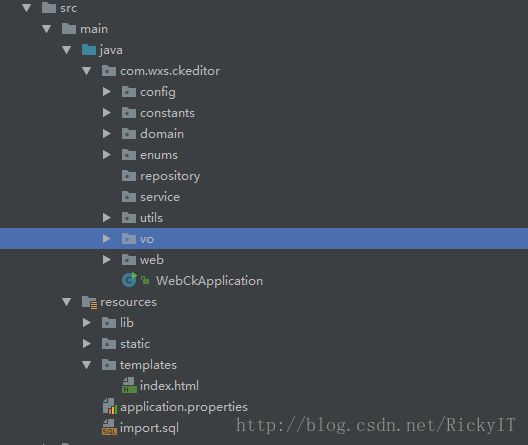
Spring Boot工程先搞起来,工程目录如下:
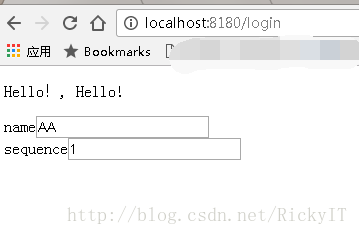
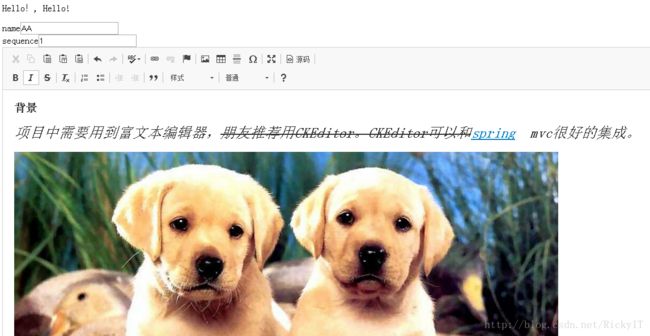
工程使用了Spring data jpa,还有thymeleaf。启动后的效果。
页面上的输入框有数据,就说明天前后台交互没问题。
    @RequestMapping(value = "/login",method = RequestMethod.GET)
    public ModelAndView index(org.springframework.ui.Model model){
        Student student=new Student("AA","1","abcdljaldf");
        model.addAttribute("status","Hello");
        model.addAttribute("page",student);
        return new ModelAndView("/index");
    }
3.集成CKEditor
把下载后的文件夹ckeditor放到static目录下面,static是Spring Boot默认的资源路径。
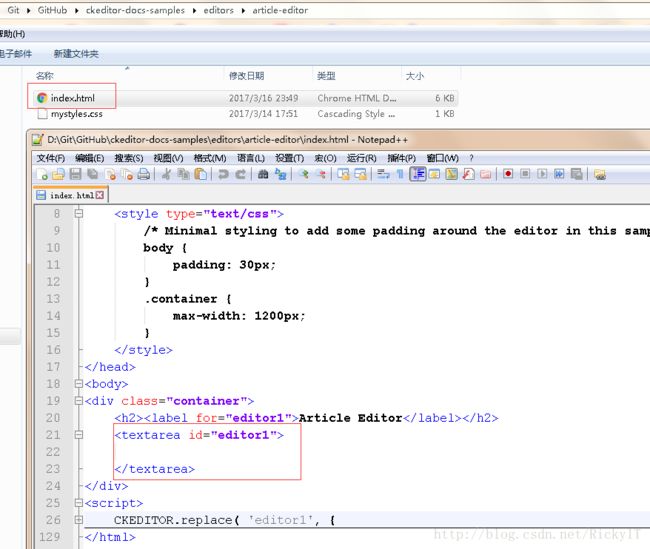
参考Article-editor样式。
index.html中引入ckeditor.js。
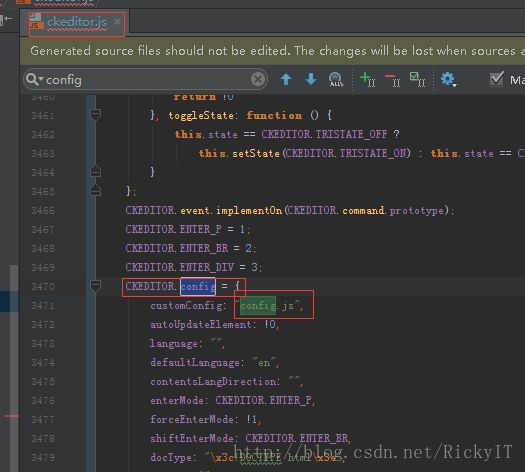
config.js是默认导入的,参考ckeditor.js。
如果想定制样式在config.js中就可以,另外写一个js也可以,不过需要html中需要引入,会覆盖掉config.js中的配置。
集成后的效果:
还有一种最简单的使用方式,直接在textarea的class里面添加CKEditor。只是效果没官网给的好看。
接下来就用这种简洁的方式。
上传
1.上传按钮
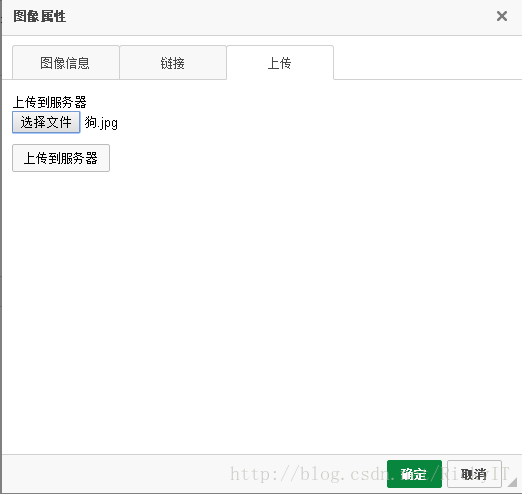
默认是没有上传按钮的。
config.js中配置config.filebrowserImageUploadUrl。
config.filebrowserImageUploadUrl= '/files/upload/image'。
/files/upload/image这个是后台配置的@RequestMapping里面的值。
上传tab出来了。。。
2.代码实现
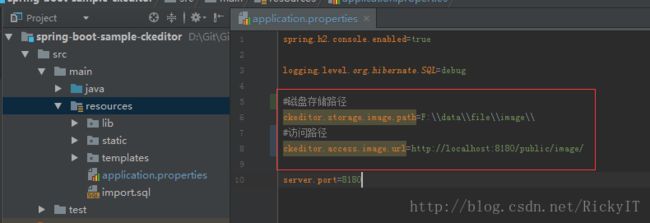
1.application.properties
application.properties中配置存储路径和访问URL
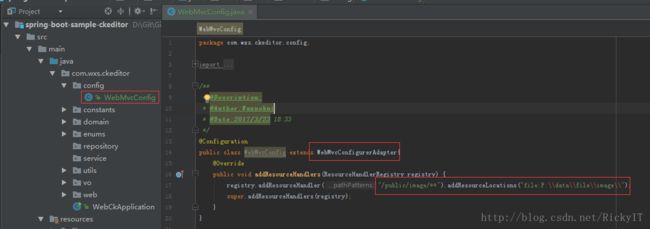
2.资源路径配置
把本地的绝对路径加到spring boot的静态资源路径里,作为资源服务器使用。
3.上传处理
@Controller
@RequestMapping("/files")
public class FilesController {
Logger logger = org.apache.log4j.Logger.getLogger(FilesController.class);
@Value(value = "${ckeditor.storage.image.path}")
private String ckeditorStorageImagePath;
@Value(value = "${ckeditor.access.image.url}")
private String ckeditorAccessImageUrl;
@RequestMapping(value = "/upload/image", method = RequestMethod.POST)
@ResponseBody
public String uploadImage(@RequestParam("upload") MultipartFile file, HttpServletRequest request, HttpServletResponse response) {
String name = "";
if (!file.isEmpty()) {
try {
response.setContentType("text/html; charset=UTF-8");
response.setHeader("Cache-Control", "no-cache");
//解决跨域问题
//Refused to display 'http://localhost:8080/upload/mgmt/img?CKEditor=practice_content&CKEditorFuncNum=1&langCode=zh-cn' in a frame because it set 'X-Frame-Options' to 'DENY'.
response.setHeader("X-Frame-Options", "SAMEORIGIN");
PrintWriter out = response.getWriter();
String fileClientName = file.getOriginalFilename();
String pathName = ckeditorStorageImagePath + fileClientName;
File newfile = new File(pathName);
byte[] bytes = file.getBytes();
BufferedOutputStream stream = new BufferedOutputStream(new FileOutputStream(newfile));
stream.write(bytes);
stream.close();
// 组装返回url,以便于ckeditor定位图片
String fileUrl = ckeditorAccessImageUrl + File.separator + newfile.getName();
// 将上传的图片的url返回给ckeditor
String callback = request.getParameter("CKEditorFuncNum");
String script = "";
out.println(script);
out.flush();
out.close();
} catch (Exception e) {
logger.info("You failed to upload " + name + " => " + e.getMessage());
}
} else {
logger.info("You failed to upload " + name + " because the file was empty.");
}
return "SUCCESS";
}
}
这里参考基于spring-boot的web应用,ckeditor上传文件图片文件实现的。上传也可以集成CKFinder来实现,问题是CKFinder不是开源的软件,对java的支持也停留在2.6.2.1,所以上传方法自己写一下了。
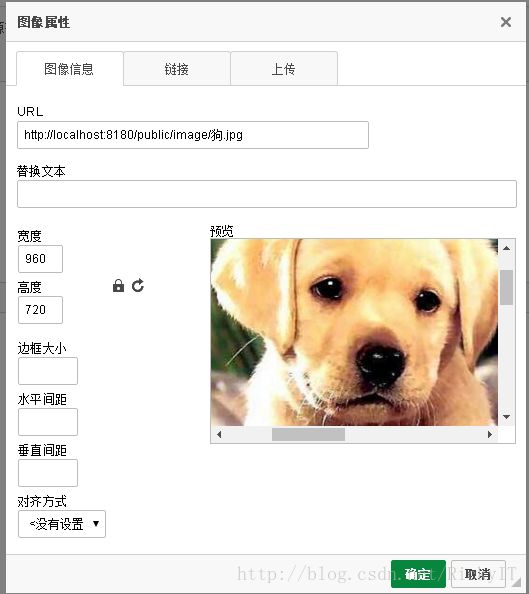
3.上传效果
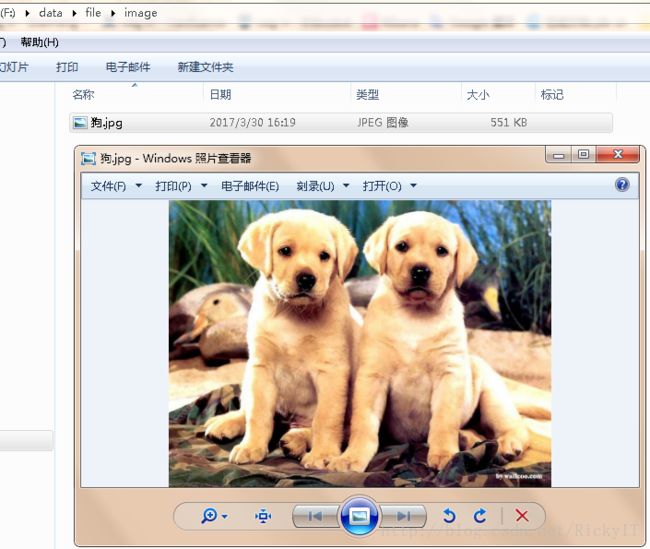
本地路径下面的图片
后台交互
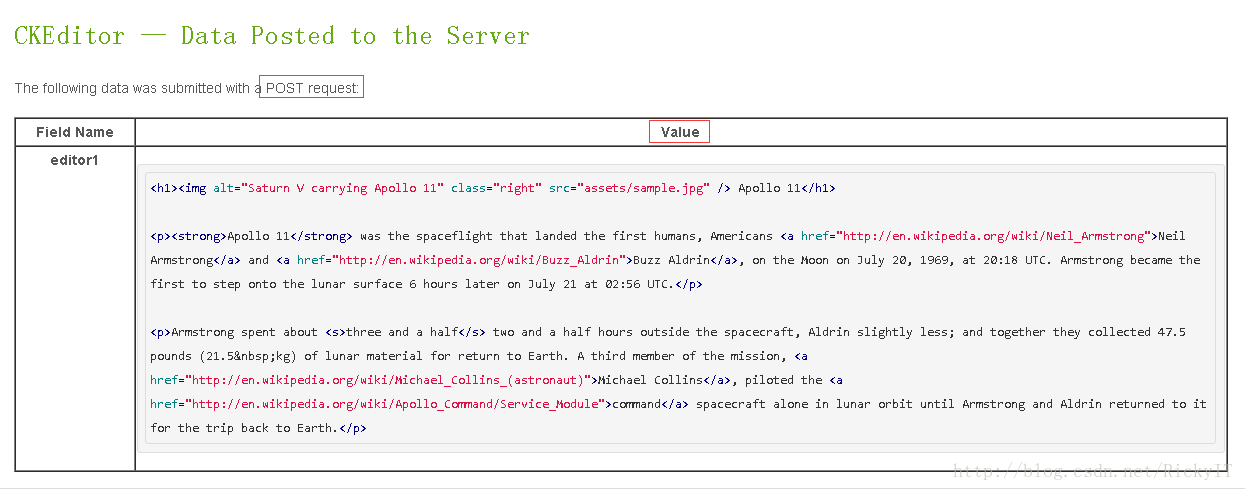
页面上能够显示了,怎么保存到数据库呢?看官网给的解释Saving Data。
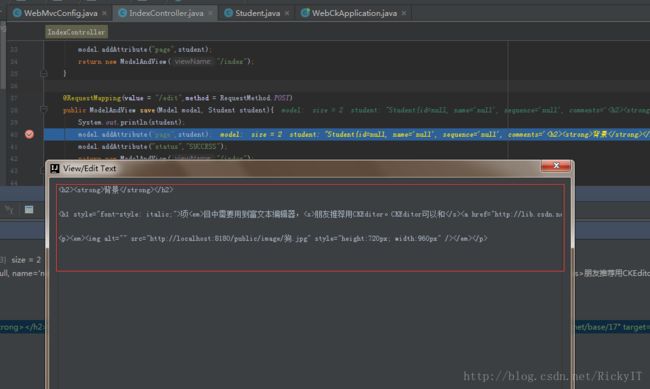
上面可以看出,提交到后台的是一段html文本。来验证一下,页面上随便来点文本,加点样式,上传个图片。
传过来的是一段文本,数据库在保存的时候,字段的值范围设的大一些或者直接设置字段类型为longtext
优化
1.预览优化
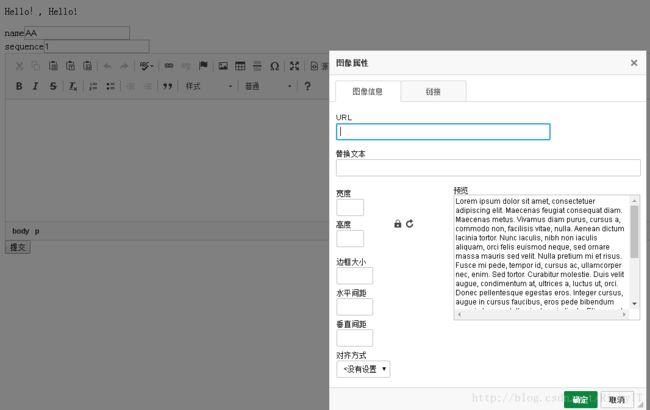
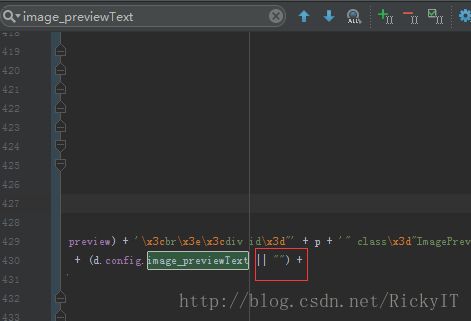
预览显示一段英文,这个去掉好看些。
ckeditor/plugins/image/dialogs/image.js,把||后面的那段英文删除。
参考
基于spring-boot的web应用,ckeditor上传文件图片文件
代码示例
