啰嗦在前面:
之前实现view的放大缩小的时候是使用手势,然后通过改变transform或者frame来实现,最近抽空看了下使用scrollView的实现方式
支持pinch手势
先看一段官方文档的说明:
To support zooming, you must set a delegate for your scroll view. The delegate object must conform to the UIScrollViewDelegate protocol. In many cases, the delegate will be the scroll view’s controller class. That delegate class must implement the viewForZoomingInScrollView: method and return the view to zoom.
大致意思就是,是如果支持缩放 必须设置 scrollView的代理,该代理类必须实现viewForZoomingInScrollView:方法,以返回一个view进行缩放;
下面这段代码就返回了一个imageView来进行缩放
- (UIView *)viewForZoomingInScrollView:(UIScrollView *)scrollView
{
    return self.imageView;
}
要指定用户可以缩放的数量,可以设置minimumZoomScale和maximumZoomScale属性的值,这两个值最初都设置为1.0
- (void)viewDidLoad {
    [super viewDidLoad];
    self.scrollView.minimumZoomScale=0.5;
    self.scrollView.maximumZoomScale=6.0;
    self.scrollView.contentSize=CGSizeMake(1280, 960);
    self.scrollView.delegate=self;
   [self.scrollView addSubview:_imageView];
}
这样我们就实现了imageView的一个缩放效果,
需要注意的是:如果想要通过捏合手势来进行缩放,那至少要指定缩放因子(
minimumZoomScale和maximumZoomScale,值不能相同)和实现viewForZoomingInScrollView:代理方法
以编程方式缩放
scrollView可能需要响应于诸如双击或其他轻击手势之类的触摸事件或者响应于除了捏合手势之外的其他用户动作而放大。为了做到这一点,UIScrollView提供了两种方法的实现:setZoomScale:animated:和zoomToRect:animated:。
1. setZoomScale:animated:
-
setZoomScale:animated:通过设置当前缩放比例为指定的值来缩放。该值必须是在minimumZoomScale和maximumZoomScale范围内。animated指定是否有动画。也可以直接设置scrollView的zoomScale属性,直接设置属性就相当于时animated为NO的setZoomScale:animated:方法; - 通过该方法或者直接改变
zoomScale属性缩放视图时,视图的位置(origin)保持不变
- (IBAction)zoom:(id)sender {
    if (self.mainView.zoomScale > self.mainView.minimumZoomScale) {// 已经放大 现在缩小
        [self.mainView setZoomScale:self.mainView.minimumZoomScale animated:YES];
    }
    else {

        [self.mainView setZoomScale:self.mainView.maximumZoomScale animated:YES];
    }

    NSLog(@"self.imageView.center: %@  imageView origin: %@",NSStringFromCGPoint(self.imageView.center), NSStringFromCGPoint(self.imageView.frame.origin));
}
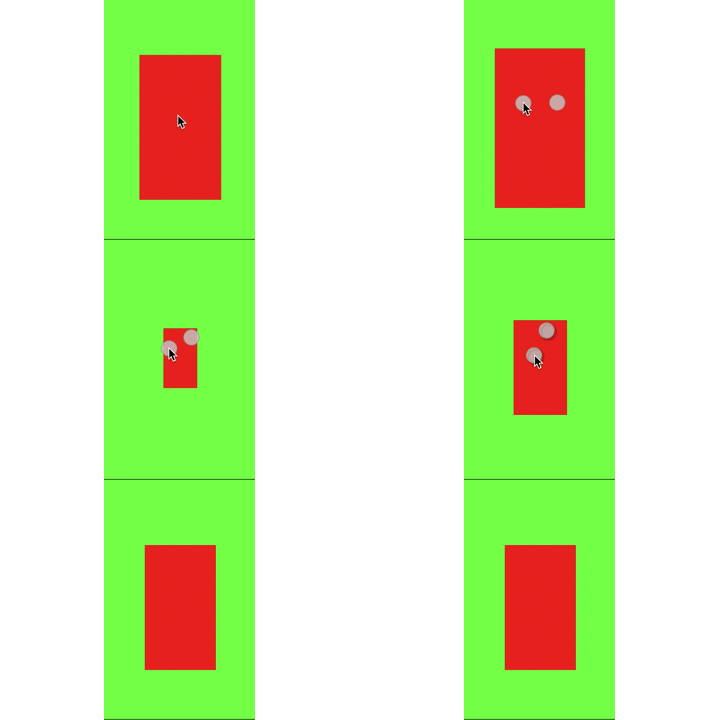
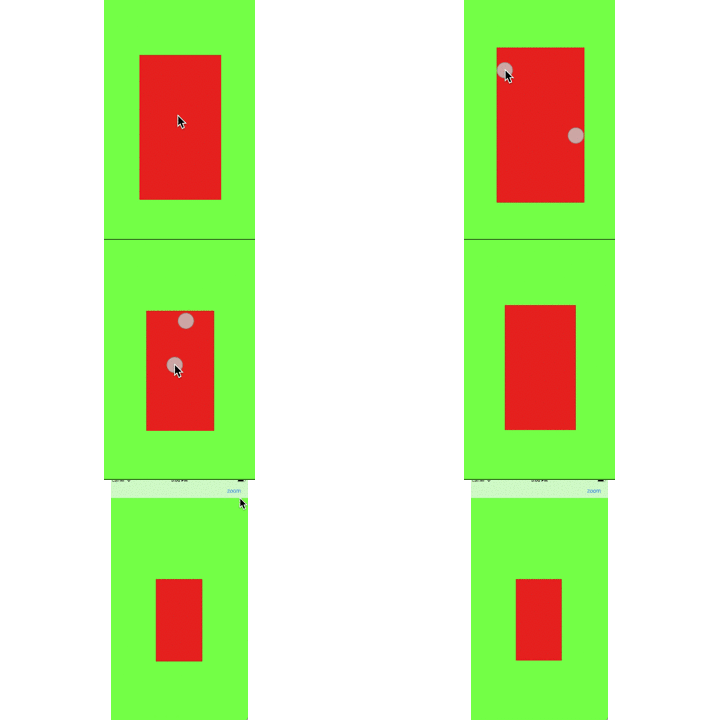
效果为
控制台的打印信息为
self.imageView.center: {207, 368} imageView origin: {138, 245.33333333333331}
self.imageView.center: {276, 490.66666666666663} imageView origin: {138, 245.33333333333329}
可以看到,imageView的origin是没有改变的
2. zoomToRect:animated:
Zooms to a specific area of the content so that it is visible in the receiver.
放大到内容的特定区域,以便在receiver中可见。
参数解释:
rect:A rectangle defining an area of the content view. The rectangle should be in the coordinate space of the view returned byviewForZoomingInScrollView:.
定义内容视图区域的矩形。 矩形应该位于viewForZoomingInScrollView:返回的视图的坐标空间中animated:YES if the scrolling should be animated, NO if it should be immediate.
animated参数决定了位置和缩放的变化是否会导致动画发生
苹果官方提供了一个示例,
/**
 该方法返回的矩形适合传递给zoomToRect:animated:方法。

 @param scrollView UIScrollView实例
 @param scale 新的缩放比例(通常zoomScale通过添加或乘以缩放量而从现有的缩放比例派生而来)
 @param center 放大缩小的中心点
 @return zoomRect 是以内容视图为坐标系
 */
- (CGRect)zoomRectForScrollView:(UIScrollView *)scrollView withScale:(float)scale withCenter:(CGPoint)center {

    CGRect zoomRect;

    // The zoom rect is in the content view's coordinates.
    // At a zoom scale of 1.0, it would be the size of the
    // imageScrollView's bounds.
    // As the zoom scale decreases, so more content is visible,
    // the size of the rect grows.
    zoomRect.size.height = scrollView.frame.size.height / scale;
    zoomRect.size.width  = scrollView.frame.size.width  / scale;

    // choose an origin so as to get the right center.
    zoomRect.origin.x = center.x - (zoomRect.size.width  / 2.0);
    zoomRect.origin.y = center.y - (zoomRect.size.height / 2.0);

    return zoomRect;
}
- 当用户完成缩放手势或通过代码完成缩放时,会触发
scrollViewDidEndZooming:withView:atScale:代理事件。
通过点击进行缩放
通过点击进行缩放的时候, 我们可以通过tap手势和touchesBegan:等方式, 在苹果给出的示例中以touch的方式实现了点击缩放image
In order for your application to support tap to zoom functionality, you do not need to subclass the
UIScrollViewclass. Instead you implement the required touch handling in the class for which theUIScrollViewdelegate methodviewForZoomingInScrollView:returns. That class will be responsible for tracking the number of fingers on the screen and the tap count. When it detects a single tap, a double tap, or a two-finger touch, it will respond accordingly. In the case of the double tap and two-finger touch, it should programmatically zoom the scroll view by the appropriate factor.大致翻译:
为了让您的应用程序支持点击缩放功能,您不需要继承UIScrollView该类。而是在UIScrollView委托方法viewForZoomingInScrollView:返回的类中实现所需的触摸处理 。该类将负责跟踪屏幕上的手指数量和点击次数。当它检测到单击,双击或双指触摸时,它将作出相应的响应。在双击和双指触摸的情况下,应该以适当的因子以编程方式缩放scrollView
实现一个简单的图片放大缩小查看功能
主要有两部分:
- show和dismiss时的过渡动画
- 图片的放大缩小
以上面的效果图为例,我这里是通过一个view来实现,在view中添加一个scrollView,scrollView上添加一个imageView来显示图片,并作为viewForZoomingInScrollView :的返回view。
.h文件
- (instancetype)initWithOriginImage:(UIImage *)originImage highlightedImage:(UIImage *)highlightedImage fromRect:(CGRect)fromRect;

- (void)show;

- (void)dismiss;
在初始化的时候传入一个普通图片和一个高清图片,以及图片所在视图(
UIImageView或UIButton等)的frame;
动画显示图片
- (void)showOriginImageWithAnimation
{
    self.imageView.frame = self.fromRect;
    if (self.originImage) {
        CGRect finalRect = [self getScaledFinalFrame];
        if (finalRect.size.height > getViewHeight(self.scrollView)) {
            self.scrollView.contentSize = CGSizeMake(getViewWidth(self.scrollView), finalRect.size.height);
        }
        self.alpha = 0.f;
        self.imageView.image = self.originImage;
        [UIView animateWithDuration:_animationDuration animations:^{
            self.imageView.frame = finalRect;
            self.alpha = 1.f;
        } completion:^(BOOL finished) {
            if (self.highlightedImage) {
                self.imageView.image = self.highlightedImage;
            }
        }];
    }
    else {
        self.imageView.frame = self.bounds;
        self.alpha = 0;
        if (self.highlightedImage) {
            self.imageView.image = self.highlightedImage;
        }
        [UIView animateWithDuration:_animationDuration animations:^{
            self.alpha = 1.f;
        } completion:nil];
    }
}
双击手势,实现图片的缩小和放大
- (void)doubleTapGesture:(UITapGestureRecognizer *)tap
{
    if (self.scrollView.zoomScale > _minimumZoomScale) {// 已经放大 现在缩小
        [self.scrollView setZoomScale:_minimumZoomScale animated:YES];
    }
    else {
        // 已经缩小 现在放大
        CGPoint point = [tap locationInView:self.scrollView];
//        [self zoomScrollView:self.scrollView toPoint:point withScale:_maximumZoomScale animated:YES];
        // 方法一 以point为中心点进行放大
        CGRect zoomRect = [self zoomRectForScrollView:self.scrollView withScale:_maximumZoomScale withCenter:point];
        [self.scrollView zoomToRect:zoomRect animated:YES];
        // 方法二 也可以通过这种方法 来放大 这种是直接放大 以scrollView的中心点
//        [self.scrollView setZoomScale:_maximumZoomScale animated:YES];
    }
}
消失动画 也是单击时调用的方法
- (void)dismiss
{
    CGRect frame = self.fromRect;
    CGFloat originX = self.scrollView.contentOffset.x + frame.origin.x;
    CGFloat originY = self.scrollView.contentOffset.y + frame.origin.y;
    frame.origin = CGPointMake(originX, originY);

    [UIView animateWithDuration:_animationDuration animations:^{
        self.imageView.frame = frame;
        self.alpha = 0.f;
    } completion:^(BOOL finished) {
        [self removeFromSuperview];
    }];
}
当然别忘了实现scrollView的代理方法
- 返回
imageView作为缩放视图
- (UIView *)viewForZoomingInScrollView:(UIScrollView *)scrollView
{
    return self.imageView;
}
缩放view的时候调整imageView的位置
// any zoom scale changes
- (void)scrollViewDidZoom:(UIScrollView *)scrollView
{
    CGFloat scrollW = CGRectGetWidth(scrollView.frame);
    CGFloat scrollH = CGRectGetHeight(scrollView.frame);

    CGSize contentSize = scrollView.contentSize;
    CGFloat offsetX = scrollW > contentSize.width ? (scrollW - contentSize.width) * 0.5 : 0;
    CGFloat offsetY = scrollH > contentSize.height ? (scrollH - contentSize.height) * 0.5 : 0;

    CGFloat centerX = contentSize.width * 0.5 + offsetX;
    CGFloat centerY = contentSize.height * 0.5 + offsetY;

    self.imageView.center = CGPointMake(centerX, centerY);
}


