YOLOV3用自己的数据集训练
主要参考:https://www.cnblogs.com/answerThe/p/11481564.html
https://www.aiuai.cn/aifarm1097.html
官网有制作YOLO的教程,非常详细
做数据集就不用多说了
用pip install labelImg 安装:
发送桌面,用改python.exe默认打开。
使用labelImg使用YOLO格式标记:
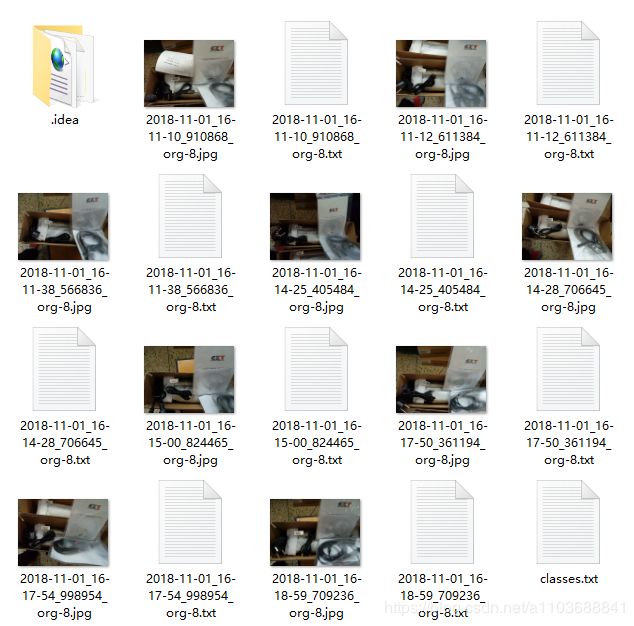
得到这个样子:
用下面代码抽训练测试集,这边注意test.txt也要放点数据进去:
import glob
import  os

imgs_dir = os.getcwd()
print(imgs_dir)

#用作 test 的图片数据的比例
percentage_test = 10;

#创建训练数据集和测试数据集:train.txt 和 test.txt
file_train = open('train.txt', 'w')
file_test = open('test.txt', 'w')

counter = 1
index_test = round(100 / percentage_test)
for pathAndFilename in glob.iglob(os.path.join(imgs_dir, "*.jpg")):
    title, ext = os.path.splitext(os.path.basename(pathAndFilename))

    if counter == index_test:
        counter = 1
        file_test.write(imgs_dir + "/" + title + '.jpg' + "\n")
    else:
        file_train.write(imgs_dir + "/" + title + '.jpg' + "\n")
        counter = counter + 1
这个是代码结果:
接下来是链接这个数据集:
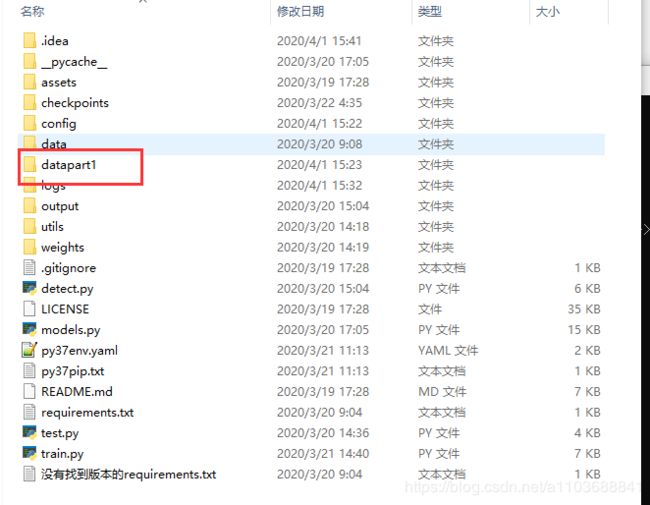
建一个新的数据集:
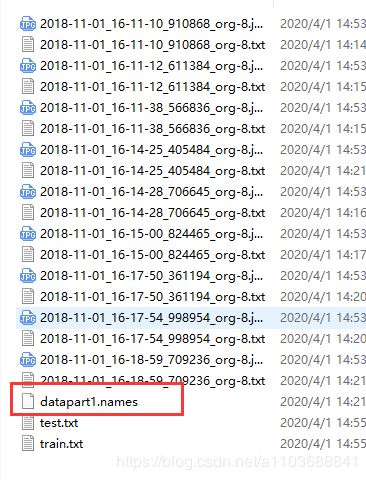
把刚才所有资料拷贝过来,把class.txt 改成 【目标】.names:
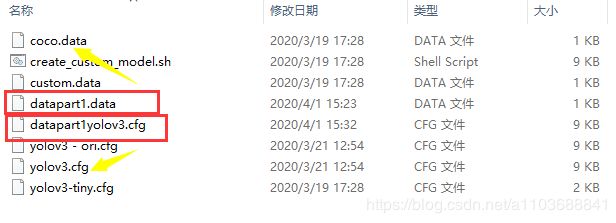
进入config文件夹,把这两个文件各拷贝一份改名字:
datapart1.data改对应路径:
datapart1yolov3.cfg改对应类别,我的类别是3,这里注意不能用中文等等会出现编码错误,这里要注意下面这种修改一共要3次:
[net]
# Testing
# batch=1        #这里的batch跟subdivisions原来不是注释掉的,但是训练后没成功,有的blog上说为1的时候太小难以收敛,但是不知道下面训练模式的 batch=64 subdivisions=8 会不会覆盖掉,总之注释掉后就成功了,不过这个脚本不是很明白,还来不及验证
# subdivisions=1
# Training
 batch=64
 subdivisions=8
......
[convolutional]
size=1
stride=1
pad=1
filters=30        #---------------修改为3*(classes+5)即3*(5+5)=30
activation=linear
[yolo]
mask = 6,7,8
anchors = 10,13,  16,30,  33,23,  30,61,  62,45,  59,119,  116,90,  156,198,  373,326
classes=5        #---------------修改为标签类别个数,5类
num=9
jitter=.3
ignore_thresh = .5
truth_thresh = 1
random=0            #1,如果显存很小,将random设置为0,关闭多尺度训练;(转自别的blog,还不太明白)
......
[convolutional]
size=1
stride=1
pad=1
filters=30        #---------------修改同上
activation=linear

[yolo]
mask = 3,4,5
anchors = 10,13,  16,30,  33,23,  30,61,  62,45,  59,119,  116,90,  156,198,  373,326
classes=5        #---------------修改同上
num=9
jitter=.3
ignore_thresh = .5
truth_thresh = 1
random=0
......
[convolutional]
size=1
stride=1
pad=1
filters=30        #---------------修改同上
activation=linear

[yolo]
mask = 0,1,2
anchors = 10,13,  16,30,  33,23,  30,61,  62,45,  59,119,  116,90,  156,198,  373,326
classes=5        #---------------修改同上
num=9
jitter=.3
ignore_thresh = .5
truth_thresh = 1
random=0
改对应如今进行训练,路径记得改:
python train.py --model_def config/datapart1yolov3.cfg --data_config config/datapart1.data --pretrained_weights weights/darknet53.conv.74出现这个错误,是训练标签不对应,我这边是对应路径错了,照成了还是链接到之前的数据:
  File "D:\PyTorch-YOLOv3-master\utils\utils.py", line 317, in build_targets
    class_mask[b, best_n, gj, gi] = (pred_cls[b, best_n, gj, gi].argmax(-1) == target_labels).float()
RuntimeError: CUDA error: device-side assert triggered


