本篇博客将介绍现今主要流行的前后端分离方式构建管理系统的实现
项目搭建环境: windows系统
服务器:Tomcat 9.0
项目运行环境:JDK1.8
前端主要技术:HTML、CSS、VUE前端框架、axios异步处理
服务器端主要技术: Spring、SpringMvc、mybatis
数据库:Mysql 5.5
构建管理工具:Maven
开发工具:SQLyog、IntelliJ IDEA
1、设计数据库
/*
SQLyog Ultimate v12.09 (64 bit)
MySQL - 5.5.56 : Database - vue
CREATE DATABASE IF NOT EXISTS vue DEFAULT CHARACTER SET utf8;
USE `vue`;
DROP TABLE IF EXISTS `user`;
CREATE TABLE `user` (
`id` int(11) NOT NULL AUTO_INCREMENT,
`age` int(11) DEFAULT NULL,
`username` varchar(20) DEFAULT NULL,
`PASSWORD` varchar(20) DEFAULT NULL,
`email` varchar(50) DEFAULT NULL,
`sex` varchar(20) DEFAULT NULL,
PRIMARY KEY (`id`)
) ENGINE=InnoDB AUTO_INCREMENT=9 DEFAULT CHARSET=utf8;
/*Data for the table `user` */
insert into `user`(`id`,`age`,`username`,`PASSWORD`,`email`,`sex`) values (1,20,'杨凯','*****','[email protected] ','男'),
(2,21,'李栋','*****','[email protected] ','女'),
(3,19,'高王丽','*****','[email protected] ','女'),
(4,20,'马露涵','*****','[email protected] ','女'),
(5,21,'林池','*****','[email protected] ','男'),
(6,22,'严胜西','*****','[email protected] ','男'),
(7,21,'孙超','*****','[email protected] ','男'),
(8,20,'李大钊','*****','[email protected] ','女');
2、创建web项目,准备项目所需依赖,搭好框架模板
框架搭建模板如下:
  4.0.0

  com.baoji
  vue_anli
  1.0-SNAPSHOT
  war


    UTF-8
    1.8
    1.8
    5.0.2.RELEASE
    1.6.6
    1.2.12
    3.4.5


      org.aspectj
      aspectjweaver
      1.6.8


      org.springframework
      spring-context
      ${spring.version}


      org.springframework
      spring-context-support
      ${spring.version}


      org.springframework
      spring-orm
      ${spring.version}


      org.springframework
      spring-test
      ${spring.version}


      org.springframework
      spring-webmvc
      ${spring.version}


      org.springframework
      spring-tx
      ${spring.version}


      junit
      junit
      4.12
      test


      javax.servlet
      javax.servlet-api
      3.1.0
      provided


      javax.servlet.jsp
      jsp-api
      2.0
      provided


      jstl
      jstl
      1.2


      log4j
      log4j
      ${log4j.version}


      org.slf4j
      slf4j-api
      ${slf4j.version}


      org.slf4j
      slf4j-log4j12
      ${slf4j.version}


      org.mybatis
      mybatis
      ${mybatis.version}


      org.mybatis
      mybatis-spring
      1.3.0


      c3p0
      c3p0
      0.9.1.2


      com.github.pagehelper
      pagehelper
      5.1.2


      mysql
      mysql-connector-java
      5.1.5


      com.fasterxml.jackson.core
      jackson-core
      2.9.0


      com.fasterxml.jackson.core
      jackson-databind
      2.9.0


      com.fasterxml.jackson.core
      jackson-annotations
      2.9.0
创建applicationContext.xml文件
jdbc.driver=com.mysql.jdbc.Driver
jdbc.url=jdbc:mysql://localhost:3306/vue?useUnicode=true&characterEncoding=utf-8
jdbc.username=root
jdbc.password=root
    contextConfigLocation
    classpath:applicationContext.xml


      org.springframework.web.context.ContextLoaderListener


    springmvcDispatcherServlet
    org.springframework.web.servlet.DispatcherServlet


      contextConfigLocation
      classpath:springmvc.xml


    1


    springmvcDispatcherServlet
    *.do


    CharacterEncodingFilter
    org.springframework.web.filter.CharacterEncodingFilter


      encoding
      UTF-8


      forceEncoding
      true


    CharacterEncodingFilter
    /*


    index.html
    index.htm
    index.jsp
    default.html
    default.htm
    default.jsp
3、编写服务器端代码
1、创建javaBean实体类(User.java)
package com.baoji.domain;

import java.io.Serializable;

/**
 * User实体类:
 */
public class User implements Serializable {
    private Integer id;//用户编号
    private Integer age;//用户年龄
    private String username;//用户姓名
    private String password;//用户密码
    private String email;//用户邮箱
    private String sex;//用户性别

    public User() {
    }

    public User(Integer id, Integer age, String username, String password, String email, String sex) {
        this.id = id;
        this.age = age;
        this.username = username;
        this.password = password;
        this.email = email;
        this.sex = sex;
    }

    public Integer getId() {
        return id;
    }

    public void setId(Integer id) {
        this.id = id;
    }

    public Integer getAge() {
        return age;
    }

    public void setAge(Integer age) {
        this.age = age;
    }

    public String getUsername() {
        return username;
    }

    public void setUsername(String username) {
        this.username = username;
    }

    public String getPassword() {
        return password;
    }

    public void setPassword(String password) {
        this.password = password;
    }

    public String getEmail() {
        return email;
    }

    public void setEmail(String email) {
        this.email = email;
    }

    public String getSex() {
        return sex;
    }

    public void setSex(String sex) {
        this.sex = sex;
    }

    @Override
    public String toString() {
        return "User{" +
                "id=" + id +
                ", age=" + age +
                ", username='" + username + '\'' +
                ", password='" + password + '\'' +
                ", email='" + email + '\'' +
                ", sex='" + sex + '\'' +
                '}';
    }
}
2、创建持久层接口(IUser.java)
package com.baoji.dao;

import com.baoji.domain.User;
import org.apache.ibatis.annotations.Select;
import org.apache.ibatis.annotations.Update;

import java.util.List;

/**
 * dao接口
 */
public interface IUserDao {
    /**
     * 查询所有用户信息
     * @return
     */
    @Select("select * from user")
    List findAll();

    /**
     * 通过id查询用户信息
     * @param userId
     * @return
     */
    @Select("select * from user where id=#{userId}")
    User findById(Integer userId);

    /**
     * 根据查询到的信息修改用户信息
     * @param user
     */
    @Update("update user set username=#{username},password=#{password},age=#{age},sex=#{sex},email=#{email} where id=#{id}")
    void updateUser(User user);
}
3、创建业务层代码(IUserService.java)
package com.baoji.service;

import com.baoji.domain.User;
import org.apache.ibatis.annotations.Select;
import org.apache.ibatis.annotations.Update;

import java.util.List;

/**
 * 业务层
 */
public interface IUserService {
    /**
     * 查询所有用户信息
     * @return
     */
    List findAll();

    /**
     * 通过id查询用户信息
     * @param id
     * @return
     */
    User findById(Integer id);

    /**
     * 修改用户信息
     * @param user
     */
    void updateUser(User user);
}
4、创建业务层实现类(IUserServiceImpl.java)
package com.baoji.service.impl;

import com.baoji.dao.IUserDao;
import com.baoji.domain.User;
import com.baoji.service.IUserService;
import org.springframework.beans.factory.annotation.Autowired;
import org.springframework.stereotype.Service;

import java.util.List;

@Service //接收spring的管理
public class IUserServiceImpl implements IUserService {
    @Autowired
    private IUserDao iUserDao;//自动属性注入
    @Override
    public List findAll() {
        return iUserDao.findAll();
    }

    @Override
    public User findById(Integer userId) {
        return iUserDao.findById(userId);
    }

    @Override
    public void updateUser(User user) {
        iUserDao.updateUser(user);
    }
}
5、测试后端代码是否能查询到数据,保证后端数据确保无误
package com.baoji.test;

import com.baoji.domain.User;
import com.baoji.service.IUserService;
import org.junit.runner.RunWith;
import org.springframework.beans.factory.annotation.Autowired;
import org.springframework.test.context.ContextConfiguration;
import org.springframework.test.context.junit4.SpringJUnit4ClassRunner;

import java.util.List;

/**
 * 用户的业务层测试
 */
@RunWith(SpringJUnit4ClassRunner.class)//speing整合junit
@ContextConfiguration(locations = "classpath:applicationContext.xml")//加载配置文件
public class Test {
    @Autowired
    private IUserService iUserService;//自动属性注入
    @org.junit.Test
    public void testFindAll(){
        List user = iUserService.findAll();
        System.out.println(user);
    }
    @org.junit.Test
    public void testFindOne(){
        User user = iUserService.findById(1);
        System.out.println(user);
    }
    @org.junit.Test
    public void testUpdate(){
        User user = iUserService.findById(1);
        System.out.println("修改前的用户信息"+user);
        user.setAge(15);
        iUserService.updateUser(user);
        user = iUserService.findById(1);
        System.out.println("修改后的用户信息"+user);
    }
}
示例图片:
6、创建控制器(UserController.java)
package com.baoji.web.controller;

import com.baoji.domain.User;
import com.baoji.service.IUserService;
import org.springframework.beans.factory.annotation.Autowired;
import org.springframework.stereotype.Controller;
import org.springframework.web.bind.annotation.RequestBody;
import org.springframework.web.bind.annotation.RequestMapping;
import org.springframework.web.bind.annotation.ResponseBody;

import java.util.List;

/**
 * 控制器
 */
@Controller
@RequestMapping("/user")
@ResponseBody  //将返回来的数据转为json格式响应
public class UserController {
    @Autowired
    private IUserService userService;//自动属性注入业务层

    /**
     * 查询所有用户信息
     * @return
     */
    @RequestMapping("/findAll")
    public List findAll(){
        return userService.findAll();
    }

    /**
     * 根据编号查询用户信息
     * @param id
     * @return
     */
    @RequestMapping("/findById")
    public User fingById(Integer id){
        return userService.findById(id);
    }

    /**
     * 将查询的用户信息进行修改
     * @param user
     */
    @RequestMapping("/updateUser")
    //@RequestBody 让返回来的json数据和user对象进行绑定
    public void updateUser(@RequestBody User user){
        userService.updateUser(user);
    }
}
4、编写前端代码
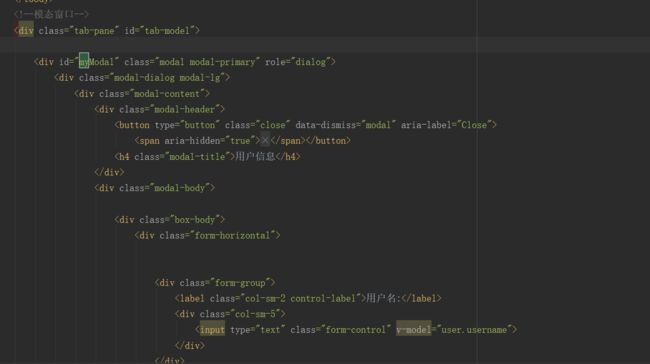
导入css、js、plugins文件
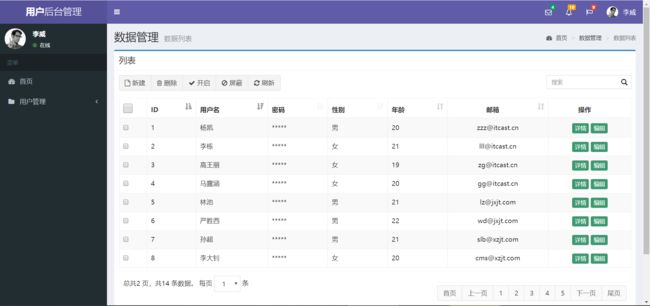
编写列表展示页面(list.html)
数据 - AdminLTE2定制版
Version 1.0.8
Copyright © 2014-2017 研究院研发部 . All rights reserved.
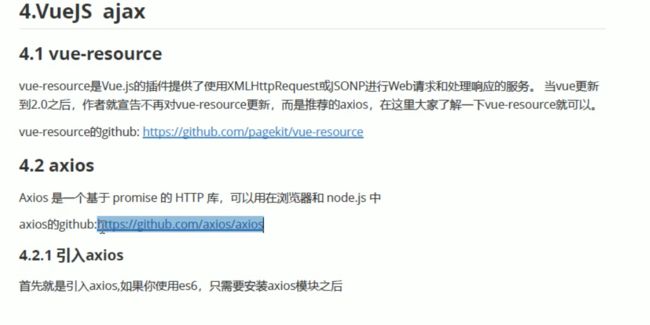
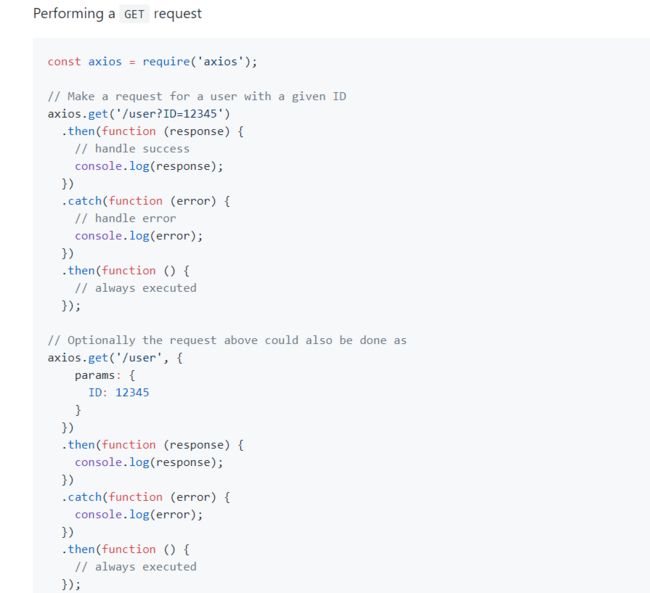
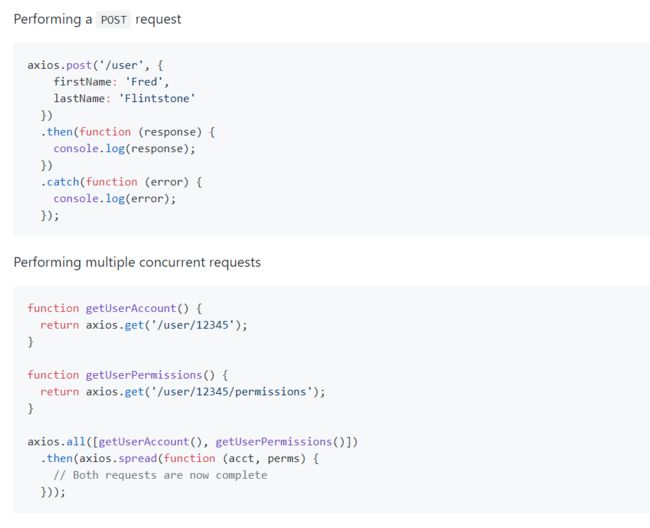
编写js(user.js),引入axios(异步处理方式)
//创建Vue对象
var vue = new Vue({
el:"#app",
data:{
user:{
id: "",
username: "李威",
password: "",
sex: "",
age: "",
email: ""
},
userList:[]
},
methods:{
findAll:function () {
//在当前方法中定义一个变量,表明vue对象
var _this = this;
axios.get('/vue/user/findAll.do').then(function (response) {
_this.userList = response.data;//响应数据给userList赋值
console.log(_this.userList);
}).catch(function (error) {
console.log(error);
});
},
findById:function(userId){
//在当前方法中定义一个变量,表明vue对象
var _this = this;
//通过赋参数id来返回user对象
axios.get('/vue/user/findById.do',{params:{id:userId}})
.then(function (response) {
_this.user = response.data;//响应数据给userList赋值
//使用id选择器来绑定模态窗口显示出来
$("#myModal").modal("show");
}).catch(function (error) {
console.log(error);
});
},
update:function(user){
//在当前方法上定义一个变量,表明vue对象
var _this = this;
axios.post('/vue/user/updateUser.do',_this.user)
.then(function (response) {
_this.findAll();
})
.catch(function (error) {
console.log(error);
});
}
},
created:function () { //当我们页面加载的时候触发请求,查询所有
this.findAll();
}
});
此处注意
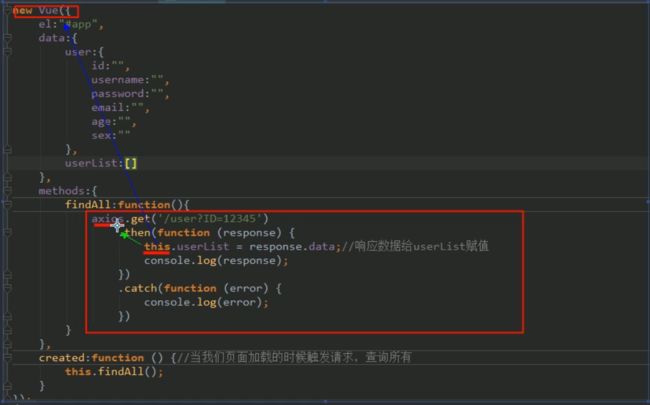
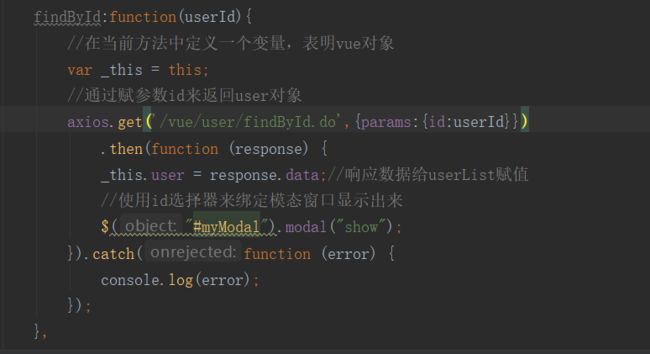
此处的this应该为vue当前的对象,前端通过u in userList,在userList数组中进行遍历数据,所以this指当前vue对象,而并非axios中当前的对象,所以应该重新定义this变量,指定为vue当前对象
vue中使用id选择器来绑定模态窗口显示数据
//使用id选择器来绑定模态窗口显示出来
$("#myModal").modal("show");
当我们页面加载的时候触发请求,绑定想要的方法
created:function () { //当我们页面加载的时候触发请求,查询所有
this.findAll();
}
项目列表展示页面截图:
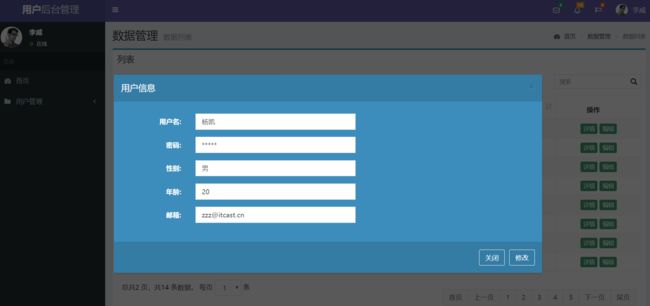
项目修改展示页面截图:
由于时间有限,本次项目演示就这么多了,剩下的添加和删除交给大家练习吧,喜欢作者双击加关注吧,您的点赞与留言是对作者最大的支持与鼓励!!!
记得点赞关注:推荐自己的Github地址: https://github.com/Lmobject
下篇博客:基于SSM实现的OA自动化办公系统
记得点赞加关注,分享更多。。。✌
