Android滑动选择控件 WheelView
转载请注明出处:http://blog.csdn.net/wjilikely/article/details/52025130
之前在做项目的时候,在设置功能中需要实现联动选择和性别和日期的更换,然后在网上搜了大半天,然后在根据自己的需求更改过来的,不废话
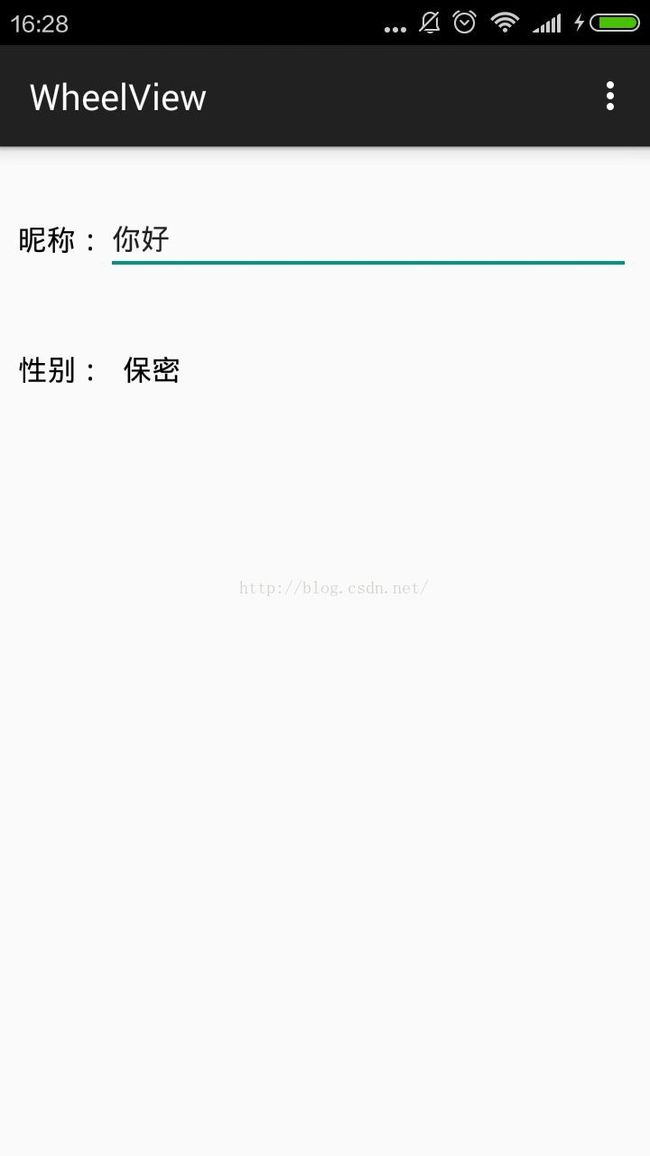
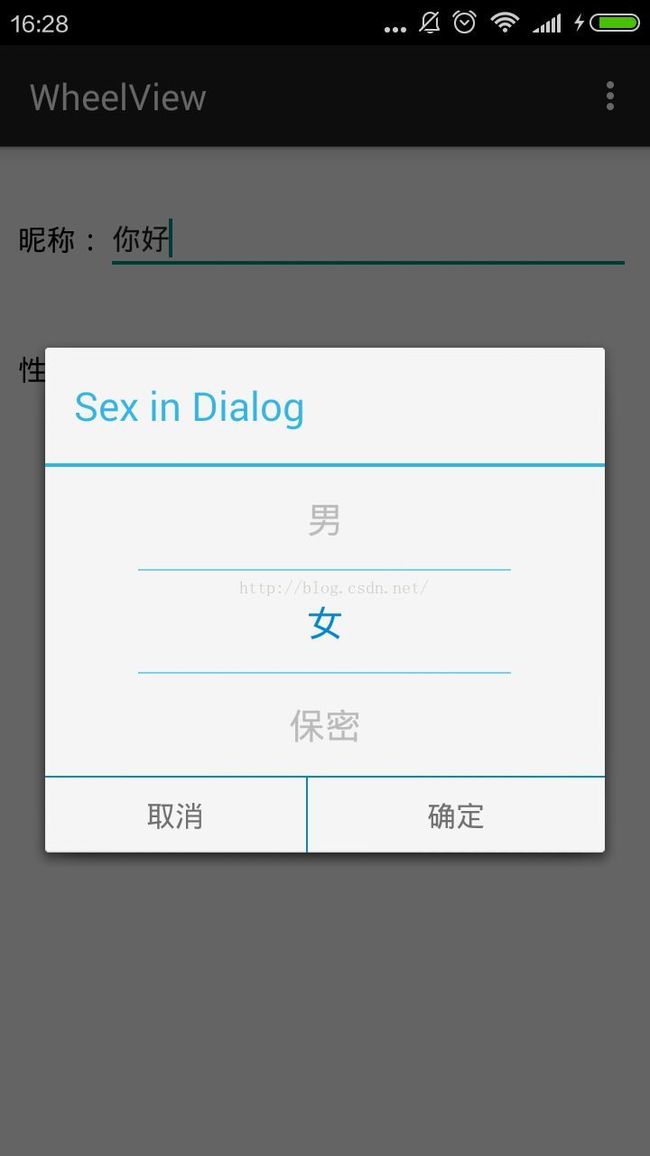
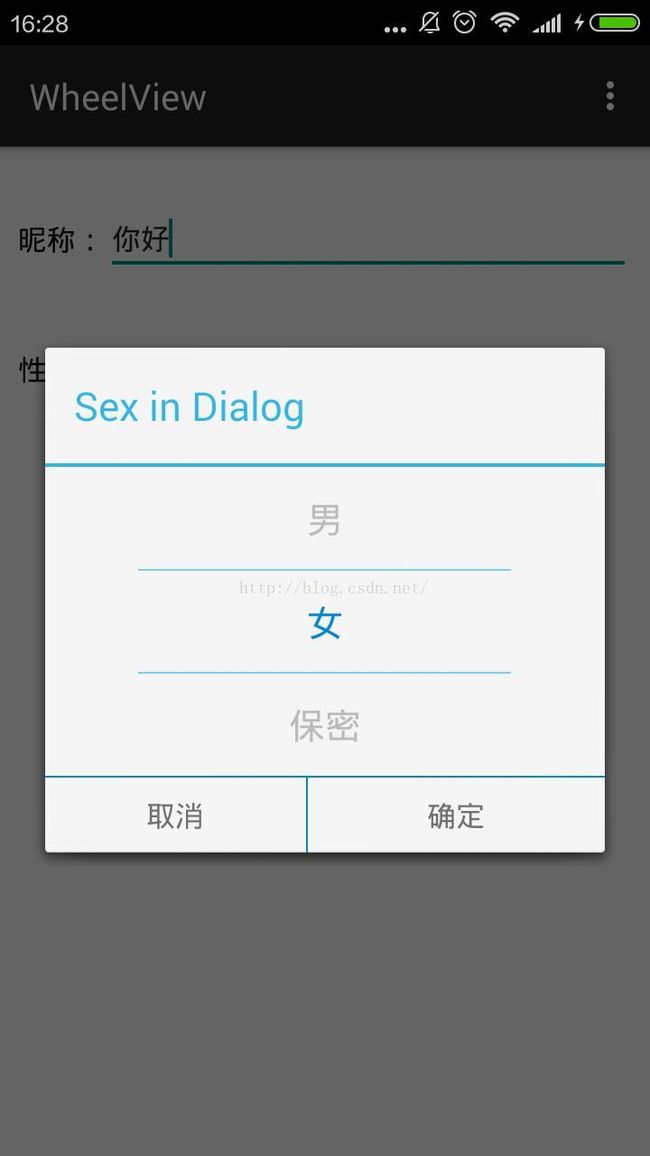
先贴几张demo效果图:
看完效果图,直接看代码吧!
其实用wheelView实现的这个功能最主要的就是WheelView.java这个类,其他的实现都是在布局里面重复调用,在调用的处理方法的的时候加上逻辑代码就OK了,先贴
WheeView.java的部分代码(有点多,太长了,你懂的...)
public class WheelView extends ScrollView { public static final String TAG = "WheelView"; public static class OnWheelViewListener { public void onSelected(int selectedIndex, String item) { } } private Context context; // private ScrollView scrollView; private LinearLayout views; public WheelView(Context context) { super(context); init(context); } public WheelView(Context context, AttributeSet attrs) { super(context, attrs); init(context); } public WheelView(Context context, AttributeSet attrs, int defStyle) { super(context, attrs, defStyle); init(context); } // String[] items; Listitems; private List getItems() { return items; } public void setItems(List list) { if (null == items) { items = new ArrayList (); } items.clear(); items.addAll(list); // 前面和后面补全 for (int i = 0; i < offset; i++) { items.add(0, ""); items.add(""); } initData(); } public static final int OFF_SET_DEFAULT = 1; int offset = OFF_SET_DEFAULT; // 偏移量(需要在最前面和最后面补全) public int getOffset() { return offset; } public void setOffset(int offset) { this.offset = offset; } int displayItemCount; // 每页显示的数量 int selectedIndex = 1; private void init(Context context) { this.context = context; // scrollView = ((ScrollView)this.getParent()); // Log.d(TAG, "scrollview: " + scrollView); Log.d(TAG, "parent: " + this.getParent()); // this.setOrientation(VERTICAL); this.setVerticalScrollBarEnabled(false); views = new LinearLayout(context); views.setOrientation(LinearLayout.VERTICAL); this.addView(views); scrollerTask = new Runnable() { public void run() { int newY = getScrollY(); if (initialY - newY == 0) { // stopped final int remainder = initialY % itemHeight; final int divided = initialY / itemHeight; // Log.d(TAG, "initialY: " + initialY); // Log.d(TAG, "remainder: " + remainder + ", divided: " + divided); if (remainder == 0) { selectedIndex = divided + offset; onSeletedCallBack(); } else { if (remainder > itemHeight / 2) { WheelView.this.post(new Runnable() { @Override public void run() { WheelView.this.smoothScrollTo(0, initialY - remainder + itemHeight); selectedIndex = divided + offset + 1; onSeletedCallBack(); } }); } else { WheelView.this.post(new Runnable() { @Override public void run() { WheelView.this.smoothScrollTo(0, initialY - remainder); selectedIndex = divided + offset; onSeletedCallBack(); } }); } } } else { initialY = getScrollY(); WheelView.this.postDelayed(scrollerTask, newCheck); } } }; }
布局文件:
wheelview.xml
xml version="1.0" encoding="utf-8"?>
xmlns:android="http://schemas.android.com/apk/res/android"
              android:orientation="vertical"
              android:layout_width="fill_parent"
              android:layout_height="fill_parent">

            android:id="@+id/wheel_view_wv"
        android:layout_width="match_parent"
        android:layout_height="wrap_content" />

            android:layout_width="match_parent"
        android:layout_height="1dp"
        android:background="#0288ce"/>

            android:layout_width="match_parent"
        android:layout_height="wrap_content"
        android:orientation="horizontal">
                    android:id="@+id/txt_cancel"
            android:layout_width="wrap_content"
            android:layout_height="wrap_content"
            android:layout_weight="1"
            android:gravity="center"
            android:textSize="16sp"
            android:text="取消"/>
                    android:layout_width="1dp"
            android:layout_height="match_parent"
            android:background="#0288ce"/>
                    android:id="@+id/txt_sure"
            android:layout_width="wrap_content"
            android:layout_height="wrap_content"
            android:layout_weight="1"
            android:gravity="center"
            android:textSize="16sp"
            android:padding="10dp"
            android:text="确定"/>
需要实现二级联动的时候,就需要在添加一个
    android:id="@+id/wheel_view_wv"
    android:layout_width="match_parent"
    android:layout_height="wrap_content" />
然后就是代码实现了
MainActivity.java
public class MainActivity extends AppCompatActivity implements OnClickListener {
    private static final String TAG = "MainActivity";
    private String Sex="女";
    private static final String[] PLANETS = new String[]{"男", "女", "保密"};
    private TextView SexTv;
    private AlertDialog dialog;

    @Override
    protected void onCreate(Bundle savedInstanceState) {
        super.onCreate(savedInstanceState);
        setContentView(R.layout.activity_main);
        SexTv= (TextView) findViewById(R.id.txt_Sex);
        findViewById(R.id.main_show_dialog_btn).setOnClickListener(this);
    }


    @Override
    public void onClick(View v) {
        switch (v.getId()) {
            case R.id.main_show_dialog_btn:
                View outerView = LayoutInflater.from(this).inflate(R.layout.wheel_view, null);
                WheelView wv = (WheelView) outerView.findViewById(R.id.wheel_view_wv);
                wv.setOffset(1);
                wv.setItems(Arrays.asList(PLANETS));
                wv.setSeletion(1);
                wv.setOnWheelViewListener(new WheelView.OnWheelViewListener() {
                    @Override
                    public void onSelected(int selectedIndex, String item) {
                        Log.d(TAG, "[Dialog]selectedIndex: " + selectedIndex + ", item: " + item);
                        Sex=item;
                    }
                });

                dialog= new AlertDialog.Builder(this)
                        .setTitle("Sex in Dialog")
                        .setView(outerView)
                        .show();
                TextView txtSure= (TextView) outerView.findViewById(R.id.txt_sure);
                TextView txtCancle= (TextView) outerView.findViewById(R.id.txt_cancel);
                txtSure.setOnClickListener(this);
                txtCancle.setOnClickListener(this);
                break;
            case R.id.txt_sure:
                SexTv.setText(Sex);
                dialog.dismiss();
                break;
            case R.id.txt_cancel:
                dialog.dismiss();
                break;
        }
    }

    @Override
    public boolean onCreateOptionsMenu(Menu menu) {
        getMenuInflater().inflate(R.menu.menu_main, menu);
        return true;
    }

    @Override
    public boolean onOptionsItemSelected(MenuItem item) {
        // Handle action bar item clicks here. The action bar will
        // automatically handle clicks on the Home/Up button, so long
        // as you specify a parent activity in AndroidManifest.xml.
        int id = item.getItemId();

        //noinspection SimplifiableIfStatement
        if (id == R.id.action_settings) {
            return true;
        }

        return super.onOptionsItemSelected(item);
    }
}
代码不多,就这些了,最后看一下首页的布局
activity_main.xml
xml version="1.0" encoding="utf-8"?>
xmlns:android="http://schemas.android.com/apk/res/android"
              android:orientation="vertical"
              android:layout_width="fill_parent"
              android:layout_height="fill_parent">

            android:layout_width="match_parent"
        android:layout_height="wrap_content"
        android:orientation="horizontal"
        android:layout_marginTop="20dp"
        android:padding="10dp">
                    android:layout_width="wrap_content"
            android:layout_height="match_parent"
            android:gravity="center_vertical"
            android:text="昵称:"
            android:textColor="#000"
            android:textSize="16sp"/>
                    android:layout_width="match_parent"
            android:layout_height="wrap_content"
            android:gravity="center_vertical"
            android:hint="请输入昵称"
            android:imeOptions="actionDone"
            android:singleLine="true"
            android:maxLength="12"
            android:textSize="16sp"/>


            android:id="@+id/main_show_dialog_btn"
        android:layout_width="match_parent"
        android:layout_height="wrap_content"
        android:layout_marginTop="20dp"
        android:orientation="horizontal"
        android:padding="10dp">
                    android:layout_width="wrap_content"
            android:layout_height="match_parent"
            android:gravity="center_vertical"
            android:text="性别:"
            android:textColor="#000"
            android:textSize="16sp"/>
                    android:id="@+id/txt_Sex"
            android:layout_width="match_parent"
            android:layout_height="wrap_content"
            android:gravity="center_vertical"
            android:layout_marginLeft="10dp"
            android:hint="请选择性别"
            android:imeOptions="actionDone"
            android:textColor="#000"
            android:singleLine="true"
            android:maxLength="12"
            android:textSize="16sp"/>
实现的过程的这里就不详述了,百度上随便一搜就是
最后附上源码下载:http://download.csdn.net/detail/wjilikely/9585771


