selenium的介绍和使用(持续更新中)
前言:PO模式会在本文介绍,Appium章节不再叙述
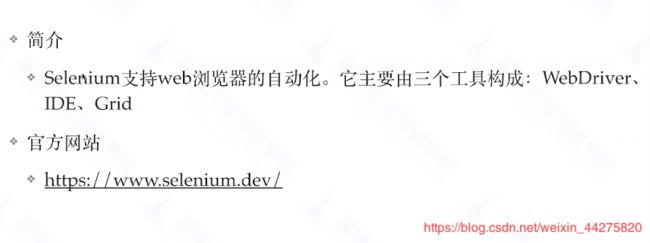
1、selenium的介绍
官方网站:https://www.selenium.dev/
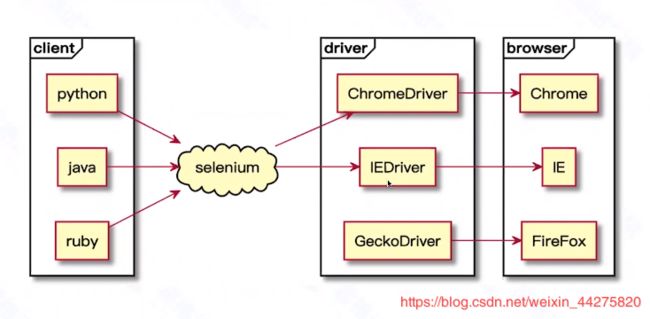
2、selenium的架构图
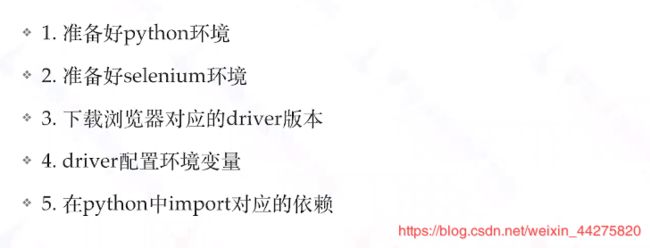
3、selenium的环境配置步骤
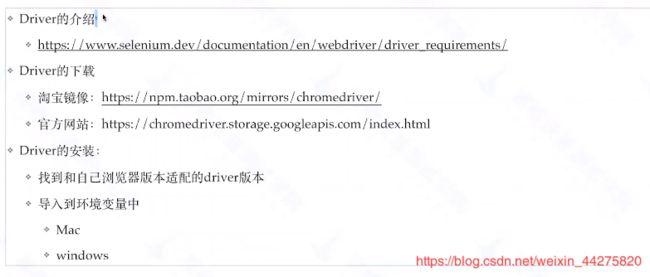
4、driver的配置
chromedriver与chrome的对应关系表:https://huilansame.github.io/huilansame.github.io/archivers/chromedriver-to-chrome-version
chrome版本与对应的谷歌驱动(chromedriver):
https://www.cnblogs.com/yfacesclub/p/8482681.html
chromedriver:http://chromedriver.storage.googleapis.com/index.html
淘宝镜像:http://npm.taobao.org/mirrors/chromedriver
geckodriver:https://github.com/mozilla/geckodriver/releases
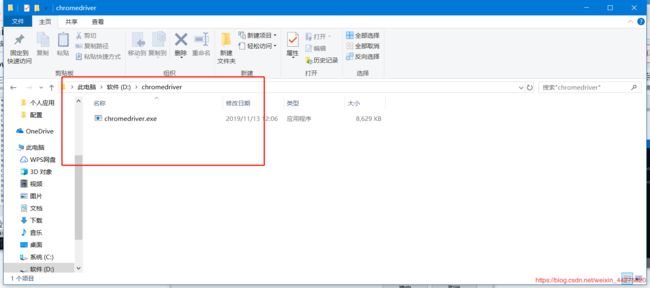
建议将驱动直接放在python的根目录下,如果用的venv环境,也要放在venv环境下(一定要重启IDE)
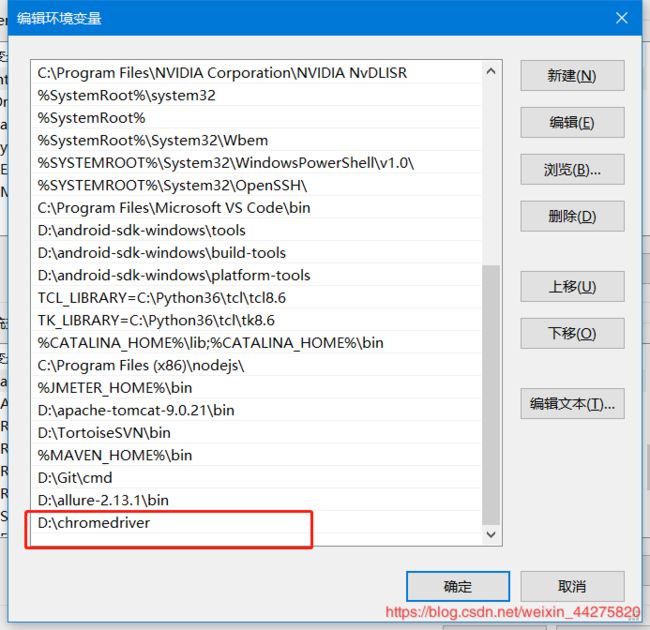
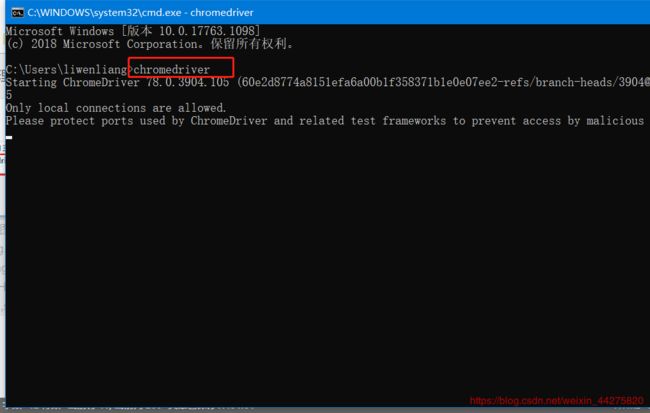
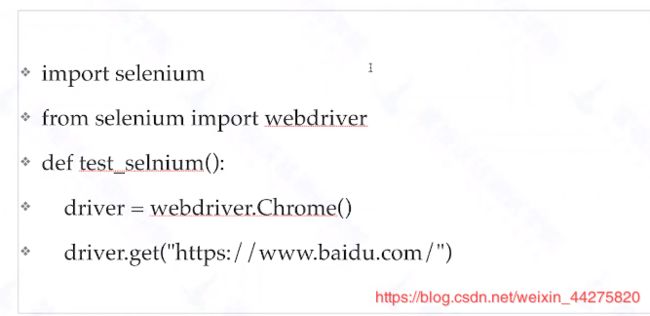
5、如何在python调用selenium
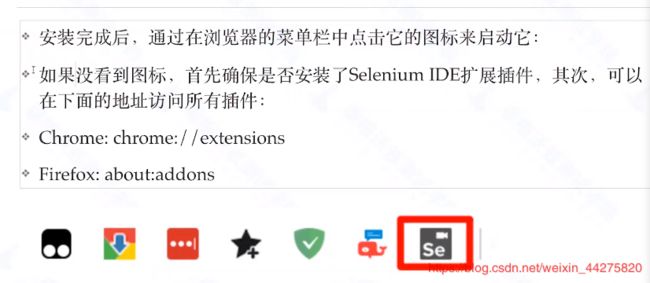
6、seleniumIDE的下载和安装

7、IDE的启动
8、录制第一个用例
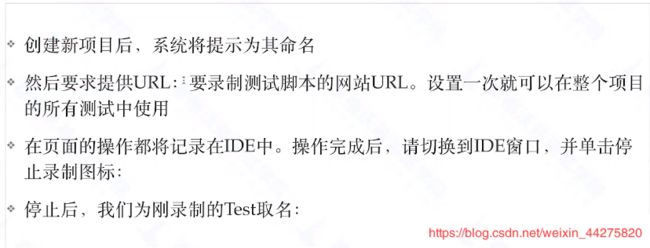
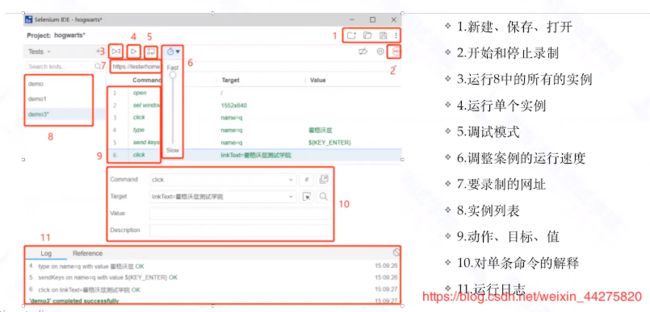
9、IDE的使用
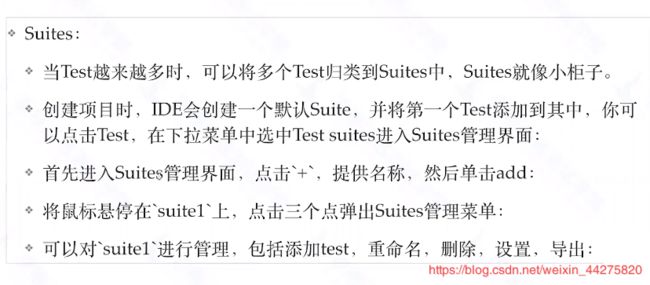
10、管理用例
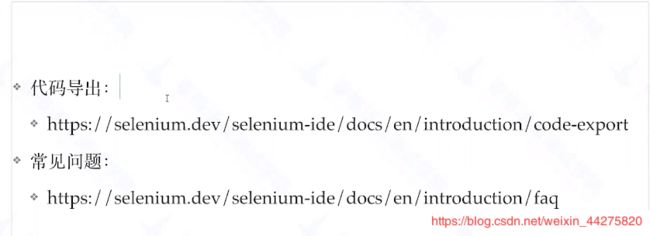
11、扩展(代码的导出功能)
12、python selenium文档(用例编写)
13、用例的关键要素

14、selenium 的三种等待方式
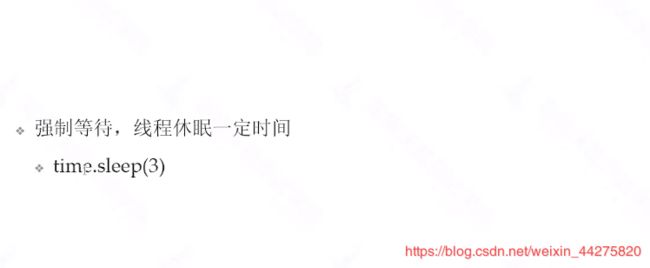
直接等待:time.sleep(3) ——不建议使用,遇到网络不好的情况会超时
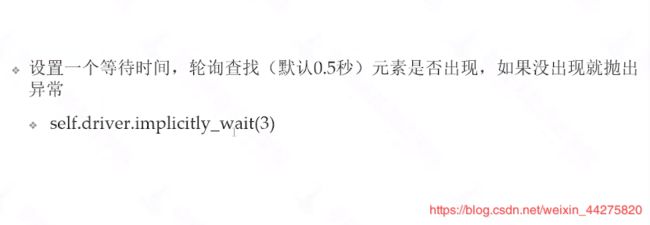
隐式等待:self.driver.implicitly_wait(3) ——缺点:这是全局等待,会造成不同场景不好设置等待时间,过长或者过短都不好
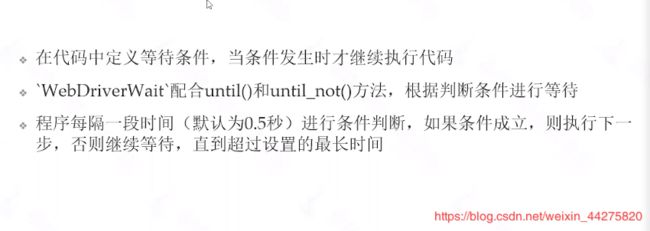
显式等待:WebDriverWait配合until()和until_not()方法,根据判断条件进行等待
实战演练
“”"
import pytest
from selenium import webdriver
from time import sleep
from selenium.webdriver.common.by import By
from selenium.webdriver.support.wait import WebDriverWait
from selenium.webdriver.support import expected_conditions
class TestPut():
def setup(self):
self.driver = webdriver.Chrome()
self.driver.maximize_window()
self.driver.implicitly_wait(5)
def teardown(self):
    sleep(5)
    self.driver.quit()

def test_case_a(self):
    self.driver.get("https://blog.csdn.net/weixin_44275820?t=1")
    WebDriverWait(self.driver, 10).until(
        expected_conditions.element_to_be_clickable(By.XPATH, '//*[@id="mainBox"]/main/div[2]/div[2]/h4/a'))

    self.driver.find_element(By.XPATH, '//*[@id="mainBox"]/main/div[2]/div[1]/h4/a').click()
if name == ‘main’:
pytest.main([’-v’, ‘-s’])
“”"
15、web控件定位与常见操作
selenium的输入与点击
输入内容:find_element(By.ID,‘123’).send_keys(“输入你想要的内容”)
点击:find_element(By.ID,‘456’).clcik()
xpath定位
优点:无论是selenium还是appium都可以定位,是一个万能的定位方式
缺点:运行速度比css慢很多,因为它是从头到尾的去遍历
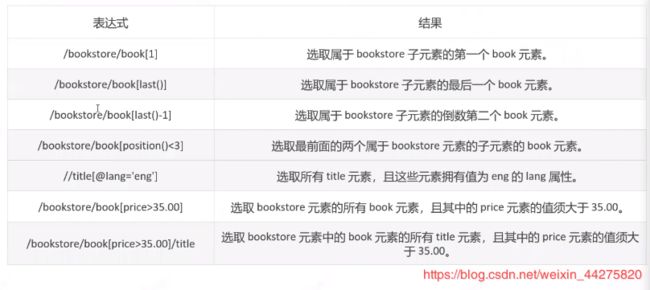
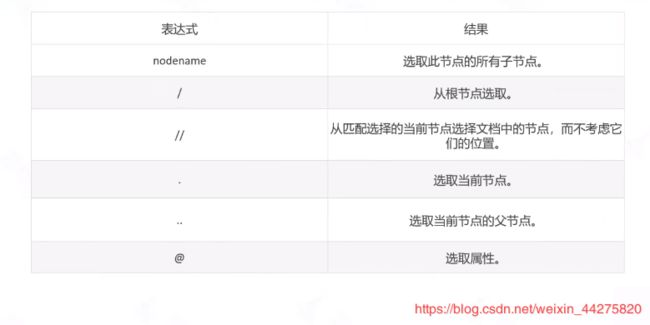
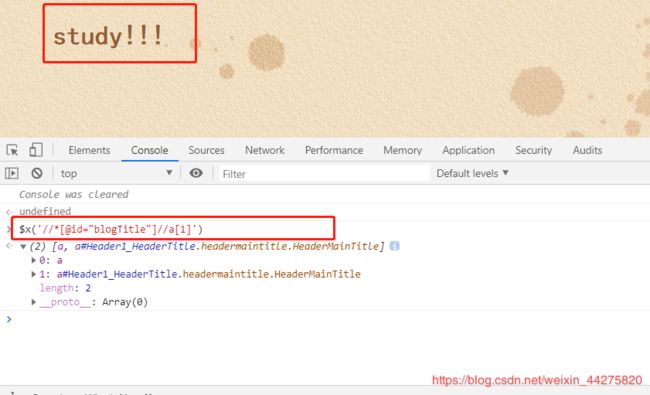
在浏览器的控制台上可以用$x()查看xpath定位是否成功
$x(’//*[@id=“blogTitle”]//a[1]’)
css定位(适用于css样式定位)
css定位不使用与appium,因为appium原生的框架不支持,但是当app嵌入了网页时,这个时候可以用css定位
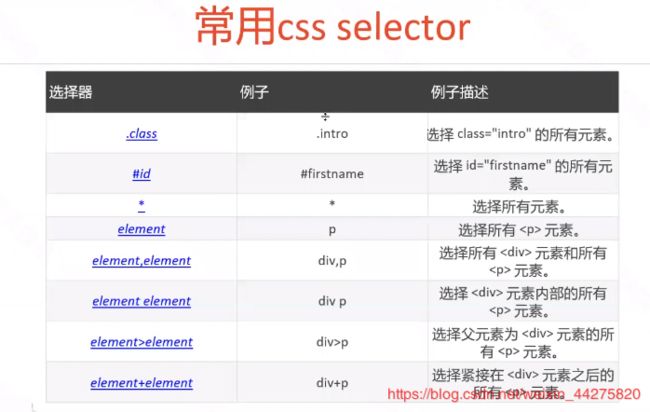
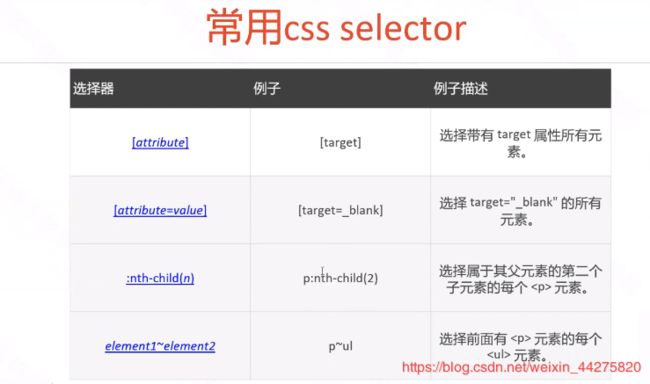
在浏览器的控制台上可以用$()查看xpath定位是否成功
$(’[id=blogTitle]’)
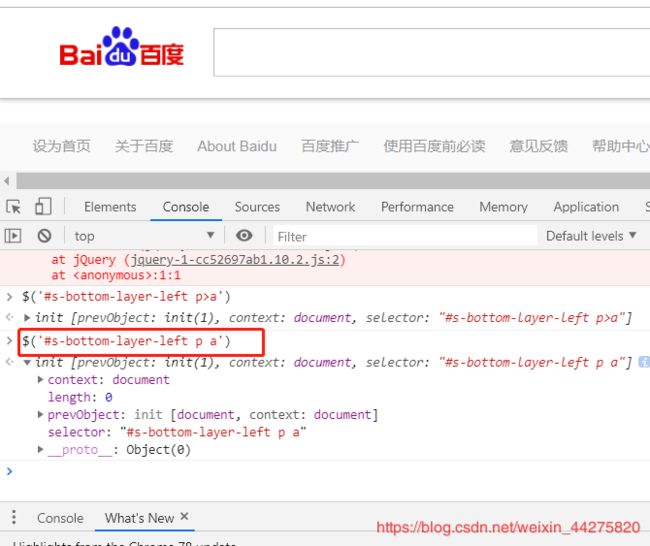
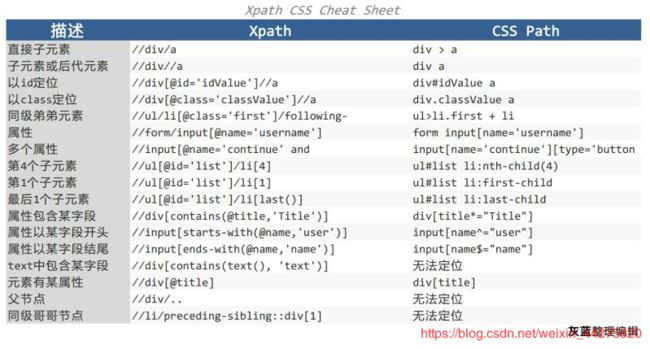
其余定位方式暂不介绍,无论时ID定位还是NAME定位,都是基于css定位封装的
16、web控件交互
官方文档:https://selenium-python.readthedocs/io.api.html
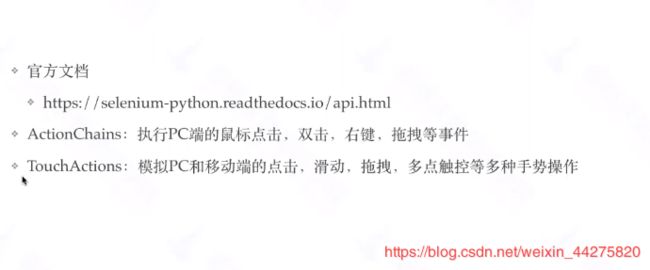
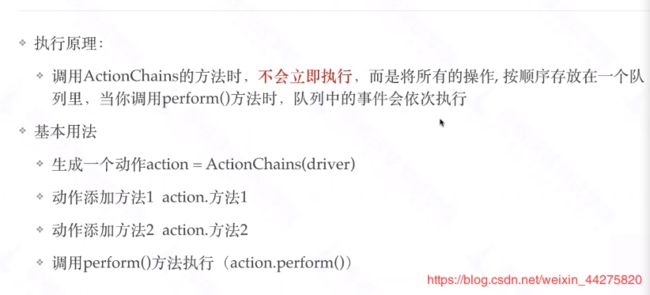
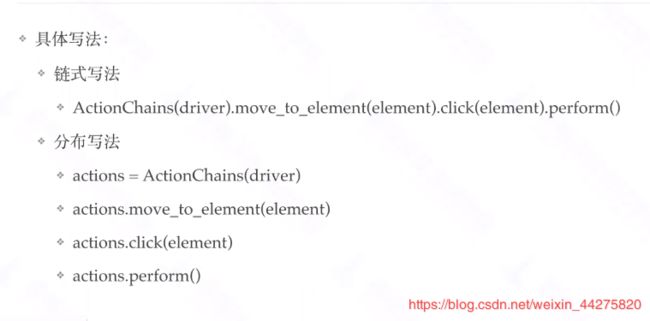
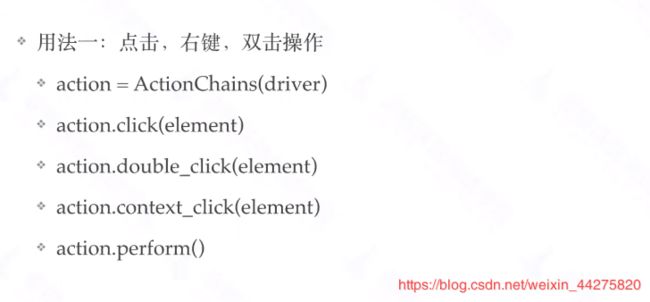
点击、双击、右键操作
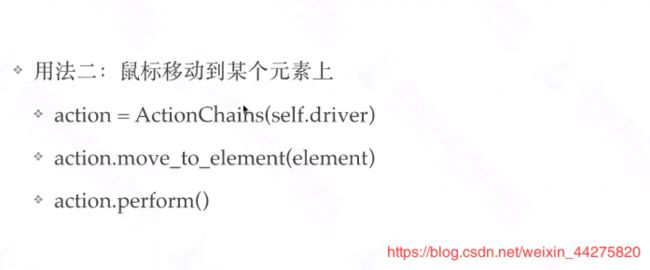
鼠标移动
特俗操作介绍:拖拽
element_d = self.driver.find_element(By.LINK_TEXT, 'abc')

        element_e = self.driver.find_element(By.LINK_TEXT, 'def')
        action = ActionChains(self.driver)
        '''
        action.drag_and_drop(element_d, element_e).perform()    #方法一拖拽
        action.click_and_hold(element_d).release(element_e).perform()   #方法二拖拽
        action.click_and_hold(element_d).move_to_element(element_e).release().perform() #方法三拖拽
        '''
模拟按键操作
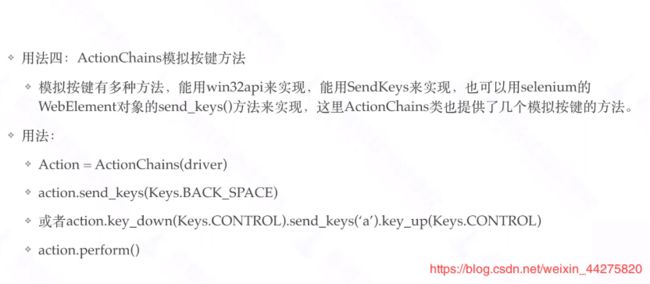
ActionCHains只能对web操作,这里就要介绍另外一种方法,既可以对web,也可以对H5进行操作
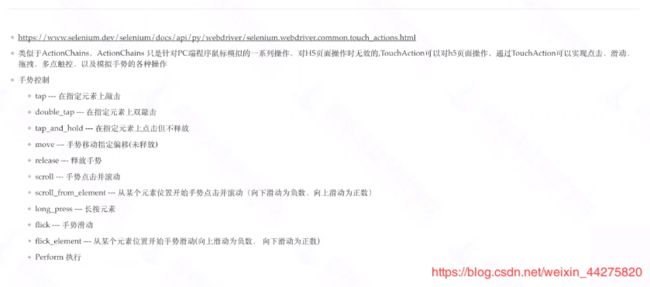
import pytest
from selenium import webdriver
from selenium.webdriver import TouchActions
from selenium.webdriver.common.by import By
from time import sleep


class TestTouchAction():
    def setup(self):
        option = webdriver.ChromeOptions()
        option.add_experimental_option('w3c', False)
        self.driver = webdriver.ChromeOptions(options=option)
        self.driver.implicitly_wait(10)
        self.driver.maximize_window()

    def teardown(self):
        self.driver.quit()

    def test_touchaction_scollbottom(self):
        self.driver.get('https://www.baidu.com')
        el = self.driver.find_element(By.ID, 'kw')
        el_search = self.driver.find_element(By.ID, 'su')

        el.send_keys("python难不难")
        action = TouchActions(self.driver)
        action.tap(el_search)
        action.perform()
        action.scroll_from_element(el, 0, 10000).perform()

if __name__ == '__main__':
    pytest.main(['-v', '-s'])
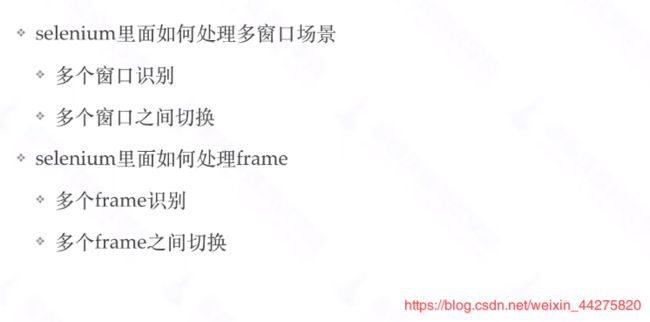
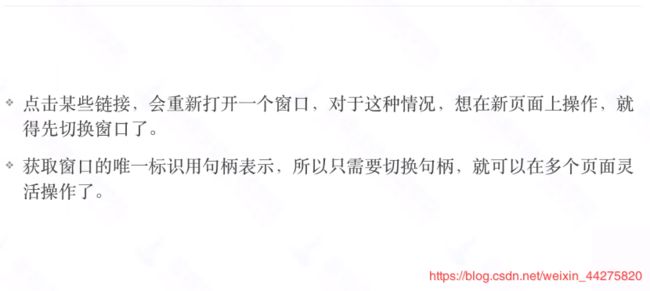
在操作页面时,我们经常会遇到点击某个链接,弹出新的窗口,这时候需要切换到新开的窗口上进行操作,webdriver提供了相应的方法,可以实现在不同窗口之间的切换。这个方法就是switch_to.window()

首先获取当前窗口的句柄:current_window = driver.current_window_handle

当打开新的窗口之后,获取当前打开的所有窗口句柄:all_handles = driver.window_handles

通过for循环及if语句,进入新打开的窗口。代码参考:

for handle in all_handles:

    if handle != current_window:

        driver.switch_to.window(handle)


回到之前的窗口

for handle in all_handles:

    if handle == current_window:

        driver.switch_to.window(handle)
例子如下:
current_window = driver.current_window_handle#获得当前窗口
time.sleep(2)
driver.find_element_by_xpath('//*[@id="proList"]/li/div/div[2]/span/a').click()#打开Belle/百丽冬黑绒时尚优雅羊绒皮女短靴BOU50DD7新窗口
time.sleep(3)
all_handles = driver.window_handles#获得所有窗口、
for handle in all_handles:#通过for循环及if语句,进入新打开的窗口
    if handle != current_window:
        driver.switch_to.window(handle)
time.sleep(5)
driver.find_element_by_xpath('//*[@id="imgBtn_0"]/span[2]/a[2]/img').click()#点击棕色
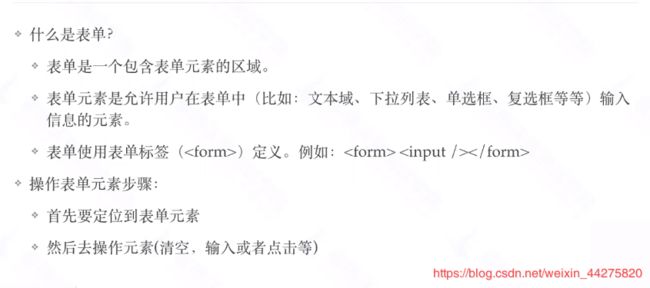
frame介绍
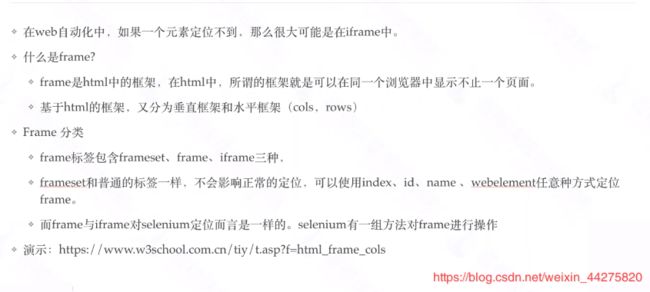
多frame切换
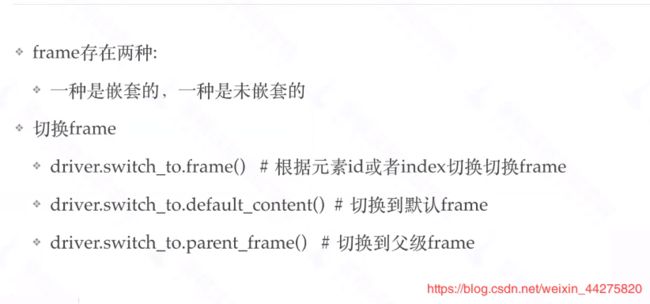
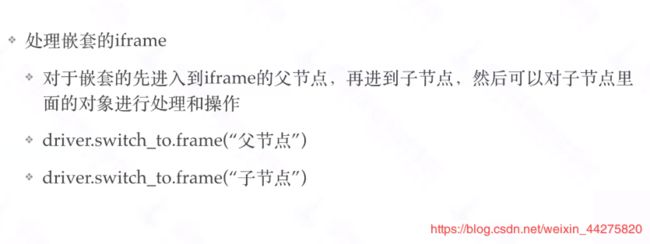
处理嵌套的iframe
17、selenium多浏览器处理
import os
from selenium import webdriver

class base():
    def setup(self):
        browser =os.getenv("browser")
        if browser == 'firefox':
            self.driver =webdriver.Firefox()
        elif browser == 'headless':
            self.driver=webdriver.PhantomJS()
        else:
            self.driver=webdriver.Chrome()
		self.driver.implicitly_wait(10)
        self.driver.maximize_window()
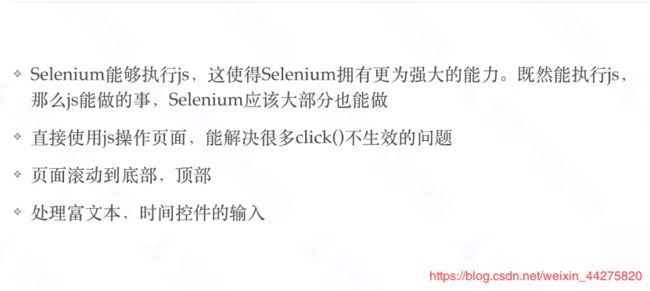
18、通过selenium执行javaScript脚本
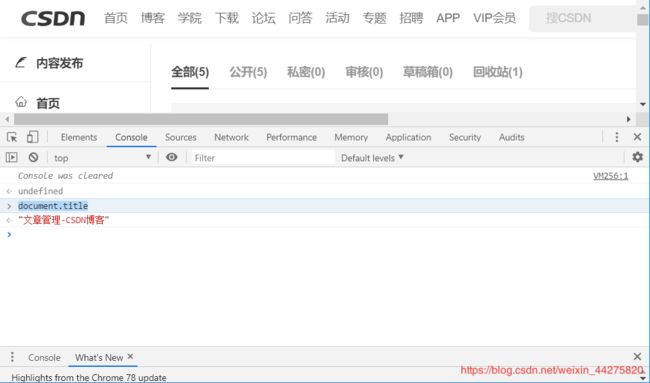
document.title——获取网站title
window.alert(“你在干嘛”)——模拟alert操作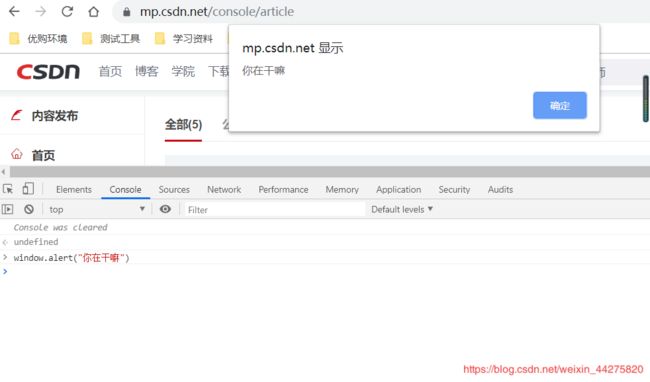
JSON.stringify(performance.timing)——获取性能数据
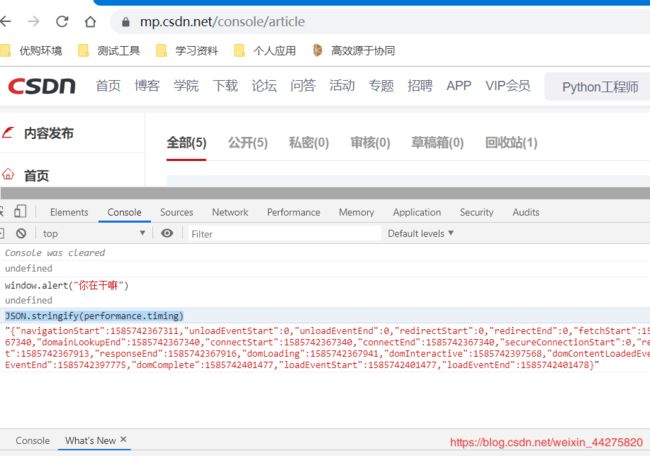
selenium怎么调用js
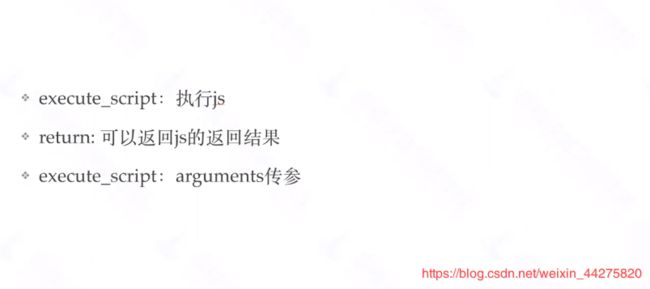
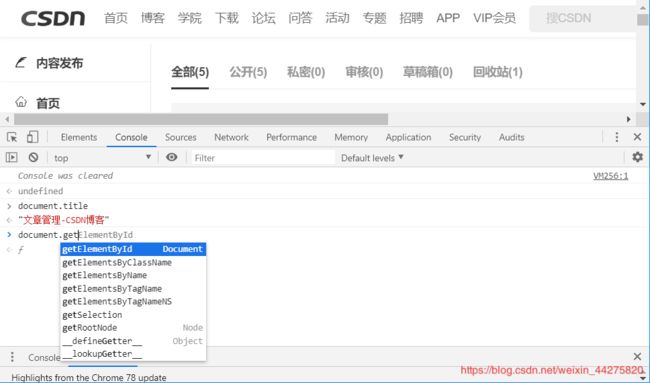
js 提供的定位方法
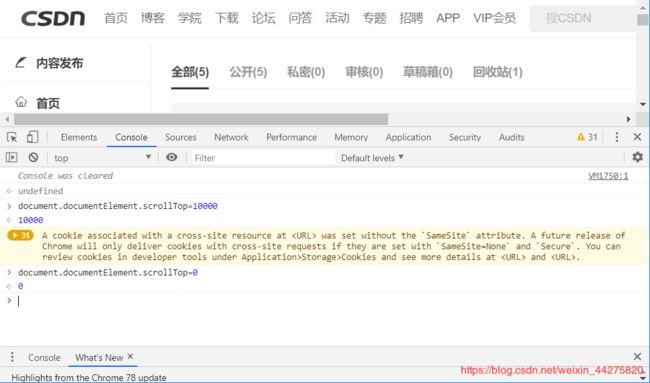
js 的滑动
document.documentElement.scrollTop=10000
当数值设定超出界限时,js滑动到底部,当数值为0时,滑动到首页,不同的数值滑动的范围不同
js处理时间控件
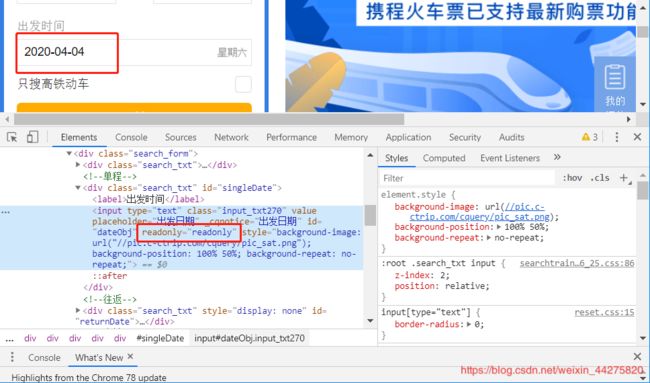
测试网站:https://trains.ctrip.com
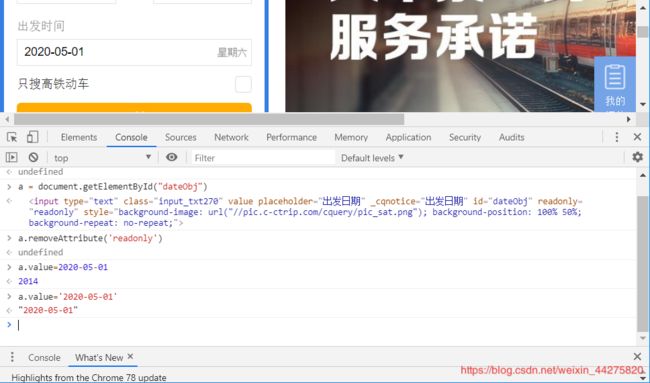
a = document.getElementById(“dateObj”)
a.removeAttribute(‘readonly’)
a.value=‘2020-05-01’
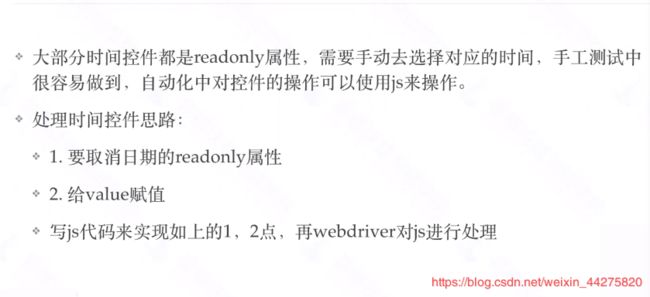
先定位到元素赋值给变量a,再移除变量a的readonly属性,最后重新给a的value赋值,这个时间控件我们就修改成功了
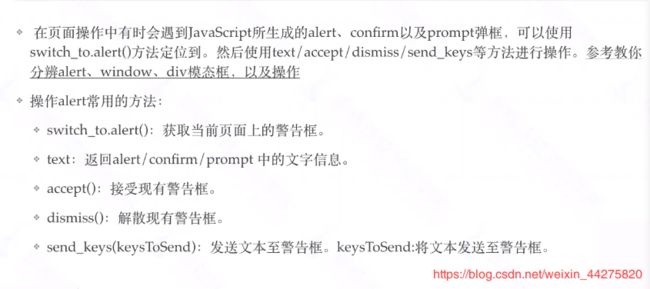
19、文件上传、弹窗处理
20、Page Object的介绍(重点)
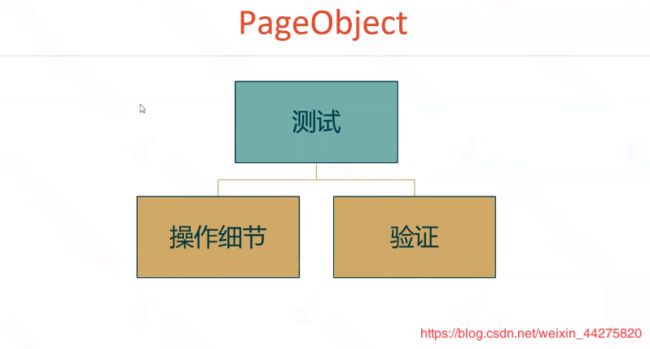
Page Object的设计模式
我们要操作细和验证分开,当我们页面元素等有改动时,我们只需要改动操作细节里的代码,而它提供一个方法给验证,从而验证里面的代码我们不需要做修改
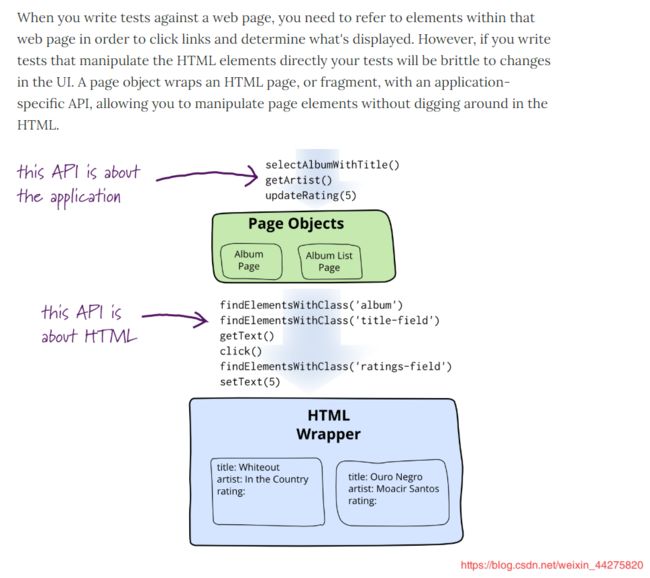
模式的介绍可以看下官方文档
http://martinfowler.com/bliki/PageObject.html
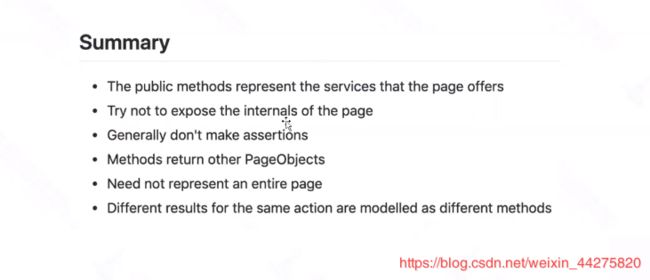
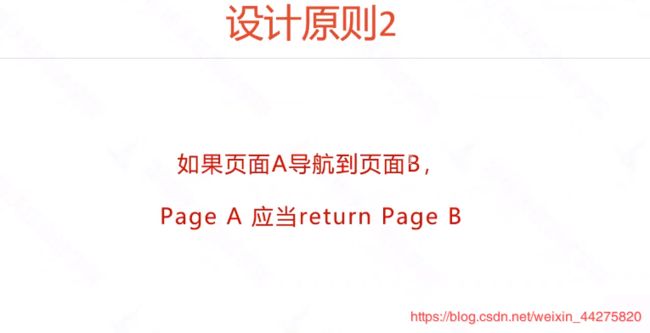
Page Object的六大原则

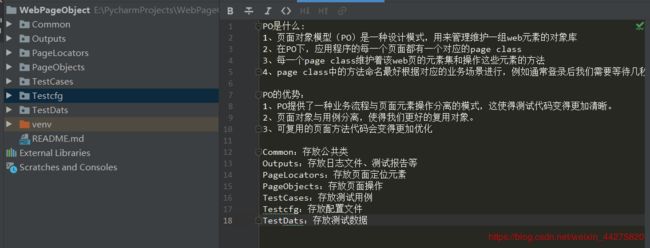
PO是什么:
1、页面对象模型(PO)是一种设计模式,用来管理维护一组web元素的对象库
2、在PO下,应用程序的每一个页面都有一个对应的page class
3、每一个page class维护着该web页的元素集和操作这些元素的方法
4、page class中的方法命名最好根据对应的业务场景进行,例如通常登录后我们需要等待几秒钟,
PO的优势:
1、PO提供了一种业务流程与页面元素操作分离的模式,这使得测试代码变得更加清晰。
2、页面对象与用例分离,使得我们更好的复用对象。
3、可复用的页面方法代码会变得更加优化
4、更加有效的命名方式使得我们更加清晰的知道方法所操作的UI元素
为了让大家印象更加深刻,我会实战演示给大家看,明白Page Object的强大之处
21、浏览器的复用**(待更新)**
