linux基础操作3-串口收发
导:学习过单片机的用户,对串口不会太陌生,在单片机串口编程中,需要用户直接对寄存器以及中断进行控制。
而在 linux 串口编程中,无论是从 linux 官方直接下载的原生态内核,还是任何厂家提供的linux 内核,都会将串口驱动写好,所以对于所有的驱动工程师来说,是完全不需要自己动手写串口驱动的。
串口的编程:
1.初始化:配置波特率,数据位,校验位
首先定义一个初始化函数
int set_opt(int fd,int nSpeed, int nBits, char nEvent, int nStop)。
int set_opt(int fd,int nSpeed, int nBits, char nEvent, int nStop)
{
		struct termios newtio,oldtio;
		if  ( tcgetattr( fd,&oldtio)  !=  0) {
			perror("SetupSerial 1");
			return -1;
		}
		bzero( &newtio, sizeof( newtio ) );
		newtio.c_cflag  |=  CLOCAL | CREAD;
		newtio.c_cflag &= ~CSIZE;

		switch( nBits )
		{
			case 7:
				newtio.c_cflag |= CS7;
				break;
			case 8:
				newtio.c_cflag |= CS8;
				break;
		}

		switch( nEvent )
		{
		case 'O':
			newtio.c_cflag |= PARENB;
			newtio.c_cflag |= PARODD;
			newtio.c_iflag |= (INPCK | ISTRIP);
			break;
		case 'E':
			newtio.c_iflag |= (INPCK | ISTRIP);
			newtio.c_cflag |= PARENB;
			newtio.c_cflag &= ~PARODD;
			break;
		case 'N':
			newtio.c_cflag &= ~PARENB;
			break;
		}

		switch( nSpeed )
		{
			case 2400:
				cfsetispeed(&newtio, B2400);
				cfsetospeed(&newtio, B2400);
				break;
			case 4800:
				cfsetispeed(&newtio, B4800);
				cfsetospeed(&newtio, B4800);
				break;
			case 9600:
				cfsetispeed(&newtio, B9600);
				cfsetospeed(&newtio, B9600);
				break;
			case 115200:
				cfsetispeed(&newtio, B115200);
				cfsetospeed(&newtio, B115200);
				break;
			case 460800:
				cfsetispeed(&newtio, B460800);
				cfsetospeed(&newtio, B460800);
				break;
			default:
				cfsetispeed(&newtio, B9600);
				cfsetospeed(&newtio, B9600);
				break;
		}
		if( nStop == 1 )
			newtio.c_cflag &=  ~CSTOPB;
		else if ( nStop == 2 )
			newtio.c_cflag |=  CSTOPB;
			newtio.c_cc[VTIME]  = 0;
			newtio.c_cc[VMIN] = 0;
			tcflush(fd,TCIFLUSH);
		if((tcsetattr(fd,TCSANOW,&newtio))!=0)
		{
			perror("com set error");
			return -1;
		}

			printf("串口设置完成!\n\r");
		return 0;
}
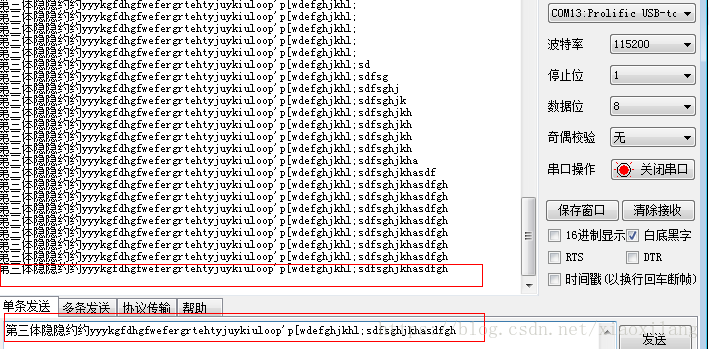
2.串口收发测试
#include
#include
#include
#include
#include
#include
#include
#include


#include
#include
#include
#include

int set_opt(int ,int , int , char , int );
void main()
{
	int fd,nByte;
	char *uart3 = "/dev/ttySAC3";
	char *uart_out="请输入:\n";
	char buff[512];
	memset(buff,0,sizeof(buff));
	if((fd=open(uart3,O_RDWR | O_NOCTTY))<0)
	{
		printf("打开失败\n");
	}else
	{
		set_opt(fd,115200,8,'N',1);
		write(fd,uart_out,strlen(uart_out));
		while(1)
		{
			while((nByte=read(fd,buff,512))>0)
			{
				buff[nByte+1]='\0';
				write(fd,buff,strlen(buff));
				memset(buff,0,strlen(buff));
				nByte=0;
			}
		}
	}

} 
