Android 实现一个简易横向流式布局
SimpleFlowLayout:一个简易的横向流式布局,只实现核心功能,使用者可自行扩展
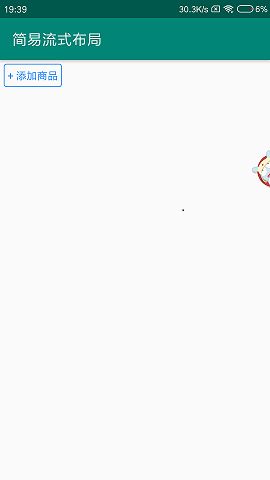
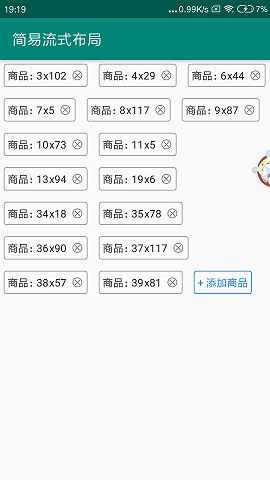
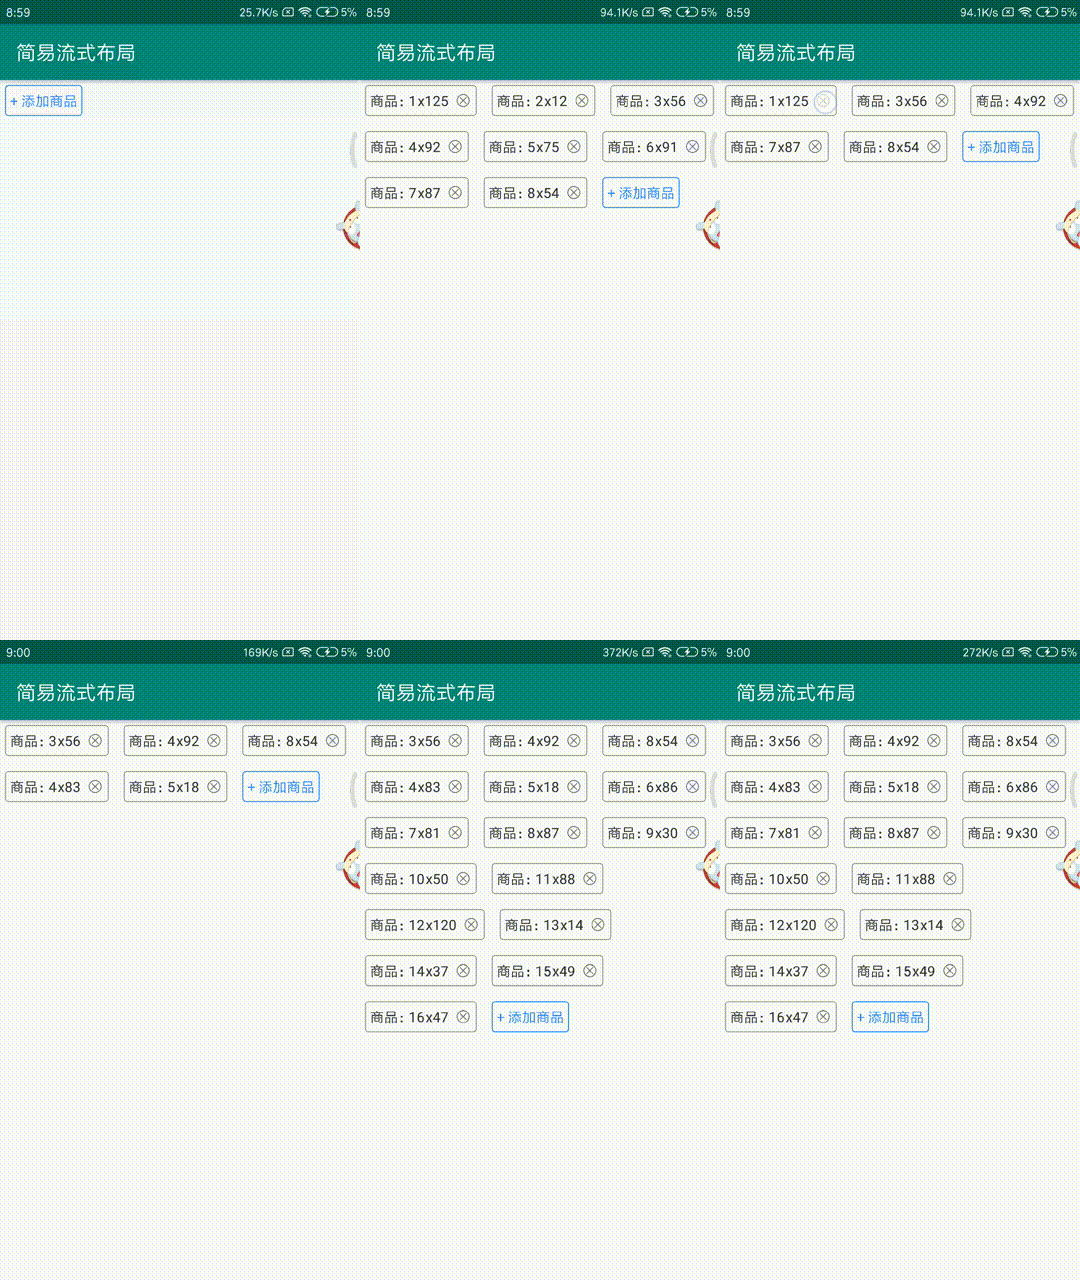
Demo图片如下所示:


SimpleFlowLayout直接继承自ViewGroup,主要负责实现的功能点为:
- 自定义属性:提供每行Item间距,行与行之间的间距属性,方便使用者更改
- onMeasure()测量方法: 负责测量当宽度和高度为MatchParent和WrapContent以及SimpleFlowLayout被嵌套在ScrollView或者NestedScrollView中时的measure情况,还有使用Padding的情况
- onLayout()摆放方法:直接继承自ViewGroup时必须要实现的方法
一、实现自定义属性:
在Values下新建attrs.xml属性文件,加入自定义属性
<resources>
    <declare-styleable name="SimpleFlowLayout">
        <attr name="hor_divider_width" format="dimension"/>
        <attr name="hor_row_height" format="dimension"/>
    </declare-styleable>
</resources>
其次在布局文件中使用
<?xml version="1.0" encoding="utf-8"?>
<android.support.v4.widget.NestedScrollView
    xmlns:android="http://schemas.android.com/apk/res/android"
    xmlns:app="http://schemas.android.com/apk/res-auto"
    xmlns:tools="http://schemas.android.com/tools"
    android:layout_width="match_parent"
    android:layout_height="wrap_content"
    tools:context=".MainActivity">

    <!--hor_divider_width:每行的Item间距
        hor_row_height:行间距-->
    <com.wjr.simple_flow_layout.SimpleFlowLayout
        android:id="@+id/flow_layout"
        android:layout_width="match_parent"
        android:layout_height="wrap_content"
        android:padding="5dp"
        app:hor_divider_width="15dp"
        app:hor_row_height="15dp"/>

</android.support.v4.widget.NestedScrollView>
最后在自定义View中获取到自定义属性
public SimpleFlowLayout(Context context, @Nullable AttributeSet attrs, int defStyleAttr) {
        super(context, attrs, defStyleAttr);
        TypedArray typedArray = context.obtainStyledAttributes(attrs, R.styleable.SimpleFlowLayout);
        dividerWidth = (int) typedArray.getDimension(R.styleable.SimpleFlowLayout_hor_divider_width, defDW);
        rowHeight = (int) typedArray.getDimension(R.styleable.SimpleFlowLayout_hor_row_height, defRH);
        typedArray.recycle();
    }
第一部分没什么难点,接下来看第二部分测量自定义View控件的实现
二、onMeasure()方法的具体实现:
首先分析SimpleFlowLayout的功能点:
1. 能够自定义行Item的间距和行与行的间距
2. 当子View铺满一行时,则进行换行
实现思路:
只考虑width / height 为WrapContent的情况,如果为MatchParent则使用原测量值即可,
当没有子View,childCount == 0时,则SimpleFlowLayout宽高设置为0;
当childCount == 1时,则SimpleFlowLayout的宽高设置为 child 的宽高 + PaddingLeft & PaddingRight,dividerWidth 和 rowHeight属性不生效
首先考虑宽度为WrapContent的情况:
1. 当childCount > 1时,则从所有子View中选择宽度最大值 + PaddingLeft & PaddingRight 作为最终宽度
/**
     * 计算宽度为wrap_content
     * 求出child中宽最大的,得到最终宽度
     *
     * @param width 初步测量得到的宽度
     */
    private int calculateWidth(int width) {
        if (mChildCount == 1) {
            int singleWidth = getChildAt(0).getMeasuredWidth() + (padLeft + padRight);
            if (width == 0) {
                return singleWidth;
            }
            return Math.min(width, singleWidth);
        } else {
            int result = 0;
            for (int i = 0; i < mChildCount; i++) {
                int childWidth = getChildAt(i).getMeasuredWidth();
                if (result < childWidth) {
                    result = childWidth;
                }
            }
            return Math.min(width, result + (padLeft + padRight));
        }
    }
其次考虑高度为WrapContent的情况:
1. 当childCount > 1时,求出行可用宽度:
int useableWidth = width - padLeft - padRight;
其次循环遍历所有子View,当子View叠加至宽度占满一行时,进行换行,记录行数
求出最终高度为:height = 子View高度 * 行数 + 行间距 * (行数 - 1) + PaddingTop & PaddingBottom
贴上代码:
/**
     * 计算高度为wrap_content
     * 计算child所占的总行数 * 行宽 + (行数 - 1) * 行间距 + 上下间距
     *
     * @param width  初步测量得到的宽度
     * @param height 初步测量得到的高度
     */
    private int calculateHeight(int width, int height) {
        int useableWidth = width - padLeft - padRight;
        if (mChildCount == 1) {
            int singleHeight = getChildAt(0).getMeasuredHeight() + (padTop + padBottom);
            if (height == 0) {
                return singleHeight;
            }
            return Math.min(height, singleHeight);
        } else {
            // 对每个view测量算出行数
            int itemWidth = 0;
            int line = 1;
            for (int i = 0; i < mChildCount; i++) {
                View child = getChildAt(i);
                int childW = child.getMeasuredWidth();
                int fakeW = itemWidth + childW;
                if (fakeW >= useableWidth) {
                    // 行数+1
                    itemWidth = 0;
                    itemWidth += childW + dividerWidth;
                    line++;
                } else {
                    // 未占满一行,行宽度+=子view宽度
                    itemWidth += childW;
                    if (i != mChildCount - 1) {
                        itemWidth += dividerWidth;
                    }
                }
            }

            line = Math.min(line, mChildCount);
            //  高度=子view高度 * line + 行间距 * (line - 1) + 上下间距
            return getChildAt(0).getMeasuredHeight() * line + rowHeight * (line - 1) + padTop + padBottom;
        }
    }
最后确定宽高,设置Dimension:
/**
     * 测量原理:
     * 当宽度为WrapContent时,则取所有子View里面宽度最长的一个作为总宽度,如果childCount=1,则直接返回子view的宽度 + 左右间距
     * 当高度为WrapContent时,则高度=:计算出所有子View能够摆放的行数 * (行高度) +(行数-1) * 行间距 + 上下间距,如果childCount=1,同上
     */
    @Override
    protected void onMeasure(int widthMeasureSpec, int heightMeasureSpec) {
        int width = MeasureSpec.getSize(widthMeasureSpec);
        int height = MeasureSpec.getSize(heightMeasureSpec);
        int wMode = MeasureSpec.getMode(widthMeasureSpec);
        int hMode = MeasureSpec.getMode(heightMeasureSpec);

        padLeft = getPaddingLeft();
        padRight = getPaddingRight();
        padTop = getPaddingTop();
        padBottom = getPaddingBottom();

        mChildCount = getChildCount();
        measureChildren(widthMeasureSpec, heightMeasureSpec);

        if (mChildCount == 0) {
            setMeasuredDimension(0, 0);
            return;
        }

        width = measureWidth(width, wMode);
        height = measureHeight(width, height, hMode);

        setMeasuredDimension(width, height);
    }
三、onLayout()方法的具体实现:
摆放原理:
变量说明:
itemWidth = PaddingLeft // 行总宽度:初始宽度为左间距
itemHeight = PaddingTop // 高总宽度:初始高度为上间距
首先还是宽Width:
每行的实际宽度 = 每行所有的子View所有宽度 + (子View的个数 - 1) * Item间距
当子View叠加超过一行时,则记录当前行的总宽度置为默认(PaddingLeft)
其次是高Height
遍历子View时,首先判断当前行的总宽度 + 当前子View的宽度是否超过当前行可用宽度(总宽度-PaddingRight),若是超过,则进行换行处理:总宽度置为默认,高度进行叠加
其次进行layout摆放,总宽度 += 当前view的宽度 + dividerWidth(Item间距);
所以每次循环后子View摆放的实际位置为:
child.layout(itemWidth, itemHeight, itemW + childWidth, itemHeight + childH);
最后贴上代码:
/**
     * 摆放原理:按行摆放,循环遍历子View,当子View叠加宽度至一行时宽度重新变为左padding间距,
     * 高度叠加当前行的item高度
     * 进行换行时总高度=当前所有行高度+自定义行间距,然后以此类推叠加
     */
    @Override
    protected void onLayout(boolean changed, int l, int t, int r, int b) {
        // 子View的左边距和上边距
        int itemWidth = padLeft;
        int itemHeight = padTop;
        // 记录上一个子View的高度值,当前行所有子view宽度+下一个(i+1)子View的宽度超过一行时,则高度叠加
        int tempHeight = 0;
        for (int i = 0; i < mChildCount; i++) {
            View child = getChildAt(i);
            // 计算当前行总宽度+当前下标子view宽度是否超过父容器行宽度,是则换行,否则直接进行layout摆放
            int childW = child.getMeasuredWidth();
            int childH = child.getMeasuredHeight();
            // 先计算出当前行的view宽度 + 当前子View宽度,是否超过当前行所剩余的宽度
            int fakeW = itemWidth + childW;
            if (fakeW >= getMeasuredWidth() - padRight) {
                // 宽度占满一行,进行换行
                if (i != 0) {
                    itemHeight += rowHeight + tempHeight;
                }
                itemWidth = padLeft;
                fakeW = itemWidth + childW;
            }
            child.layout(itemWidth, itemHeight, fakeW, itemHeight + childH);
            itemWidth += childW + dividerWidth;
            tempHeight = childH;
        }
    }
四、使用SimpleFlowLayout:
使用SimpleFlowLayout就像使用普通的ViewGroup一样,通过addView()添加子Item,删除也是调用removeView()等原有api
我的Demo中(上图)是模拟添加商品后的一个展示过程,每个View的创建都需要去自己去写出来,因为考虑到流式布局中的不同View视图效果,所以不会将子View写死在ViewGroup中,由自己定义。
待完善的一些细节:
1. 没有测量子View的Margin值,所以当子View设置Margin是会无效,因为项目使用需求,所以暂时没有实现
2. 子View的高度暂时只能都相同,因为控件本身常用来盛放 热门标签Tag,商品标签等等一些小的View,所以暂时没有实现宽度不一致时的摆放方法。
Tips:如果你的子View是TextView及相似的View,加入 MaxLines=1 或者 SingleLine 属性限制其宽度不能超过父容器宽度。
可拓展的功能:
1. 自定义子View,比如长按,选中,多选
2 .加入ViewGroup动画
代码已放至Github:
[SimpleFlowLayout](https://github.com/SmartKidsLOL/SimpleFlowLayout
欢迎加入Android/Java 开发交流群,群里有学习资料,遇到问题可以进行交流,共同成长。群号:542222046

