图像几何变换
一.仿射变换概念
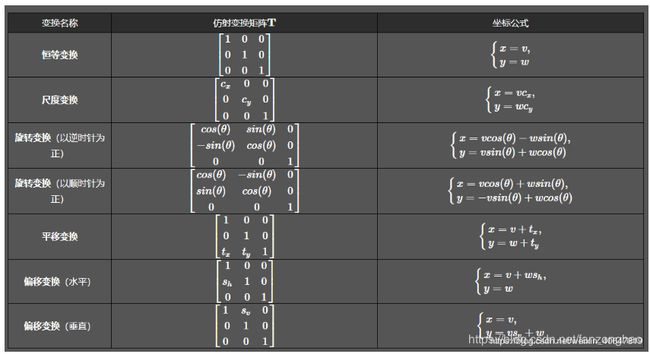
1.下图是一般形式,其中x,y代表原坐标,v,w代表变换后的坐标,T是变换矩阵
其中几种常见的变换形式矩阵为:
2.坐标系变换
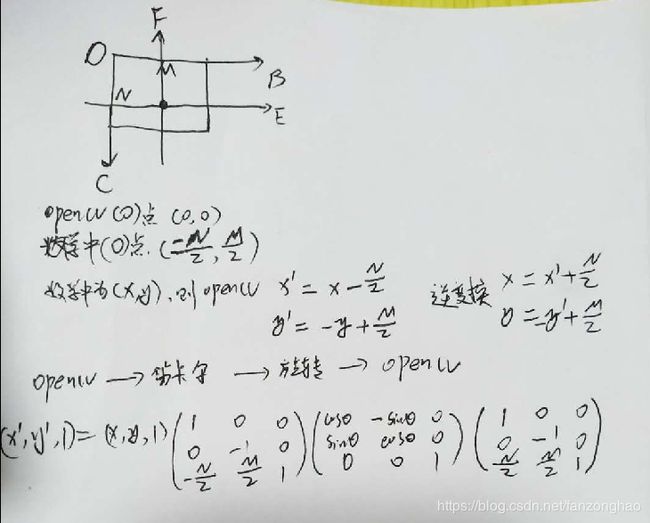
再看第二个问题,变换中心,对于缩放、平移可以以图像坐标原点(图像左上角为原点)为中心变换,这不用坐标系变换,直接按照一般形式计算即可。而对于旋转和偏移,一般是以图像中心为原点,那么这就涉及坐标系转换了。
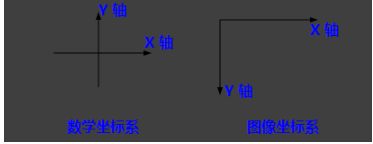
我们都知道,opencv的原点在图像左上角,水平向右为 X 轴,垂直向下为 Y 轴。课本中常见的坐标系是以图像中心为原点,水平向右为 X 轴,垂直向上为 Y 轴,称为笛卡尔坐标系。看下图:
因此,对于旋转和偏移,就需要3步(3次变换):
- 将输入原图图像坐标转换为笛卡尔坐标系;
- 进行顺时针旋转计算。旋转矩阵前面已经给出了;
- 将旋转后的图像的笛卡尔坐标转回图像坐标。
3.示例:(250,0)绕(250,250)旋转120度
import cv2
import numpy as np
from math import cos,sin,pi

def rotate_one(x,y,angle,cx,cy):

    """
    点(x,y) 绕(cx,cy)点顺时针旋转
    """
    angle = angle*pi/180
    x_new = (x-cx)*cos(angle) + (cy-y)*sin(angle)+cx
    y_new = (x-cx)*sin(angle) + (y-cy)*cos(angle)+cy
    return x_new, y_new

def rotate_two(x,y,angle,cx,cy):
    """
       点(x,y) 绕(cx,cy)点顺时针旋转
    """
    angle = angle * pi / 180
    input_matrix = np.array([x, y, 1])
    transform_matrix = np.array([[1, 0, 0],
                                 [0, -1, 0],
                                 [-cx, cy, 1]])
    inv_transform_matrix = np.array([[1, 0, 0],
                                     [0, -1, 0],
                                     [cx, cy, 1]])
    rotate_matrix = np.array([[cos(angle), -sin(angle), 0],
                              [sin(angle), cos(angle), 0],
                              [0,           0,         1]])
    output_matrix = ((input_matrix.dot(transform_matrix)).dot(rotate_matrix)).dot(inv_transform_matrix)
    x_new, y_new, _ = output_matrix
    return x_new, y_new
def test_cv2():

    img=np.zeros((501,501))

    x, y= 250, 0
    cx,cy=250,250
    angle=120
    # x_new, y_new = rotate_one(x,y,angle,cx,cy)
    # cv2.circle(img,(x,y),radius=2,color=(255,255,255),thickness=2)
    # cv2.circle(img, (cx, cy), radius=2, color=(255, 255, 255), thickness=2)
    # cv2.circle(img, (int(x_new), int(y_new)), radius=2, color=(255, 255, 255), thickness=2)
    # cv2.imshow('img', img)
    # cv2.waitKey(0)

    x_new, y_new = rotate_two(x,y,angle,cx,cy)
    cv2.circle(img,(x,y),radius=2,color=(255,255,255),thickness=2)
    cv2.circle(img, (cx, cy), radius=2, color=(255, 255, 255), thickness=2)
    cv2.circle(img, (int(x_new), int(y_new)), radius=2, color=(255, 255, 255), thickness=2)
    cv2.imshow('img', img)
    cv2.waitKey(0)


if __name__ == '__main__':
    test_cv2()
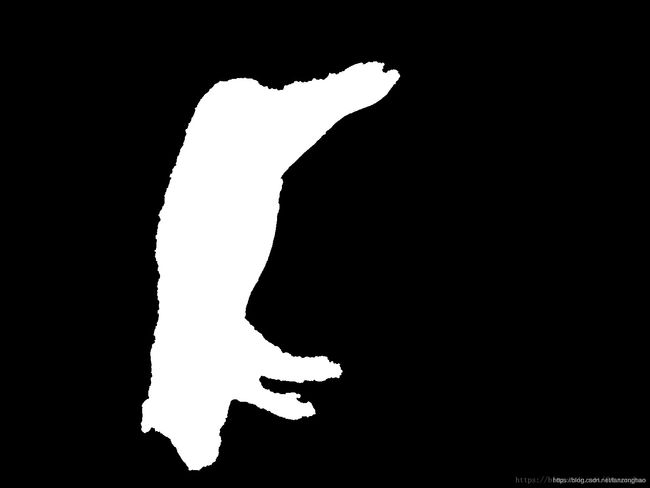
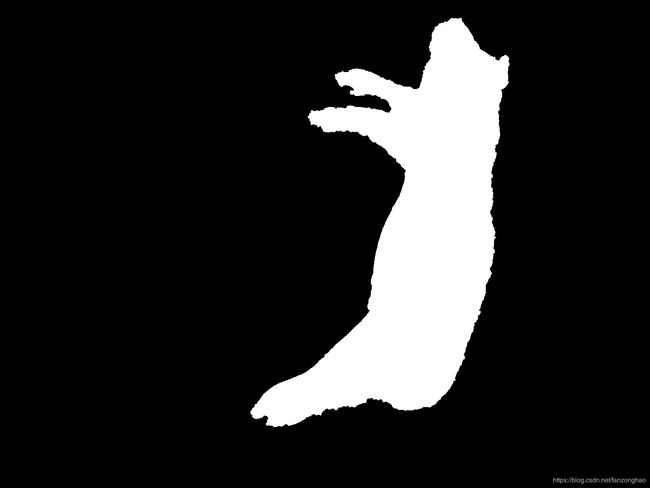
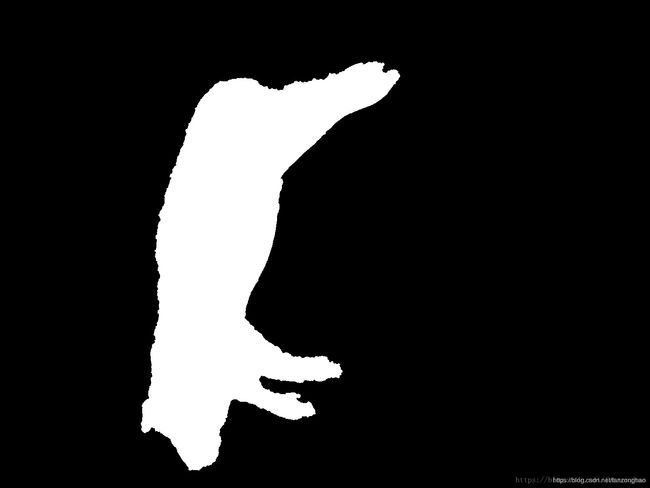
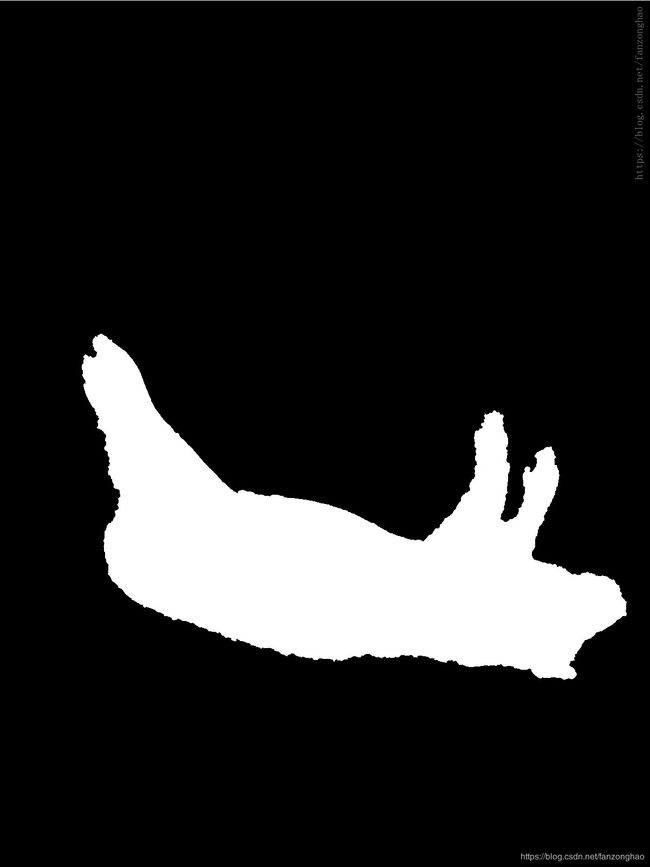
4.代码示例:对图中的最大轮廓猪猪旋转180度
import cv2
import numpy as np
from math import cos,sin,pi
import imutils
from matplotlib import pyplot as plt

def rotate(points, angle, cx, cy):
    """
       点(x,y) 绕(cx,cy)点顺时针旋转
    """
    h, w = points.shape
    one = np.ones((h, 1))
    input_matrix = np.hstack((points,one))
    print(input_matrix.shape)
    print(input_matrix[:2])
    angle = angle * pi / 180

    # input_matrix = np.array([x, y, 1])
    transform_matrix = np.array([[1, 0, 0],
                                 [0, -1, 0],
                                 [-cx, cy, 1]])
    inv_transform_matrix = np.array([[1, 0, 0],
                                     [0, -1, 0],
                                     [cx, cy, 1]])
    rotate_matrix = np.array([[cos(angle), -sin(angle), 0],
                              [sin(angle), cos(angle), 0],
                              [0,           0,         1]])
    output_matrix = ((input_matrix.dot(transform_matrix)).dot(rotate_matrix)).dot(inv_transform_matrix).astype(np.int)
    # print(output_matrix.shape)
    # print(output_matrix[:2])
    # x_new, y_new, _ = output_matrix
    return output_matrix[:, :-1]

def test_pig_rotate():
    path = './20181011234118419.jpeg'
    img = cv2.imread(path)
    gary = cv2.cvtColor(img,cv2.COLOR_BGR2GRAY)
    black=np.zeros([img.shape[0], img.shape[1]])
    #二值化找轮廓
    image_thre = cv2.threshold(gary, 127, 255, cv2.THRESH_BINARY)[1]
    cnts = cv2.findContours(image_thre, cv2.RETR_EXTERNAL, cv2.CHAIN_APPROX_SIMPLE)
    contours = cnts[0] if imutils.is_cv2() else cnts[1]
    c_ = sorted(contours, key=cv2.contourArea, reverse=True)
    points = np.squeeze(c_[0])

    # #debug show
    plt.figure(figsize=(15,15))
    # plt.plot(points[:, 0], points[:, 1])
    # plt.show()

    contour_list = []
    new_points = rotate(points, angle=120, cx=img.shape[1]//2, cy=img.shape[0]//2)
    contour_list.append(new_points[:, np.newaxis, :])

    black = cv2.drawContours(black, contour_list, -1, (255, 255, 255), thickness=-1)
    cv2.imwrite('./3.jpg', black)


if __name__ == '__main__':
    # test_cv2()
    test_pig_rotate()
原图:
顺时针旋转180度:
5.代码示例:对整张图进行旋转
# 旋转图片无黑边
def rotate_image():
    from math import fabs
    from math import sin, cos, radians
    path = './20181011234118419.jpeg'
    img = cv2.imread(path)
    # img=cv2.imread('2018-09-10IMG_8003.jpg')
    height, width = img.shape[:2]

    degree = 90
    # 旋转后的尺寸
    heightNew = int(width * fabs(sin(radians(degree))) + height * fabs(cos(radians(degree))))
    widthNew = int(height * fabs(sin(radians(degree))) + width * fabs(cos(radians(degree))))

    matRotation = cv2.getRotationMatrix2D((width / 2, height / 2), degree, 1)

    # print(matRotation[0, 2])
    # print(matRotation)
    matRotation[0, 2] += (widthNew - width) / 2
    matRotation[1, 2] += (heightNew - height) / 2

    imgRotation = cv2.warpAffine(img, matRotation, (widthNew, heightNew), borderValue=(255, 255, 255))
    #
    # cv2.imshow('img', imgRotation)
    # cv2.waitKey(0)
    cv2.imwrite('img_size_1_ok.jpg', imgRotation)
if __name__ == '__main__':
    rotate_image()
