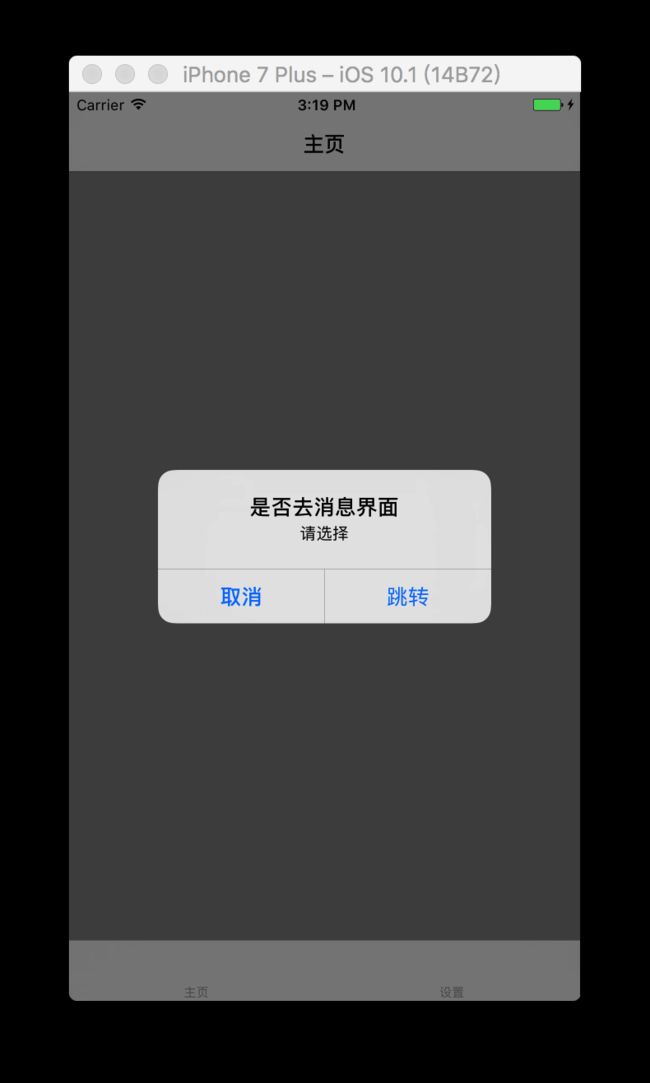
现在有一个需求,有通知过来,app处于前台时,弹出一个alert,点击确定跳转到对应的界面,在这里我设了一个定时器,模拟接收到通知弹出alert,通知的集成代码这边就不多做介绍了,想了解集成我的上篇文章中有简单的介绍,下面开始分两种情况
1. self.window.rootViewController是导航控制器
appdelegate.m
- (BOOL)application:(UIApplication *)application didFinishLaunchingWithOptions:(NSDictionary *)launchOptions {
    // MainTabbarVC为tabbarController
    MainTabbarVC *main = [[MainTabbarVC alloc] init];
    UINavigationController *nvc = [[UINavigationController alloc] initWithRootViewController:main];
    self.window.rootViewController = nvc;
    [self.window makeKeyAndVisible];
// 设定一个弹出alert的定时器
    time = [NSTimer scheduledTimerWithTimeInterval:2 target:self selector:@selector(showAlert) userInfo:nil repeats:NO];
    return YES;
}

- (void)showAlert
{
    UIAlertController *alertController = [UIAlertController alertControllerWithTitle:@"是否去消息界面" message:@"请选择" preferredStyle:UIAlertControllerStyleAlert];
    UIAlertAction *alertAction = [UIAlertAction actionWithTitle:@"跳转" style:UIAlertActionStyleDefault handler:^(UIAlertAction * _Nonnull action) {
        //  点击确定,处理页面跳转
        ViewController *viewC = [[ViewController alloc] init];
        NSLog(@"点击了确定,push");
    }];

    UIAlertAction *cancelAction = [UIAlertAction actionWithTitle:@"取消" style:UIAlertActionStyleCancel handler:nil];
    [alertController addAction:alertAction];
    [alertController addAction:cancelAction];
//    MainTabbarVC *main = [[MainTabbarVC alloc] init];
//    [main presentViewController:alertController animated:YES completion:nil];
//    HomeViewController *home = [[HomeViewController alloc] init];
//    [home presentViewController:alertController animated:YES completion:nil];  // 主页
// 以上两种方法无法弹出alert

// 用rootViewController弹出laert
[self.window.rootViewController presentViewController:alertController animated:YES completion:nil];

    [time invalidate]; // 取消定时器
}
接下来着重说一下跳转的方法
1.用self.window.rootViewController去push
ViewController *viewC = [[ViewController alloc] init];
[(UINavigationController *)self.window.rootViewController pushViewController:viewC animated:YES]; // 这里需要强制转化一下,这个方法不推荐,当项目中业务逻辑比较复杂的时候,此方法可能会导致很多bug,待会会介绍另外一种写法
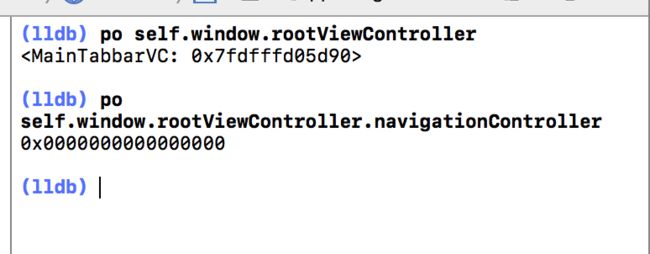
self.window.rootViewController实际上是MainTabbarVC
下面看一下MainTabbarVC里面的代码
#import "MainTabbarVC.h"
#import "HomeViewController.h"
#import "SettingViewController.h"

@interface MainTabbarVC ()

@end

@implementation MainTabbarVC

// 程序进入隐藏appdelegate里面创建的navigation ,这一步很关键,不然进入主页面,看到的navigation将是在appdelegate里面创建的,不利于管理
- (void)viewWillAppear:(BOOL)animated{
    [super viewWillAppear:animated];
    self.navigationController.navigationBarHidden = YES;
}
- (void)viewDidLoad {
    [super viewDidLoad];
    [self creatControllers];
}

- (void)creatControllers
{
    HomeViewController *home = [[HomeViewController alloc] init];
    UINavigationController *homeNAV = [[UINavigationController alloc] initWithRootViewController:home];
    home.title = @"主页";

    SettingViewController *setting = [[SettingViewController alloc] init];
    UINavigationController *settingNAV = [[UINavigationController alloc] initWithRootViewController:setting];
    setting.title = @"设置";

    self.viewControllers = @[homeNAV,settingNAV];

}
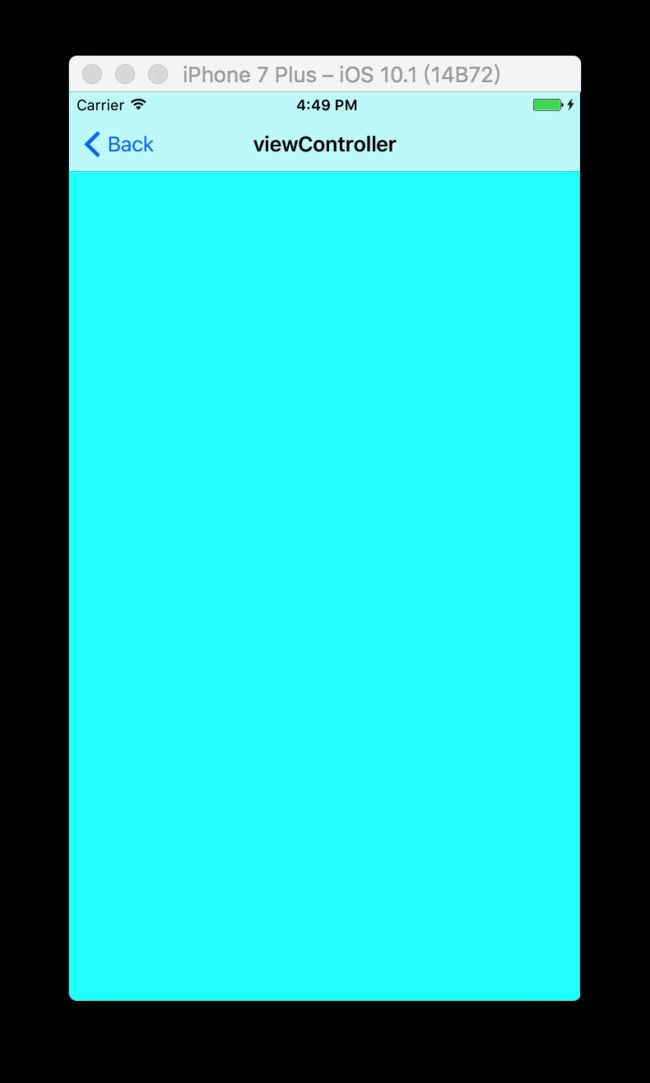
跳转后的页面效果
1.2 刚才说了上面的push方法不推荐,下面推荐一个比较合理的方法在Appdelegate.m中
#import "AppDelegate.h"
#import "MainTabbarVC.h"
#import "ViewController.h"
@interface AppDelegate ()
{
     NSTimer *time;
}
@end
static AppDelegate *__delegate = nil;
@implementation AppDelegate
AppDelegate *myDelegate(void){
    return __delegate;
}

- (BOOL)application:(UIApplication *)application didFinishLaunchingWithOptions:(NSDictionary *)launchOptions {

    MainTabbarVC *main = [[MainTabbarVC alloc] init];
    self.window.rootViewController = main;
    __delegate = self;
    _masterTabbarController = main;
    [self.window makeKeyAndVisible];
    time = [NSTimer scheduledTimerWithTimeInterval:2 target:self selector:@selector(showAlert) userInfo:nil repeats:NO];
    return YES;
}

// alert中push
 UIAlertAction *alertAction = [UIAlertAction actionWithTitle:@"跳转" style:UIAlertActionStyleDefault handler:^(UIAlertAction * _Nonnull action) {
        // 跳转页面 跳转到消息列表页面
        ViewController *viewC = [[ViewController alloc] init];
        [AppDelegate mastePushViewController:viewC];
    }];


// push方法
+ (void)mastePushViewController:(UIViewController *)controller
{
    UINavigationController *nvc = myDelegate().masterTabbarController.selectedViewController;
    [nvc pushViewController:controller animated:YES];
}
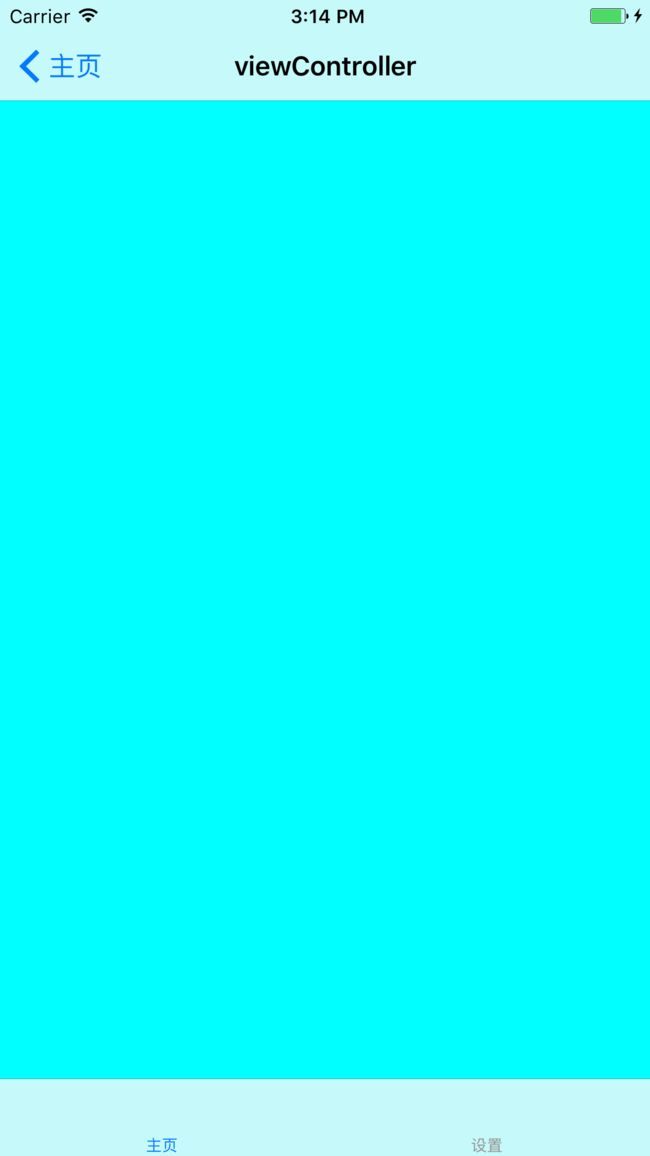
push之后的效果如下
viewController.m
#import "ViewController.h"

@interface ViewController ()

@end

@implementation ViewController
// 显示隐藏的导航栏
- (void)viewWillAppear:(BOOL)animated{
    [super viewWillAppear:animated];
    self.navigationController.navigationBarHidden = NO;
}

- (void)viewDidLoad {
    [super viewDidLoad];
    self.view.backgroundColor = [UIColor cyanColor];
    self.title = @"viewController";
}

- (void)didReceiveMemoryWarning {
    [super didReceiveMemoryWarning];
}
@end
2. self.window.rootViewController不是导航控制器
appdelegate.m
- (BOOL)application:(UIApplication *)application didFinishLaunchingWithOptions:(NSDictionary *)launchOptions {
    MainTabbarVC *main = [[MainTabbarVC alloc] init];
    self.window.rootViewController = main;
    [self.window makeKeyAndVisible];
    time = [NSTimer scheduledTimerWithTimeInterval:2 target:self selector:@selector(showAlert) userInfo:nil repeats:NO];
    return YES;
}
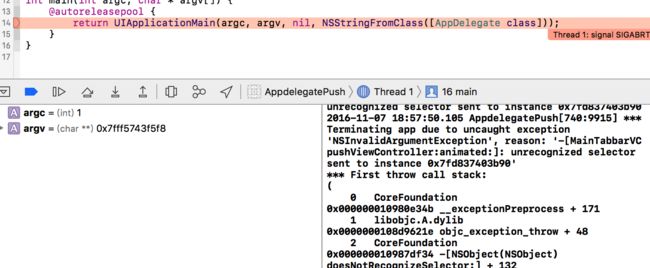
这种情况下,利用以上跳转方法,程序会crash,下面是奔溃信息
主要是说MainTabbarVC没有push方法,我们知道没有导航控制器是不可能用push,所以这里我们建一个navigationController,然后在跳转的时候隐藏创建的这个
AppDelegate.h
AppDelegate.m
#import "AppDelegate.h"
#import "MainTabbarVC.h"
#import "ViewController.h"

@interface AppDelegate ()
{
    NSTimer *time;
}

@end

static AppDelegate *__delegate = nil;

@implementation AppDelegate

AppDelegate *myDelegate(void){
    return __delegate;
}

- (BOOL)application:(UIApplication *)application didFinishLaunchingWithOptions:(NSDictionary *)launchOptions {

    MainTabbarVC *main = [[MainTabbarVC alloc] init];
    self.myNavigationController = [[UINavigationController alloc] initWithRootViewController:main];
    __delegate = self;
// push的时候隐藏navigationBarHidden
    self.myNavigationController.navigationBarHidden = YES;
    self.window.rootViewController = main;

    [self.window makeKeyAndVisible];

    time = [NSTimer scheduledTimerWithTimeInterval:2 target:self selector:@selector(showAlert) userInfo:nil repeats:NO];
    return YES;
}

+ (void)myPushViewController:(UIViewController *)controller
{
    UINavigationController *nvc = myDelegate().myNavigationController;
    [nvc pushViewController:controller animated:YES];
}
弹出的alert
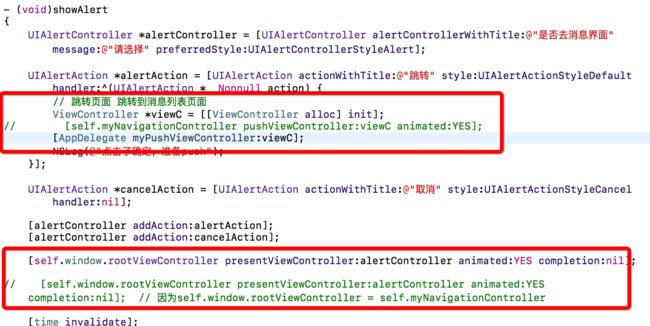
- (void)showAlert
{
    UIAlertController *alertController = [UIAlertController alertControllerWithTitle:@"是否去消息界面" message:@"请选择" preferredStyle:UIAlertControllerStyleAlert];
    UIAlertAction *alertAction = [UIAlertAction actionWithTitle:@"跳转" style:UIAlertActionStyleDefault handler:^(UIAlertAction * _Nonnull action) {
        // 跳转页面 跳转到消息列表页面
        ViewController *viewC = [[ViewController alloc] init];
       [AppDelegate myPushViewController:viewC];
        NSLog(@"点击了确定,准备push");
    }];
    UIAlertAction *cancelAction = [UIAlertAction actionWithTitle:@"取消" style:UIAlertActionStyleCancel handler:nil];
    [alertController addAction:alertAction];
    [alertController addAction:cancelAction];
    [self.myNavigationController presentViewController:alertAction animated:YES completion:nil];
//    [self.window.rootViewController presentViewController:alertController animated:YES completion:nil];  // 因为self.window.rootViewController = self.myNavigationController,所以这两个方法是一样的
    [time invalidate];
}
核心代码:
弹框的代码
这里遇到接收推送后跳转消息界面,可以重新封装一个类,将下面这个方法放到封装的类中,可以全局调用此方法处理消息跳转
+ (void)myPushViewController:(UIViewController *)controller
{
    UINavigationController *nvc = myDelegate().myNavigationController;
    [nvc pushViewController:controller animated:YES];
}
// 当然,你也可以不用那么繁琐,直接用[self .myNavigationController pushViewController:controller animated:YES];  // push到想要跳转的控制器即可
3、不管是不是导航控制器,我么都可以使用通知,然后通知首页进行跳转,在appdelegate里面,发送通知,代码如下
// 这里是接收到远程推送,点击通知之后,在需要做特定跳转的方法里面的
HomeTBVC *home = [[HomeTBVC alloc] init];  // 初始化一下首页试图控制器
            //是推送打开
            NSNotificationCenter *center = [NSNotificationCenter defaultCenter];
            [center postNotificationName:@"appdelegatePushMessage" object:nil userInfo:userInfo];  // userInfo为通知内容
4、在首页试图控制器下添加代码
// 添加监听
[center addObserver:self selector:@selector(pushToWebView:) name:@"appdelegatePushMessage" object:nil];

// 跳转到相应的页面,这里的notificaiton.userInfo为远程通知内容
- (void)pushToWebView:(NSNotification *)notification{
    WebViewVC *webVC = [WebViewVC new];
    webVC.messageDic = notification.userInfo;
    webVC.strUrl = notification.userInfo[@"webUrl"];
    [self.navigationController pushViewController:webVC animated:YES];
}
至此:
可以看出appdelegate里面没有导航控制器(navigation)的时候,可以选择创建一个临时的navigation,在进入tabbarController的时候隐藏;或者直接拿到tabbarcontroller里面创建的navigation,这种方法在跳转之后底部tabbar不会消失,如果不想要tabbar,可以再push的页面中隐藏tabbar
现实有很多拘束,但是代码的世界里,你可以尽情遨游,加油everyone

