深度学习解决过拟合——数据增广
Data Augmentation
前言:在现实生活中,带有标签的数据往往不好找到,因此我们对于数据量少的分类任务,使得在训练神经网络的过程中,常常会出现过拟合的现象。
因此数据增强对于解决过拟合问题是最重要的途径。
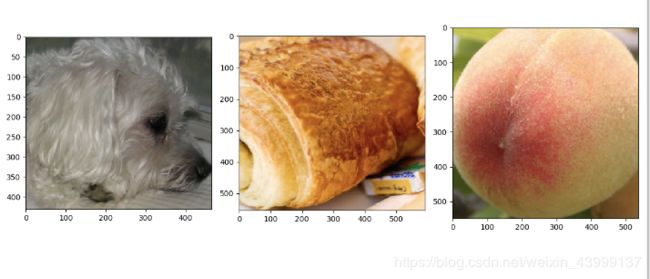
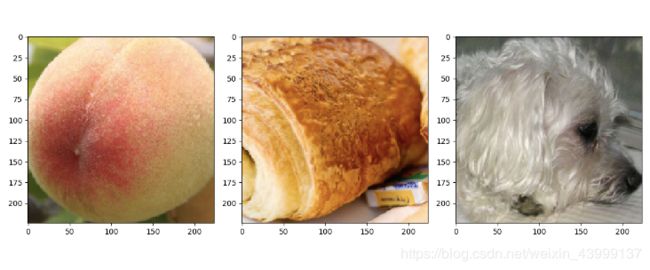
展示即将处理的图片
导入工具包
import os
import warnings
import matplotlib.pyplot as plt
from PIL import Image
import glob
from keras.preprocessing import image  #keras的工具包,可以进行预处理,也可以使用openCV
from tensorflow.keras.preprocessing.image import ImageDataGenerator
展示图片
def print_result(path):
    name_list = glob.glob(path)
    fig = plt.figure(figsize = (12,16))
    for i in range(3):
        img = Image.open(name_list[i])
        sub_img = fig.add_subplot(131+i)
        sub_img.imshow(img)
    plt.show()

img_path = './数据增强/input/input1/*'
print_result(img_path)
name_list = glob.glob(img_path)
print(name_list)
指定路径
in_path = './数据增强/input/'   #注意该输入的细节,下面的函数会对该路径里的多个文件夹!的里面的图片!分别进行处理
out_path = './数据增强/output/'
改变尺寸大小
#改变尺寸大小
#指定target_size后所有图像的尺寸会变为相同的大小
datagen = ImageDataGenerator()
gen_data = datagen.flow_from_directory(in_path,batch_size=1,shuffle=False,
                                      save_to_dir=out_path+'resize',
                                       save_prefix='gen', #指定生成的图片前缀
                                      target_size=(224,224))

for i in range(3):
    gen_data.next()
print_result('./数据增强/output/'+'resize/*')
角度旋转
#角度旋转
datagen = ImageDataGenerator(rotation_range=90)
gen_data = datagen.flow_from_directory(in_path,batch_size=1,shuffle=False,
                                      save_to_dir=out_path+'rotation',
                                       save_prefix='gen', #指定生成的图片前缀
                                        target_size=(224,224))
for i in range(3):
    gen_data.next()
print_result('./数据增强/output/'+'rotation/*')
平移变换
#平移变换
datagen = ImageDataGenerator(width_shift_range=0.5,height_shift_range=0.3)
gen_data = datagen.flow_from_directory(in_path,batch_size=1,shuffle=False,
                                      save_to_dir=out_path+'shift',
                                       save_prefix='gen', #指定生成的图片前缀
                                        target_size=(224,224))
for i in range(3):
    gen_data.next()
print_result('./数据增强/output/'+'shift/*')
缩放
#缩放
datagen = ImageDataGenerator(zoom_range=0.3)
gen_data = datagen.flow_from_directory(in_path,batch_size=1,shuffle=False,
                                      save_to_dir=out_path+'zoom',
                                       save_prefix='gen', #指定生成的图片前缀
                                        target_size=(224,224))
for i in range(3):
    gen_data.next()
print_result('./数据增强/output/'+'zoom/*')
对颜色通道的数值偏移,改变图片的整体的颜色
#通道平移 channel_shift 变化肉眼不好看
datagen = ImageDataGenerator(channel_shift_range=15)
gen_data = datagen.flow_from_directory(in_path,batch_size=1,shuffle=False,
                                      save_to_dir=out_path+'channel',
                                       save_prefix='gen', #指定生成的图片前缀
                                        target_size=(224,224))
for i in range(3):
    gen_data.next()
print_result('./数据增强/output/'+'channel/*')
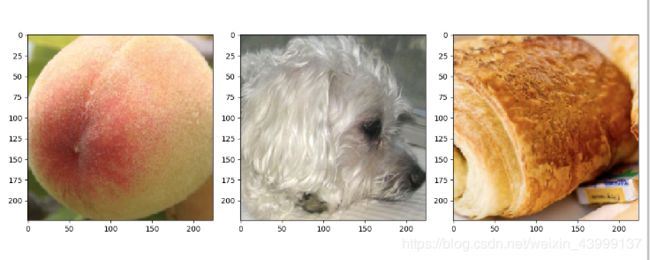
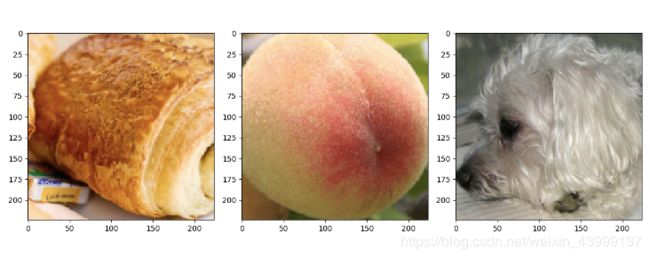
翻转
#翻转,horizontal_filp是水平翻转,也可以有竖直翻转。
datagen = ImageDataGenerator(horizontal_flip=True)
gen_data = datagen.flow_from_directory(in_path,batch_size=1,shuffle=False,
                                      save_to_dir=out_path+'horizontal',
                                       save_prefix='gen', #指定生成的图片前缀
                                        target_size=(224,224))
for i in range(3):
    gen_data.next()
print_result('./数据增强/output/'+'horizontal/*')
rescale重新调节 归一化
#rescale重新调节 归一化
datagen = ImageDataGenerator(rescale=1/255)
gen_data = datagen.flow_from_directory(in_path,batch_size=1,shuffle=False,
                                      save_to_dir=out_path+'rescale',
                                       save_prefix='gen', #指定生成的图片前缀
                                        target_size=(224,224))
for i in range(3):
    gen_data.next()
print_result('./数据增强/output/'+'rescale/*')
由于展示会自动调节至0-255 因此看起来像素值是正常的,但在训练过程中都是以0-1存储的。
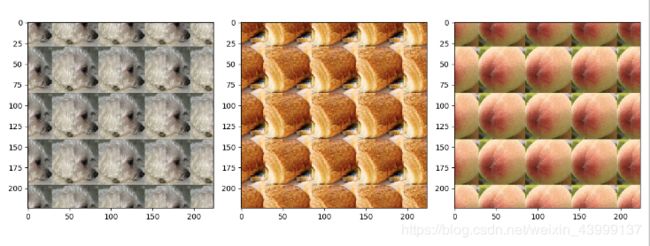
填充
#填充
"""可以尝试看看效果
fill_mode
填充方法
'constant':指定常数填充(cavl=k)
'nearest':默认
'reflect'
'wrap'
"""
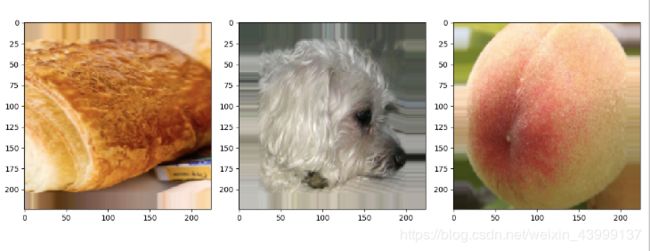
datagen = ImageDataGenerator(fill_mode='wrap',zoom_range=[4,4])
gen_data = datagen.flow_from_directory(in_path,batch_size=1,shuffle=False,
                                      save_to_dir=out_path+'fill_mode',
                                       save_prefix='gen', #指定生成的图片前缀
                                        target_size=(224,224))
for i in range(3):
    gen_data.next()
print_result('./数据增强/output/'+'fill_mode/*')

