【Tensorflow】辅助工具篇——scikit-image介绍
很多时候我们跑deep learning算法的难点不在于搭建网络,而是数据获取与处理,当你看到大量的数据却无从下手时该是怎样的心情!
这几篇我将为大家介绍目前很多paper代码复现中比较流行的辅助工具
首先我们简要介绍一下scikit-image这个扩展包:
scikit-image (a.k.a. skimage) 是一个图像处理和计算机视觉的算法集合。当然提到图像不得不提opencv,opencv库是CV届绝对的大佬,但是为什么还要用skimage呢?原因是opencv用于我们的tensorflow训练数据预处理实在是太大才小用了,而且opencv的安装也不是很方便。所以,需要一些更加精简轻便的框架来帮助我们做数据预处理,scikit-image就是这样一个扩展包,为什么说轻便?因为安装它只需要一句话:
sudo pip install scikit-image
安装完之后,import就可以使用了
import skimageok,我们再来看看它有哪些内容?官网介绍了它的子库:
color:Color space conversion.这个就是颜色空间变换(RGB-Gray等等类似的变换)
data:Test images and example data.这个子库里面有一些标准数据和用于测试的图(好像lena也在里面!)
draw:Drawing primitives (lines, text, etc.) that operate on NumPy arrays.这个库用来画一些几何图形,对于我们数据处理是没什么用的
exposure:Image intensity adjustment, e.g., histogram equalization, etc.调整亮度的一些算法,直方图均衡也在里面
feature:Feature detection and extraction, e.g., texture analysis corners, etc.手工特征检测和提取,类似HOG等,没什么用。。。
filters:Sharpening, edge finding, rank filters, thresholding, etc.锐化,边缘提取等滤波器
graph:Graph-theoretic operations, e.g., shortest paths.图理论的一些操作,寻找最短路径(这都行!!)然而对于我们没什么用。。。
io:Reading, saving, and displaying images and video.很重要的一个子库,读取保存显示图像和视频(它是可以处理视频的)
measure:Measurement of image properties, e.g., similarity and contours.这个是用来比较两张图的(相似性),里面有mse或者香农entropy
morphology:Morphological operations, e.g., opening or skeletonization.形态学操作,关于骨架的,都是经典图像处理里面的东西,deep learning用的也很少
novice:Simplified interface for teaching purposes.用来教学的库,提供了一系列简单的接口,好人性化。。
restoration:Restoration algorithms, e.g., deconvolution algorithms, denoising, etc.恢复算法:反卷积,去噪等
segmentation:Partitioning an image into multiple regions.图像分割算法
transform:Geometric and other transforms, e.g., rotation or the Radon transform.这是我们常用的库,几何和其他变换,如旋转
util:Generic utilities.常用工具,不要小看这个,可能会有很有用的函数!
viewer:A simple graphical user interface for visualizing results and exploringparameters.图像化界面,用来可视化结果
简单介绍完,我们可以开始动手了
先看一看data这个库下面,示例图片都是长什么样子吧
from skimage import data,io

img = data.coffee()
print type(img)
io.imshow(img)
运行了以后,看到img的格式是numpy.ndarry,这就是skimage保存图片的格式,很符合我们Tensorflow训练的要求!
但是为什么不出结果?显然这样是不会成功显示的,因为我们没有使用任何插件,而且不安装Qt,也无法使用skimage自带的viewer。怎么显示?第一想法当然是使用图形化显示界面matplotlib了
from skimage import data,io
import matplotlib.pyplot as plt

img = data.coffee()
#print type(img),img.dtype
plt.imshow(img)
plt.show()
这样就可以正确显示了
另外plt.imshow()这个函数还有大量的参数,这个我们以后再讲
另外可以试一试保存图片等功能
from skimage import data,io

img = data.coffee()
io.imsave('1.jpg',img)
然后转换为灰度图再保存
from skimage import color,io

img = io.imread("1.jpg")
img = color.rgb2gray(img)
io.imsave("2.jpg",img)
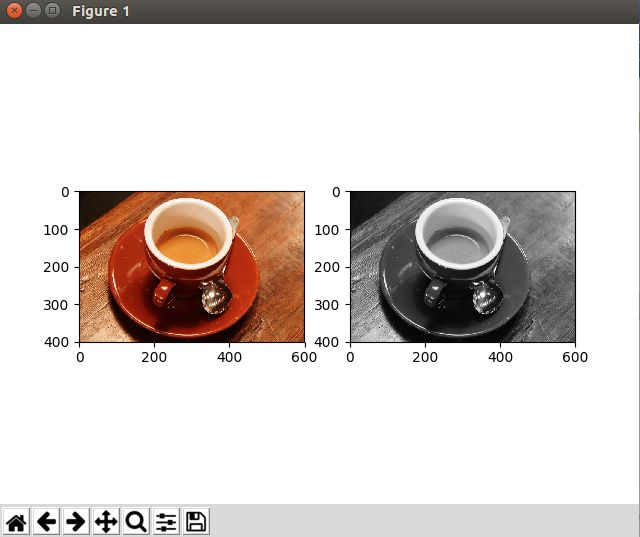
此时路径下有两张图,接下来就是一个很重要的功能,skimage其实可以读取一组图片
img = io.imread_collection("*.jpg")

plt.figure()
ax1=plt.subplot(121)
ax2=plt.subplot(122)
ax1.imshow(img[0])
ax2.imshow(img[1],cmap="gray")
plt.show()
还有一些比较重要的功能,例如utils中的crop
from skimage import util,io
import matplotlib.pyplot as plt

img = io.imread("1.jpg")
print img.shape
img = util.crop(img,((50, 50),(100, 100),(0,0)))
print img.shape
plt.imshow(img)
plt.show()
invert函数可以把单个像素值反转,例如我们读取上面保存的灰度图
img = io.imread("2.jpg")
invert_img = util.invert(img)
ax1 = plt.subplot(121)
ax1.imshow(img,cmap="gray")
ax2 = plt.subplot(122)
ax2.imshow(invert_img,cmap="gray")
plt.show()
然后就这样,黑变白,白变黑了,注意这里的invert是像素的invert,不要把图片的翻转混淆过来了
接着是我们训练图片集预处理当中一个很重要的函数pad,用来填充
numpy_pad是使用numpy的pad模式来填充的函数,具体怎么使用呢?
img = io.imread("2.jpg")
pad_img = util.numpy_pad(img,((10,10),(10,10)),'constant',constant_values=0)
ax1 = plt.subplot(121)
ax1.imshow(img,cmap="gray")
ax2 = plt.subplot(122)
ax2.imshow(pad_img,cmap="gray")
plt.show()
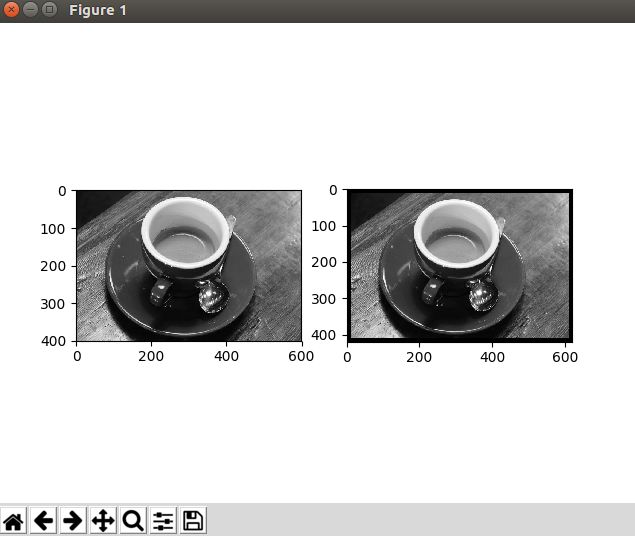
这里((10,10),(10,10))分别指代在图片的第一维,第二维前后加10像素,这些像素的值是什么呢,后面是赋值模式,我用了constant,即常量,赋为0
于是结果如下:
比原来又多加了一条黑边
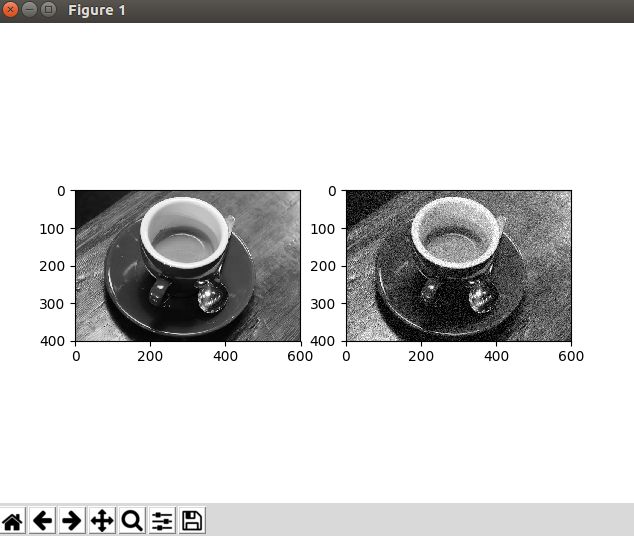
最后介绍同样重要的一个函数util.random_noise
它可以往图片中增加噪声,这对于我们泛化一个模型,或者做样本对抗是非常有帮助的
img = io.imread("2.jpg")
noise_img = util.random_noise(img,mode='gaussian')
ax1 = plt.subplot(121)
ax1.imshow(img,cmap="gray")
ax2 = plt.subplot(122)
ax2.imshow(noise_img,cmap="gray")
plt.show()
OK!简单介绍到这里,下一期我们就一个图片集预处理的程序来作为使用例程

