本文将描述遇到的问题,并给出解决方案
一、遇到的问题
- 使用history模式,本地没有问题。打包部署再nginx上会报错404,找不到页面。
- 部署二级域名或者说多级访问的url,导致访问失败。(EG:http://www.baidu.com/baiduwangpan/aaaa)
二、解决方案
1、解决使用history模式,本地没有问题。打包部署再nginx上会报错404,找不到页面。
由于本文重点介绍如何实现nginx配合history模式进行路由的正常访问。故只贴出路由部分:(采用vue-router)
// 路由配置
export default new Router({
  mode: 'history',
  base: '',
  routes: [
    {
      path: '/',
      name: 'root',
      component: window.userAgent === 'pc' ? PcIndex : MobileIndex
    },
    {
      path: '/moli',
      name: 'moli',
      component: window.userAgent === 'pc' ? PcIndex : MobileIndex
    },
    {
      path: '/app',
      name: 'app',
      component: AppIndex
    }
  ]
})
将项目进行打包,需要注意的是打包之前最好修改/config/index.js build模块的 assetsPublicPath 将其改为:
因为打包后部署最好使用相对路径,这样即使项目不放在根目录下,也不会有找不到静态资源的情况。
接下来我们把打包好的代码放到nginx下的目录中(nginx 采用window版本的。下载教程和安装不做具体描述,需要的自行搜索。)
再nginx下面创建一个test目录用来存放我得项目
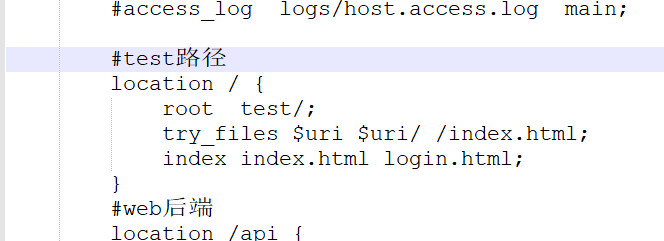
然后配置nginx,conf/nginx.conf
#test路径
location / {
  # 配置访问目录
    root  test/;
  # 重点需要添加这句
    try_files $uri $uri/ /index.html;
    index index.html login.html;
}
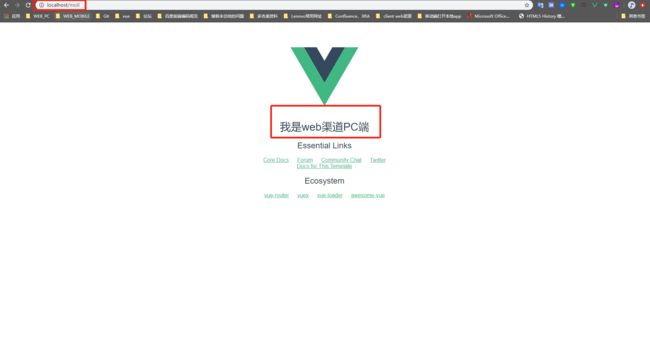
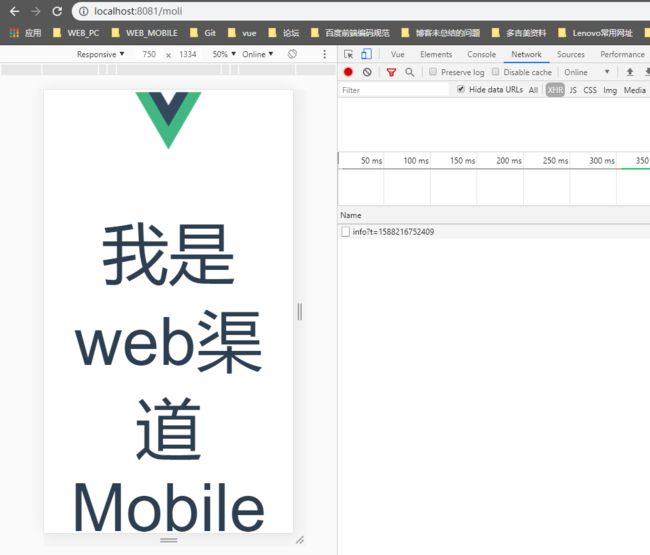
demo演示
2、部署二级域名或者说多级访问的url,导致访问失败。(EG:http://www.baidu.com/baiduwangpan/aaaa)
首先解释下什么是二级域名,以上面为例我们访问的路径是 localhost/moli。假设我们需要访问的路径为:localhost/callcenter/moli localhost/callcenter/app
按照nginx原有的规则配置我们需要将访问的localtion进行多级配置,如下:
location /callcenter {
  # 配置访问目录
    root  test/;
  # 重点需要添加这句
    try_files $uri $uri/ /index.html;
    index index.html login.html;
}
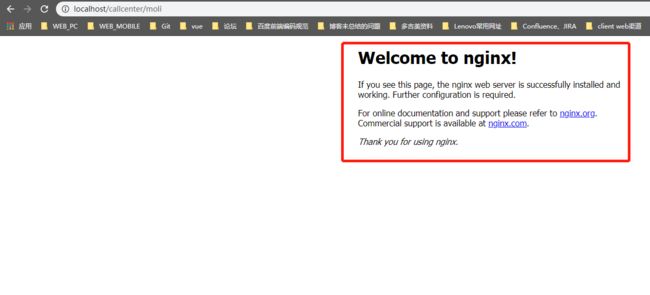
我们重启nginx在浏览器中输入 localhost/callcenter/moli 试一下,结果是找不到我们的项目,重定向到nginx默认的欢迎页面
相信很多伙伴都会遇到这部分问题,这个问题真是应了那句话,会的人不觉得难,不会的人真是一点头绪都没有。对于一个前端来说这个问题困扰了我两周左右。到底是如何解决得呢?
其实很简单,首先我们要对vue的router进行一个补充,注意到的同学已经看见我实例化Router对象的时候里面有一个base属性是空的,我们如果想要配置二级路径就需要对应得将base属性进行填写。与想要访问的路径必须对应。
在这里我不多做vue-router 和 nginx router的原理解释,有看不懂的同学直接留言,看见后我如果了解的话一定回复:
首先添加base基准路径
// router
export default new Router({
  mode: 'history',
  base: '/callcenter/',
  routes: [
    {
      path: '/',
      name: 'root',
      component: window.userAgent === 'pc' ? PcIndex : MobileIndex
    },
    {
      path: '/moli',
      name: 'moli',
      component: window.userAgent === 'pc' ? PcIndex : MobileIndex
    },
    {
      path: '/app',
      name: 'app',
      component: AppIndex
    }
  ]
})
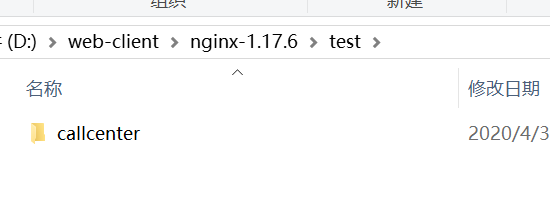
其次需要创建需要在test目录下创建callcenter目录
最后配置nginx
#test路径
location ^~ /callcenter/ {
  root  test/;
  $uri $uri/ /callcenter/index.html;
  index.html login.html;
}
nginx -s reload 重启nginx后访问 localhost/callcenter/moli
完美运行.......
vue官方对History模式的介绍:https://router.vuejs.org/zh/guide/essentials/history-mode.html#%E5%90%8E%E7%AB%AF%E9%85%8D%E7%BD%AE%E4%BE%8B%E5%AD%90
如有不足请指出,如有疑问欢迎留言


