Fresco 二三事:图片处理之旋转、缩放、裁剪切割图片
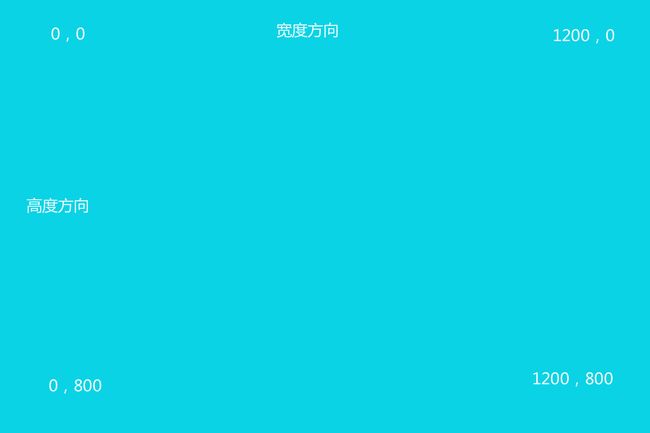
关于Fresco加载图片的处理,例如旋转、裁剪切割图片,在官方文档也都有提到,只是感觉写的不太详细,正好最近项目里有类似需求,所以分享一些使用小tip,后面的朋友就不用再走弯路浪费时间了。(测试图片分辨率1200*800)
原图:
旋转图片
/**
     * 旋转图片
     *
     * @param rotate ,例如:RotationOptions.ROTATE_90
     */
    private void rotate(SimpleDraweeView img, int rotate) {
        RotationOptions rotationOptions = RotationOptions.forceRotation(rotate);
        ImageRequest build = ImageRequestBuilder.newBuilderWithSource(getUriForFresco(this, R.mipmap.test_img))
                .setRotationOptions(rotationOptions)
                .build();
        PipelineDraweeController controller = (PipelineDraweeController) Fresco.newDraweeControllerBuilder()
                .setImageRequest(build)
                .build();
        mImageView.setController(controller);
    }
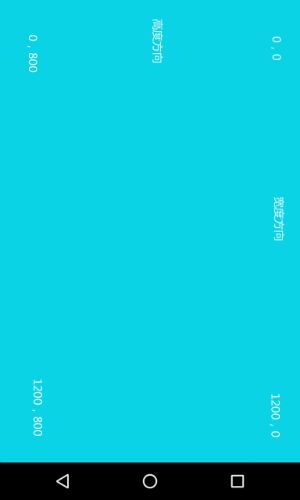
使用效果:
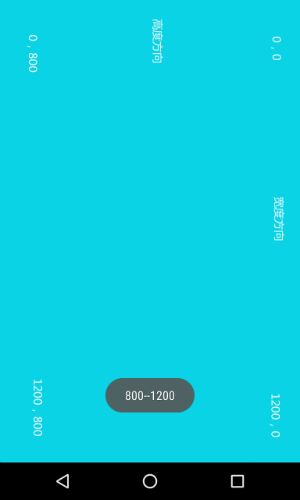
监听图片下载
首先构造监听器:
//监听图片下载进度,这里只重写了onFinalImageSet,当图片下载完成时获得图片宽高等信息
ControllerListener controllerListener = new BaseControllerListener() {
            @Override
            public void onFinalImageSet(String id, com.facebook.imagepipeline.image.ImageInfo imageInfo, Animatable animatable) {
                int viewWidth = imageInfo.getWidth();
                int viewHeight = imageInfo.getHeight();
                Toast.makeText(MainActivity.this, viewWidth + "--" + viewHeight, Toast.LENGTH_SHORT).show();
            }
        };
/**
* 获得图片宽高
*
* @param controllerListener 图片下载监听器
*/
private void getImageInfo(ControllerListenersuper ImageInfo> controllerListener) {
PipelineDraweeController controller = (PipelineDraweeController) Fresco.newDraweeControllerBuilder()
.setControllerListener(controllerListener)
.setUri(getUriForFresco(this, R.mipmap.test_img))
.build();
mImageView.setController(controller);
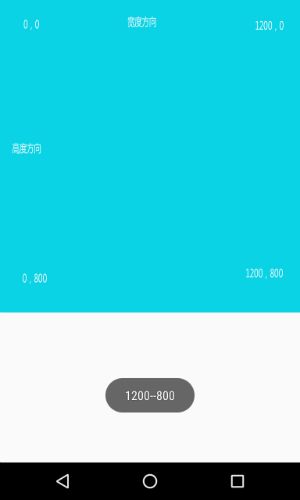
}如果我想要1:1在手机端展示呢?
我首先想到的是1:1按照图片的尺寸设置SimpleDraweeView的宽高并设置缩放方式为fitXY,但是果不其然,view超出屏幕的部分是无效的。
裁剪切割图片
既然view超出屏幕无效,那就曲线救国,让图片超出屏幕部分不显示在view里就好了。
裁剪图片首先要写一个processor类:
/**
 * 切割图片processor类
 * 四个成员变量和createBitmap时的参数一致,即起点的X/Y坐标、要裁剪的宽高。因为项目里还涉及到缩放,所以我调整了下参数设成百分比方便换算
 */
public class CutProcess extends BasePostprocessor {
    private float mBeginXPercent;
    private float mBeginYPercent;
    private float mCutWidthPercent;
    private float mCutHeightPercent;

    public CutProcess(float beginXPercent, float beginYPercent, float cutWidthPercent, float cutHeightPercent) {
        this.mBeginXPercent = beginXPercent;
        this.mBeginYPercent = beginYPercent;
        this.mCutWidthPercent = cutWidthPercent;
        this.mCutHeightPercent = cutHeightPercent;
    }

    @Override
    public CloseableReference process(
            Bitmap sourceBitmap,
            PlatformBitmapFactory bitmapFactory) {
        int viewWidth = sourceBitmap.getWidth();
        int viewHeight = sourceBitmap.getHeight();
        int beginx = (int) (mBeginXPercent * viewWidth);
        int beginy = (int) (mBeginYPercent * viewHeight);
        int width = (int) (mCutWidthPercent * viewWidth);
        int height = (int) (mCutHeightPercent * viewHeight);
        CloseableReference bitmapRef = bitmapFactory.createBitmap
                (sourceBitmap, beginx, beginy, width, height);
        return CloseableReference.cloneOrNull(bitmapRef);
    }
}
然后在ImageRequest里setProcessor:
/**
     * 裁剪图片
     * @param processor
     */
    private void cutPic(BasePostprocessor processor) {
        ImageRequest build = ImageRequestBuilder.newBuilderWithSource(getUriForFresco(this, R.mipmap.test_img))
                .setPostprocessor(processor)
                .build();

        PipelineDraweeController controller = (PipelineDraweeController) Fresco.newDraweeControllerBuilder()
                .setImageRequest(build)
                .build();

        mImageView.setController(controller);
        }
调用方法:
mImageView.setLayoutParams(new RelativeLayout.LayoutParams(600, 400));
CutProcess cutProcess = new CutProcess(0, 0, 0.5f, 0.5f);
cutPic(cutProcess);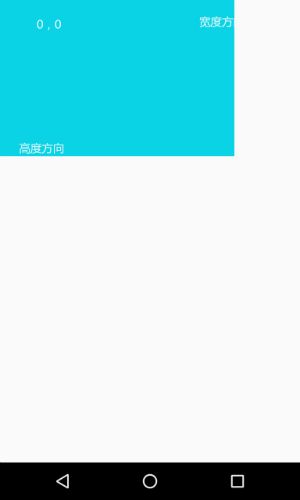
图片是1200*800的,这里设置view的宽高为600*400,可以看到图片成功裁剪只保留原图左上四分之一。通过设置view宽高,配合裁剪图片,即可达到1:1显示的效果。
旋转+裁剪
如果是要旋转90度后再裁剪呢?那还不简单,直接在裁剪的基础上,在ImageRequest里调用旋转方法不就好了。
/**
 * 旋转+裁剪图片
 * @param processor
 */
 private void rotateAndcutPic(BasePostprocessor processor, int rotate) {
     RotationOptions rotationOptions = RotationOptions.forceRotation(rotate);

     ImageRequest build = ImageRequestBuilder.newBuilderWithSource(getUriForFresco(this, R.mipmap.test_img))
             .setPostprocessor(processor)
             .setRotationOptions(rotationOptions)
             .build();

     PipelineDraweeController controller = (PipelineDraweeController) Fresco.newDraweeControllerBuilder()
             .setImageRequest(build)
             .build();

     mImageView.setController(controller);
 }
然后调用:
//例如我需要旋转90度且宽度不变,高度方向裁剪掉一半(即保留(0,0)-(1200,400))
mImageView.setLayoutParams(new RelativeLayout.LayoutParams(400, mScreenHeight));
CutProcess cutProcess = new CutProcess(0, 0, 1f, 0.5f);
rotateAndcutPic(cutProcess, RotationOptions.ROTATE_90);
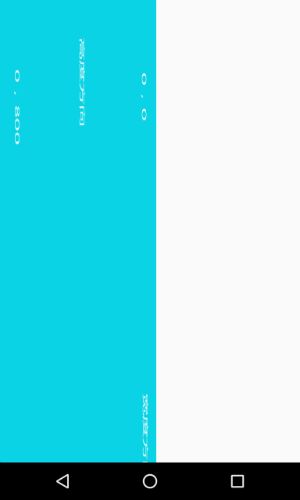
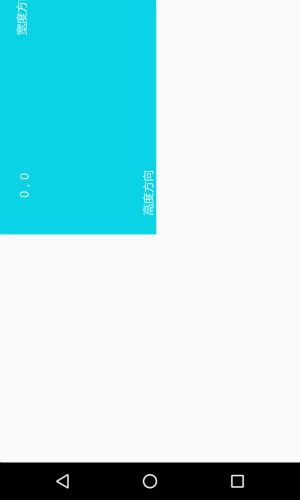
然而得到的并不是我们想要的
可以看到得到的是左半边(0,0)-(600,800)的图,即宽度方向被裁剪掉一般,高度方向不变,明明我在cutProcess里是设置宽度方向不变,高度方向裁剪50%,但是因为旋转了90度,结果却正好相反。难道是因为旋转90度后横纵方向也发生改变?那调换一下横纵方向的切割比例试试看:
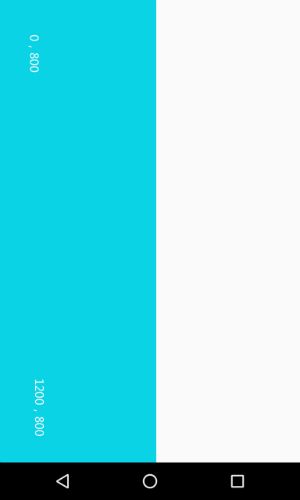
CutProcess cutProcess = new CutProcess(0, 0, 0.5f, 1f);
rotateAndcutPic(cutProcess, RotationOptions.ROTATE_90);
可以看到,调换横纵切割比例后,却得到的是下半边(0,400)-(1200,800)。还是不正确,难道是原点也改变了?再测试一下,如果要裁剪后保留右下四分之一(600,400)-(1200,800)区域,正常无旋转的情况下是这样的:
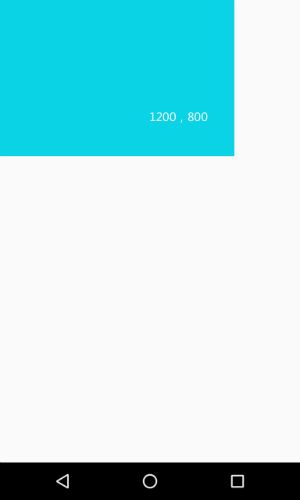
mImageView.setLayoutParams(new RelativeLayout.LayoutParams(600, 400));
CutProcess cutProcess = new CutProcess(0.5f, 0.5f, 0.5f, 0.5f);
rotateAndcutPic(cutProcess, RotationOptions.NO_ROTATION);
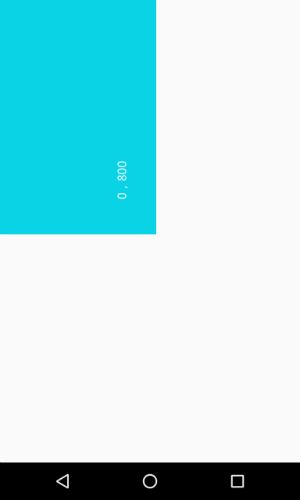
但如果旋转270度后,同样代码得到的结果却是这样的:
看到这里我们就清楚了,旋转图片后,其实(0,0)点,也就是所谓的原点也随之变换。默认情况下,原点是(0,0),顺时针旋转90度后,原点就变成了(0,800),以此类推旋转180度原点为(1200,800),旋转270度原点为(1200,0)(和旋转后的图片的左上角相对应)。虽然是在构建ImageRequest时同时传入旋转和裁剪参数的,但实际上可以看作是先完成了旋转,然后在旋转后的基础上,以屏幕的左上角为原点,左上角往右为x正方向,左上角往下为y正方向。
小试牛刀一下,旋转270度后,想要裁剪后只保留原图的左上四分之一(0,0)-(600,600),那推测就应该是(0, 0.5f, 0.5f, 0.5f)。
mImageView.setLayoutParams(new RelativeLayout.LayoutParams(400, 600));
CutProcess cutProcess = new CutProcess(0, 0.5f, 0.5f, 0.5f);
rotateAndcutPic(cutProcess, RotationOptions.ROTATE_270);
Bingo!推测正确。
旋转+裁剪就是这个原点的变换要注意下。另外看代码里的几个方法,裁剪、旋转、获得宽高等,有没有觉得老是要重复写PipelineDraweeController、ImageRequest的代码好麻烦啊。其实裁剪、旋转等方法无非也就是添加一个参数,类似这种可变参数的复杂类的构造可以使用Builder模式封装一下。封装代码就不贴在这里了。demo下载地址
//Builder模式封装后
new FrescoBuilder(mImageView, getUriForFresco(this, R.mipmap.test_img))
      .cutPic(0f, 0.5f, 0.5f, 0.5f) //裁剪
      .setRotate(RotationOptions.ROTATE_270) //旋转
      .setControllerListener(controllerListener) //设置监听
      .build();
使用Matrix实现
继承SimpleDraweeView自定义控件,使用Matrix实现旋转缩放:
public class MyFresco extends SimpleDraweeView {

    private Matrix mMatrix;
    private float mScaleX = 1f;
    private float mScaleY = 1f;
    private int mViewWidth = -1;
    private int mViewHeight = -1;
    private RectF mDisplayRect = new RectF();
    private int mDegree = -1;

    public MyFresco(Context context, GenericDraweeHierarchy hierarchy) {
        super(context, hierarchy);
        init();
    }

    public MyFresco(Context context) {
        super(context);
        init();
    }

    public MyFresco(Context context, AttributeSet attrs) {
        super(context, attrs);
        init();
    }

    public void setViewInfo(int width, int Height) {
        mViewWidth = width;
        mViewHeight = Height;
    }

    private void init() {
        mMatrix = new Matrix();
        mMatrix.postScale(mScaleX, mScaleY);
    }

    /**
     * 缩放
     * @param scaleX 缩放倍数
     */
    public void setScale(float scaleX, float scaleY) {
        mScaleX = scaleX;
        mScaleY = scaleY;
        mMatrix.postScale(scaleX, scaleY);
        invalidate();
    }

    /**
     * 旋转
     * @param degree 角度
     */
    public void rotate(int degree) {
        if (mDegree == -1) {
            mDegree = degree;
            if (mDegree != 0) {
                mMatrix.postRotate(degree);
                invalidate();
                if (mDegree == 90) {
                    //旋转后图片超出边界,所以要再做平移
                    mMatrix.postTranslate(getRectWidth(), 0);
                } else if (mDegree == 180) {
                    mMatrix.postTranslate(getRectWidth(), getRectHieght());
                } else if (mDegree == 270) {
                    mMatrix.postTranslate(0, getRectHieght());
                }
            }
        } else {
            mDegree += degree;
            mMatrix.postRotate(degree); //getRectWidth是旋转后的width
            invalidate();
            mMatrix.postTranslate(getRectWidth(), 0);
        }
        invalidate();
    }

    /**
     * 还原设置
     */
    public void reset() {
        mScaleX = 1f;
        mScaleY = 1f;
        mMatrix = new Matrix();
        mMatrix.setScale(mScaleX, mScaleY);
        mViewWidth = -1;
        mViewHeight = -1;
        mDegree = -1;
    }

    /**
     * 获得旋转后超出边界的高度
     * @return
     */
    public float getRectHieght() {
        RectF displayRect = getDisplayRect(mMatrix);
        if (displayRect != null) {
            return displayRect.height();
        } else {
            return -1;
        }
    }

    /**
     * 获得旋转后超出边界的宽度
     * @return
     */
    public float getRectWidth() {
        RectF displayRect = getDisplayRect(mMatrix);
        if (displayRect != null) {
            return displayRect.width();
        } else {
            return -1;
        }
    }

    private RectF getDisplayRect(Matrix matrix) {
        if (mViewWidth == -1 || mViewHeight == -1) {
            return null;
        }
        mDisplayRect.set(0.0F, 0.0F, mViewWidth, mViewHeight);
        getHierarchy().getActualImageBounds(mDisplayRect);
        //将matrix映射到rectf
        matrix.mapRect(mDisplayRect);
        return mDisplayRect;
    }

    @Override
    protected void onDraw(Canvas canvas) {
        int save = canvas.save();
        canvas.concat(mMatrix);
        super.onDraw(canvas);
        canvas.restoreToCount(save);
    }
}
就是酱~
