UITableView和RxDataSources基本使用
RxDataSources使用 RxSwift 对 UITableView 和 UICollectionView 的数据源做了一层包装。配合起来使用UITableview更方便
RxDataSources下载
本文demo下载
1、基本使用
(1)创建datasource
        //不分组
        let items = Observable.just(
            [SectionModel(model: "",
                          items: ["UILabel的使用","UIbutton的使用","UIText的使用"])
            ])


        let dataSouce = RxTableViewSectionedReloadDataSource>(configureCell:{ (dataSouece, tv, indexPath, element) -> UITableViewCell in
            let cell = tv.dequeueReusableCell(withIdentifier: "cell")!
            cell.textLabel?.text = element
            cell.selectionStyle = .none
            return cell
        })
分组的形式,初始化多个SectionModel数据即可
        //初始化数据
        let items = Observable.just([
            SectionModel(model: "基本控件", items: [
                "UILable的用法",
                "UIText的用法",
                "UIButton的用法"
                ]),
            SectionModel(model: "高级控件", items: [
                "UITableView的用法",
                "UICollectionViews的用法"
                ])
            ])

              //设置分区头标题
        dataSource.titleForHeaderInSection = { ds, index in
            return ds.sectionModels[index].model
        }
(2)设置代理、绑定数据
        tableView.rx.setDelegate(self)
        .disposed(by: disposeBag)

        items.bind(to: tableView.rx.items(dataSource: dataSouce))
            .disposed(by: disposeBag)
(3)设置高度
    func tableView(_ tableView: UITableView, heightForRowAt indexPath: IndexPath)
        -> CGFloat {
            return 60
    }
区头可以自己修改,写法和普通Swift即可,通过tableview的代理修改区头区尾样式,设置高度
2、cell点击事件
    //获取索引
    tableView.rx
            .itemSelected
            .subscribe(onNext: {indexPath in
        //print("选中项的indexPath为:\(indexPath)")
            })
            .disposed(by: disposeBag)
//获取选中项的内容,item为dataSource的改单元格数据
tableView.rx.modelSelected(String.self).subscribe(onNext: {[weak self] item in
    self?.showMessage("选中项的标题为:\(item)")
}).disposed(by: disposeBag)
3、cell其他事件
RxDataSource删除数据源
        dataSouce.canEditRowAtIndexPath = {item,indexPath  in
            if indexPath.row == 0 {
                return true
            }
            return false
        }
删除
        tableView.rx
            .itemDeleted
            .subscribe(onNext:{indexPath in
                print("\(indexPath)")
            })
            .disposed(by: disposeBag)
移动
        tableView.rx
            .itemMoved
            .subscribe(onNext: { (sourceIndexPath, destinationIndexPath) in
                //
            })
            .disposed(by: disposeBag)
取消选择
tableView.rx.itemDeselected.subscribe(onNext: { indexPath in
//
}).disposed(by: disposeBag)
//尾部视图点击
//获取点击的尾部图标的索引
tableView.rx.itemAccessoryButtonTapped.subscribe(onNext: { indexPath in
//
}).disposed(by: disposeBag)
4、数据刷新
不需要手动去调用reloadData,数据和tablview绑定即可.
(1)数据获取
let dataSource = refreshButton.rx.tap.asObservable()
    .throttle(1, scheduler: MainScheduler.instance) //在主线程中操作,1秒内值若多次改变,取最后一次
    .startWith(()) //加这个为了让一开始就能自动请求一次数据
    .flatMapLatest(getData)//只会接收并显示最后一次请求
    .share(replay: 1)
(2)数据请求、返回
 func getData() -> Observable<[SectionModel]> {
        print("正在请求数据......")
        let items = (0 ..< 5).map {_ in
            Int(arc4random())
        }
        let observable = Observable.just([SectionModel(model: "S", items: items)])
        return observable.delay(2, scheduler: MainScheduler.instance)
    }

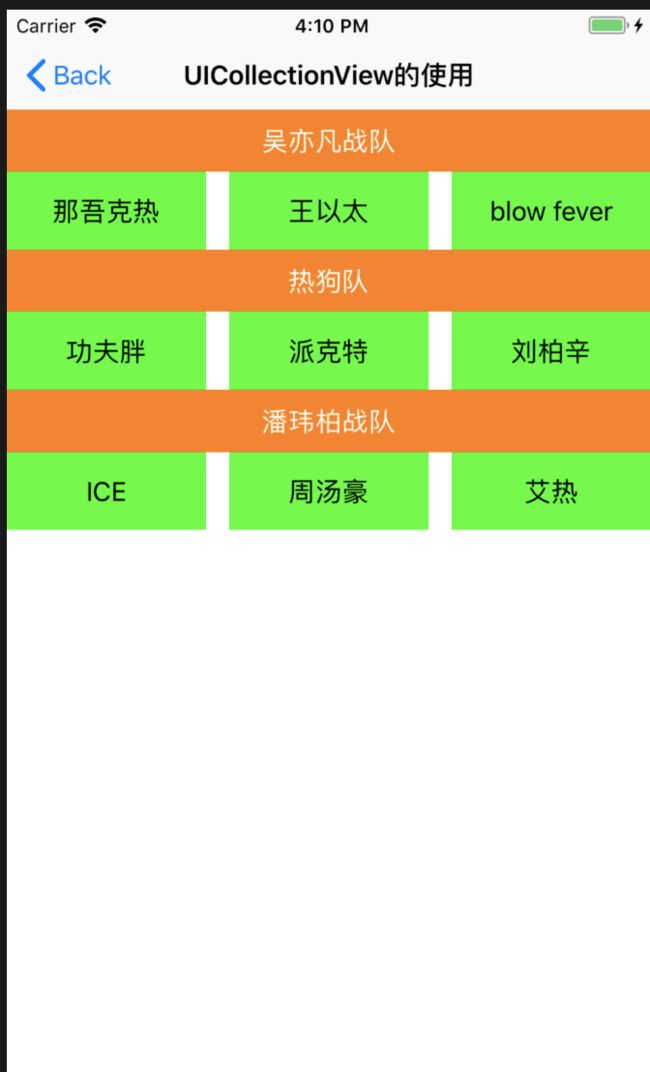
UICollectionView
UICollectionView使用上和UITableView差不多,也是结合RxDataSources使用。
1、基本使用
(1)创建dataSource
通过RxDataSources进行创建
    let items = Observable.just([
        SectionModel(model: "吴亦凡战队", items:
            ["那吾克热","王以太","blow fever"]),
        SectionModel(model: "热狗队", items:
            ["功夫胖","派克特","刘柏辛"]),
        SectionModel(model: "潘玮柏战队", items:
            ["ICE","周汤豪","艾热"]),
    ])

    let dataSource = RxCollectionViewSectionedReloadDataSource>(
            configureCell:  { (dataSource, collectionView, indexPath, element) -> UICollectionViewCell in
            let cell : CollectionCell = collectionView.dequeueReusableCell(withReuseIdentifier: "cell", for: indexPath) as! CollectionCell
            cell.label.text = element
                return cell},
            configureSupplementaryView: {(dataSource ,collectionView, kind, indexPath) in
                let section = collectionView.dequeueReusableSupplementaryView(ofKind: kind,
                                                                  withReuseIdentifier: "Section", for: indexPath) as! SectionHeader
                section.label.text = "\(dataSource[indexPath.section].model)"
                return section}
        )
(2)设置代理,进行数据绑定
属性设置,cell的注册
   let flowLayout = UICollectionViewFlowLayout()
   flowLayout.itemSize = CGSize(width: 100, height: 70)
   flowLayout.headerReferenceSize = CGSize(width: self.view.frame.width, height: 40)
   self.collectionView.setCollectionViewLayout(flowLayout, animated: true)

   self.collectionView.register(CollectionCell.self, forCellWithReuseIdentifier: "cell")
   self.collectionView.register(SectionHeader.self, forSupplementaryViewOfKind: UICollectionElementKindSectionHeader, withReuseIdentifier: "Section")
数据绑定
    items.bind(to: collectionView.rx.items(dataSource: dataSource))
        .disposed(by: disposeBag)

    collectionView.rx.setDelegate(self)
        .disposed(by: disposeBag)
选中事件(还有很多事件都大致相同)
    collectionView.rx.modelSelected(String.self).subscribe(onNext:{item in
        print("为\(item)投上一票")
    })
        .disposed(by: disposeBag)
代理的写法都和Swift的相同