Upgrade from Ubuntu 14.04. to Ubuntu 16.04 on Desktop and Server Editions
Upgrade from Ubuntu 14.04. to Ubuntu 16.04 on Desktop and Server Editions
Ubuntu 16.04 (Xerial Xerus) Long Term Support has been officially released and many users are already eager to find out more about the changes and new features it has come with. This can only be done by doing a fresh install or upgrading from your old version of Ubuntu Linux.
In this article, we shall look at a step by step guide to upgrading your Ubuntu 14.04 LTS to Ubuntu 16.04 LTS.
- Upgrade Ubuntu 14.04 to Ubuntu 16.04 – Desktop Edition
- Upgrade Ubuntu 14.04 to Ubuntu 16.04 – Server Edition
- Upgrade from Ubuntu 15.10 to Ubuntu 16.04
One key thing to note before following the steps below is that you have to backup important data such as folders, documents, images and many more on your system, never take chances because sometimes upgrades do not always go well as expected. Your may face issues that can lead to data loss in case an upgrade fails.
Upgrade Ubuntu 14.04 to Ubuntu 16.04 – Desktop Edition
First of all, you check whether your system is up-to-date by going to the dash board and launching the Ubuntu Update manager.
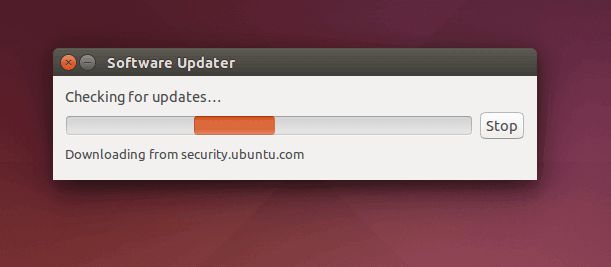
It will check the your system to find out whether it is up-to-date and wait until it is done checking. If the system is not up-to-date, then all the updates to be installed will be listed as in the screen shot below.
List of Ubuntu Updates
Click on Install Now to download and install all the updates listed.
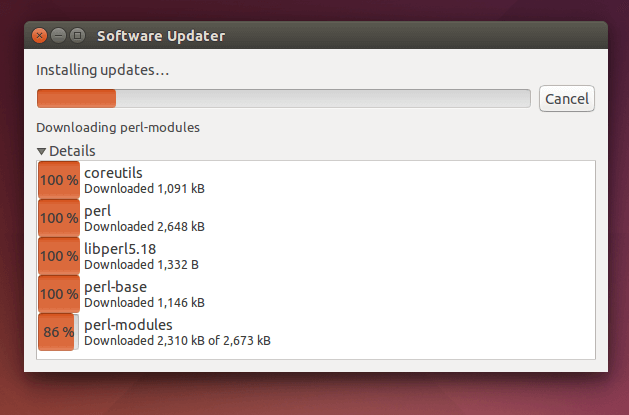
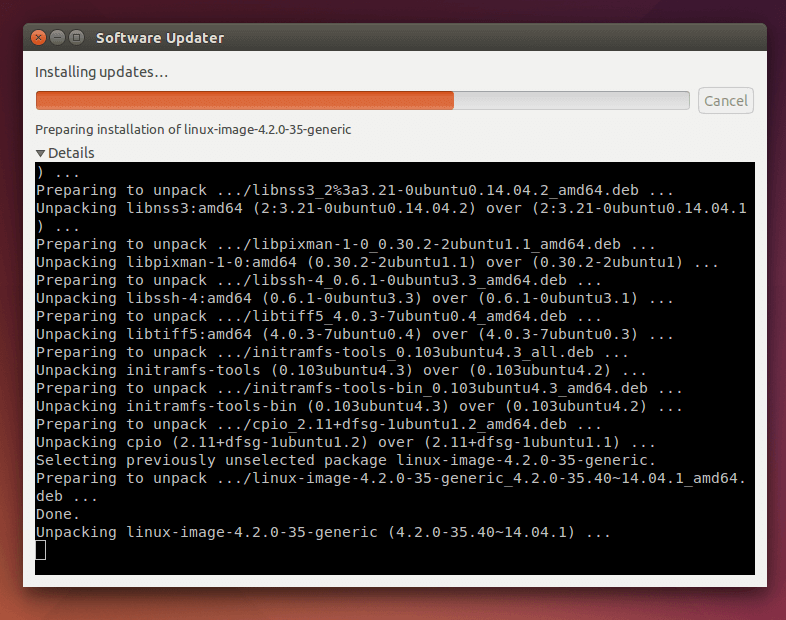
After the finishing downloading, the updates will be installed as in the output below:
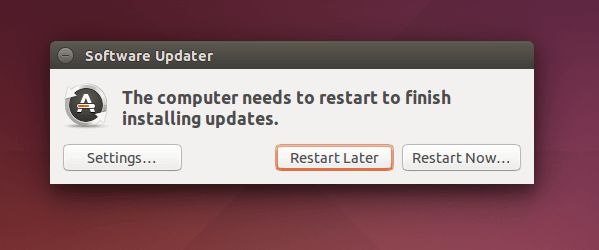
Next, restart your system to finish installing all the updates:
Finally, you can check again to see that your system is up-to-date and you should be able to see the message below after running the update manager:
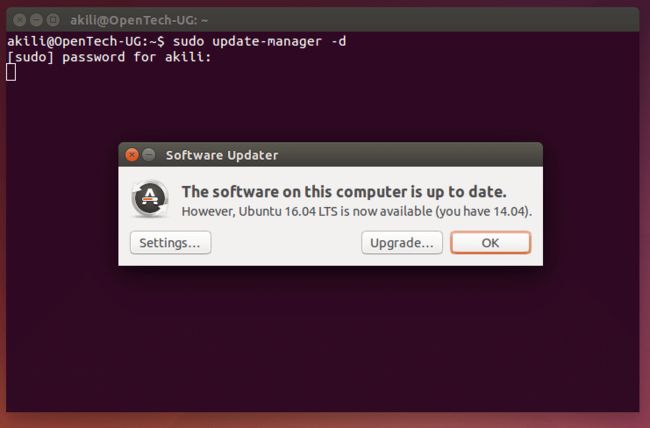
First, open the terminal and run the following command to upgrade your system to Ubuntu 16.04 (Xerial Xerus) LTS:
$ sudo update-manager -d
You will be prompted for your user password, enter it and hit the [Enter] key, the update-manager will open up as below:
Then, click on Upgrade to upgrade your system.
Read Also: Top 7 Things You’ll Mostly Need to Do After Installing Ubuntu 16.04 Xenial Xerus
Upgrade Ubuntu 14.04 to Ubuntu 16.04 – Server Upgrade
The same idea applies here, make your server system up-to-date as follows:
$ sudo apt-get update && sudo apt-get dist-upgrade
Then reboot your system to finish installing updates.
$ sudo init 6
First, install the update-manager-core package using the command below that is if it is not yet installed on your server:
$ sudo apt-get install update-manager-core
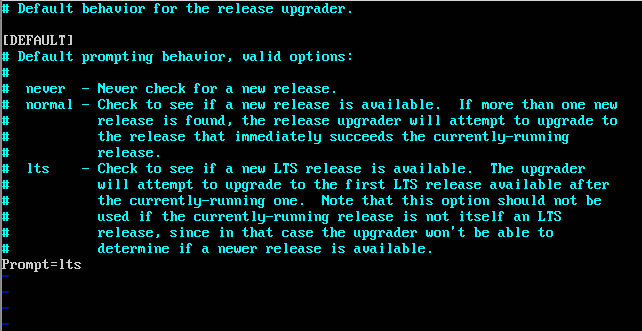
After that, edit this file, /etc/update-manager/release-upgrades using your favorite editor and set Prompt=ltsas in the output below:
$ sudo vi /etc/update-manager/release-upgrades
Configure Ubuntu Upgrade Manager
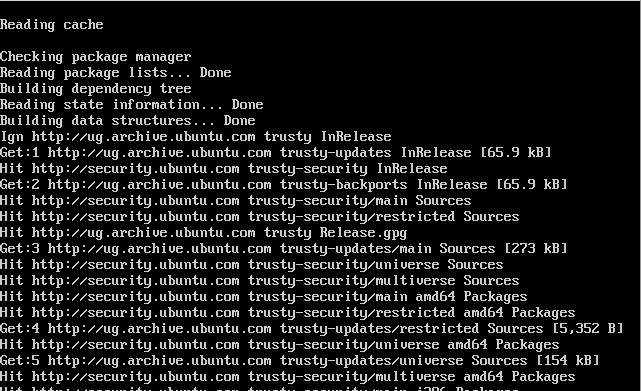
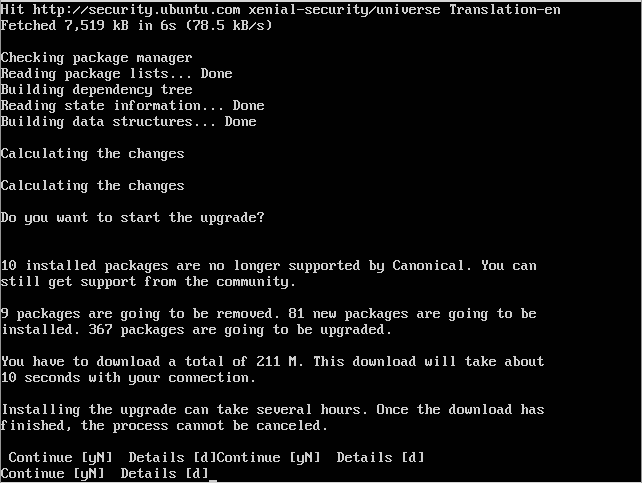
Next, start the upgrade process as follows:
$ sudo do-release-upgrade -d
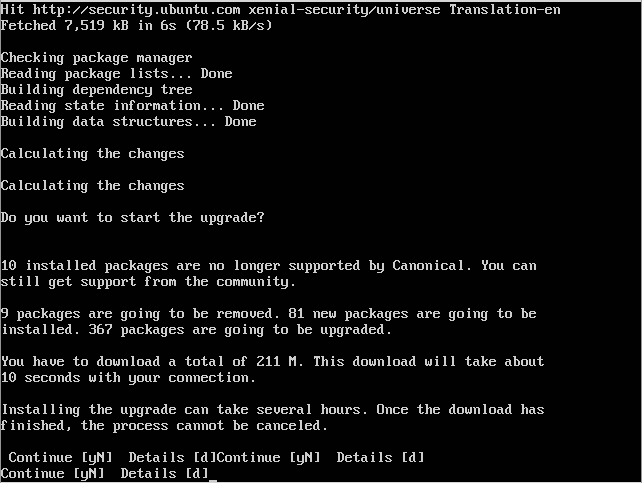
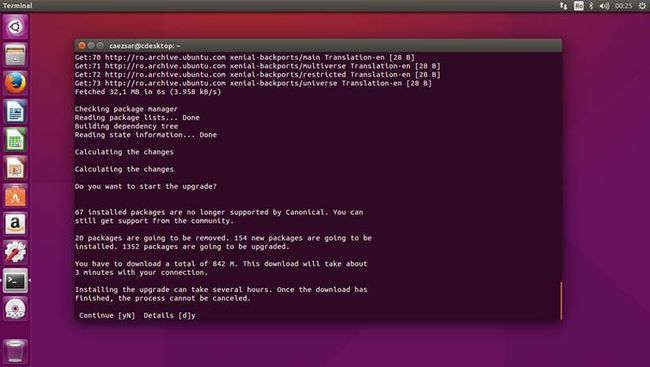
Then, enter 'y' for yes and hit the [Enter] to start the upgrade process in the output below:
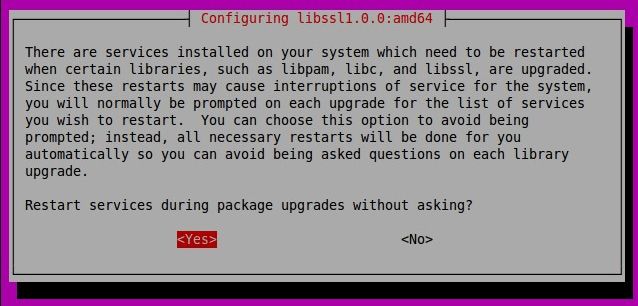
As the upgrade process goes on, you will have to restart certain services on your system as in the output below, hit yes and continue.
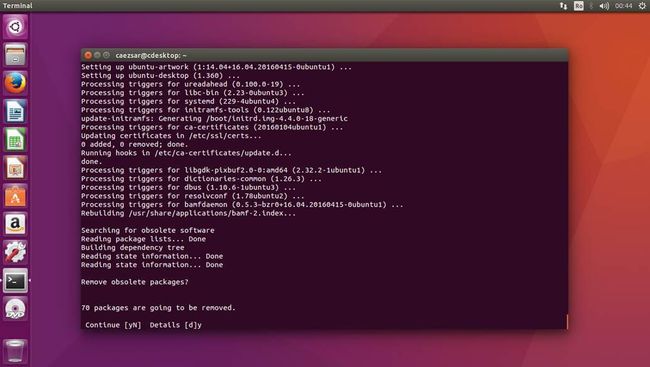
You will be prompted to remove obsolete packages and just enter 'y' and after the upgrade process is complete, restart your server using the command below:
$ sudo init 6
Now your system has been upgraded to Ubuntu 16.04 (Xerial Xerus) LTS.
Hope you find this guide helpful and useful and in case something goes wrong as every user may not have the same experience during the Ubuntu Upgrade process, do not hesitate to post a comment to get help.
Ubuntu Server 14.04升级Ubuntu Server 16.04
作者:chszs,未经博主允许不得转载。经许可的转载需注明作者和博客主页:http://blog.csdn.net/chszs
1、终端下执行命令
$ sudo apt-get update && sudo apt-get dist-upgrade
2、重启系统以完成更新的安装
$ sudo init 6
3、用命令安装更新管理器核心update-manager-core,如果服务器已安装则可以跳过
$ sudo apt-get install update-manager-core
4、编辑/etc/update-manager/release-upgrades配置文件,设置Prompt=lts
$ sudo vi /etc/update-manager/release-upgrades
5、启动升级进程
$ sudo do-release-upgrade
6、按下“Y”,点击回车,开始升级过程
7、随着升级的系统,必须重启某些服务,选择Yes并继续
![]()
8、系统会提示删除过时的包,输入“Y”,并在升级过程完成后,使用以下命令重新启动服务器:
$ sudo init 6
现在Server已经升级到Ubuntu Server 16.04(Xenial Xerus)LTS。
Upgrade from Ubuntu 15.10 to Ubuntu 16.04 on Desktop and Server Editions
Ubuntu 16.04, codename Xenial Xerus, with Long Term Support has been officially released today in wild for Desktop, Server, Cloud and Mobile. Canonical announced that the official support for this version will last till 2021.
Among many bug fixes and updated packages, Ubuntu 16.04 comes with the following new features on server version:
Ubuntu 16.04 Server Features
- Linux kernel 4.4
- OpenSSH 7.2p2 (SSH version 1 protocol completely removed as well as support for 1024-bit DH key exchange)
- Apache and Nginx with PHP 7.0 supprt
- Python 3.5
- LXD 2.0
- Docker 1.10
- libvirt 1.3.1
- qemu 2.5
- Apt 1.2
- GNU toolchain ( glib 2.23, bindutils 2.2, GCC 5.3)
- OpenStack Mitaka
- VSwitch 2.5.0
- Nginx 1.9.15 with HTTP/2 support
- MySQL 5.7
- ZFS file system support
Ubuntu 16.04 Desktop Features
The desktop version side comes with the following notable features:
- Unity 7
- Ubuntu Software Center is replaced by Gnome Software
- Brasero and Empathy removed
- Dash online searches disabled
- Launcher can be moved to the bottom
- LibreOffice 5.1
- Multiple bug fixes
- Firefox 45
This tutorial will guide you on how you can upgrade from Ubuntu 15.10, Desktop and Server, to the new version of Ubuntu, 16.04, from command line.
Important: Ubuntu 14.04 LTS users can upgrade to Ubuntu 16.04 LTS using our official upgrade guideUpgrade to Ubuntu 16.04 LTS from Ubuntu 14.04 LTS.
You should be aware that the process of upgrade from an older version to a newer version always involves some risks and data loss or may break your system or put it in a failure state.
Thus, always make backup of your important data before you proceed with system upgrades and always test the process on non-production systems.
Upgrade System Packages
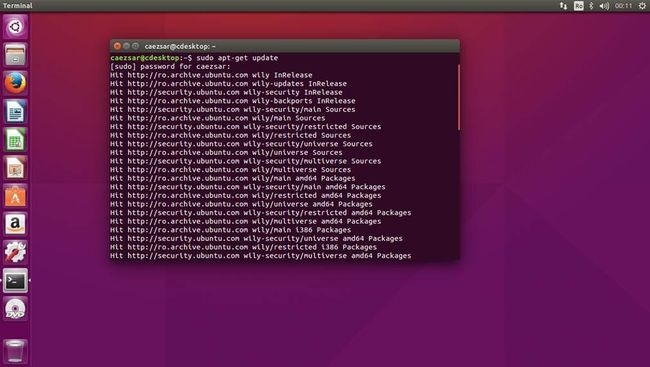
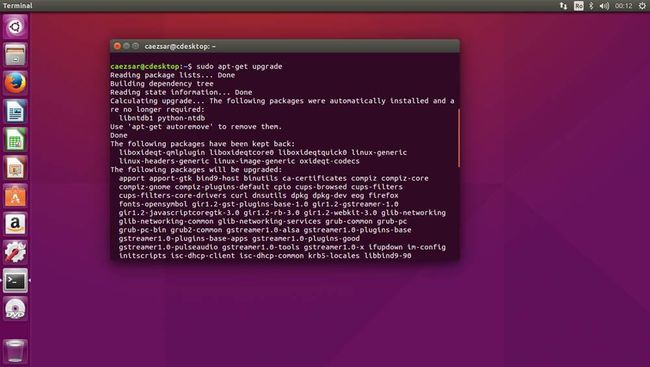
1. Before proceeding with the upgrade process first assure that you have the latest packages from your current release installed on your system by issuing the below commands on Terminal:
$ sudo apt-get update
$ sudo apt-get upgrade
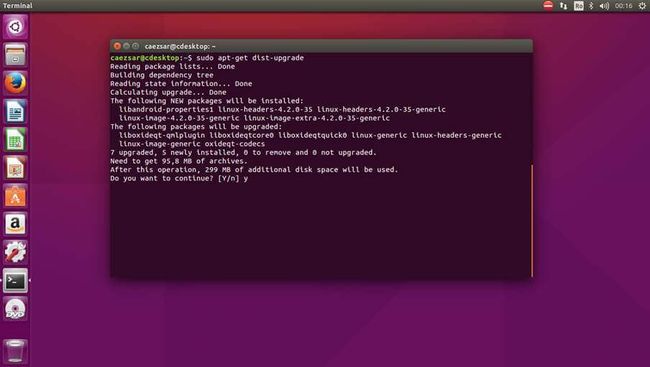
2. Next, make sure you also upgrade the system with the latest dependencies and kernels or packages that are held-back by update command by running the below command.
$ sudo apt-get dist-upgrade
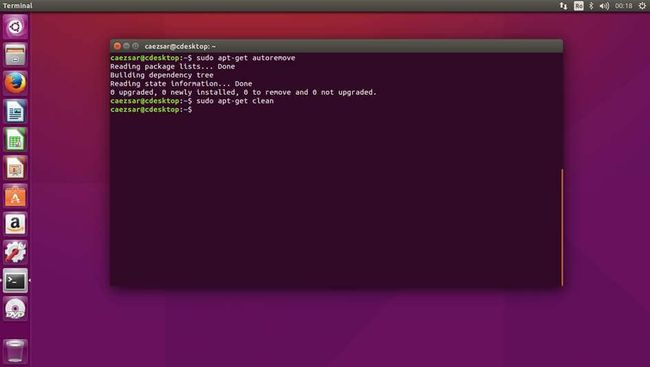
3. Finally, after the update process finishes, start removing junk software from your system in order to free disk space by issuing the below commands:
$ sudo apt-get autoremove
$ sudo apt-get clean
This will remove all previously deb packages stored in /var/cache/apt/archive/ directory and unnecessary dependencies, packages, old kernels or libraries.
Once the system has been prepared for upgrade you should restart the system after the upgrade process in order to boot with the new kernel.
Upgrade to Ubuntu 16.04 Desktop
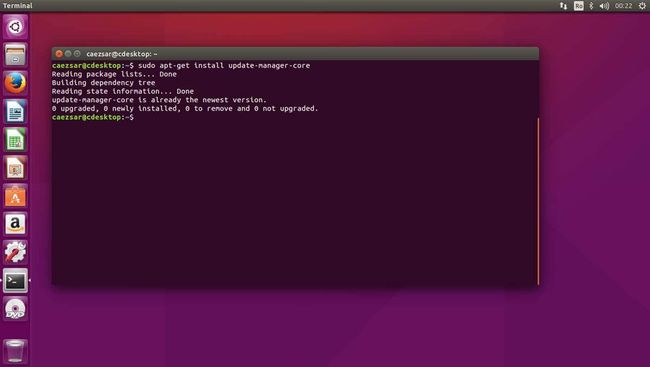
4. Before starting the upgrade process to the latest version of Ubuntu, make sure that update-manager-corepackage, which is the recommended tool provided by Canonical for version upgrade, is installed on the system by issuing the below command.
$ sudo apt-get install update-manager-core
5. Now, start the upgrade with the below command:
$ sudo do-release-upgrade
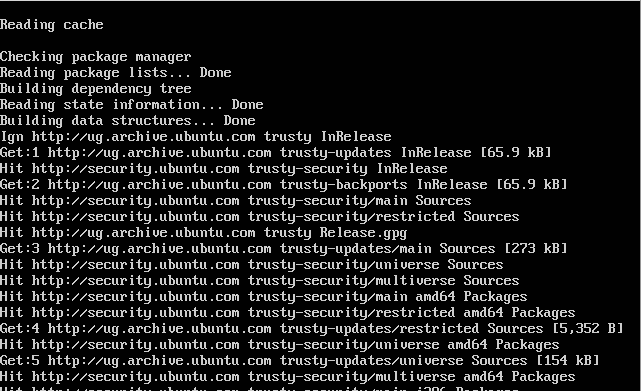
6. After a series of system checks and repositories file modifications the tool will inform you about all system changes and will ask you whether you wish to continue or view detail about the upgrade process. Type y on the prompt in order to continue the upgrade.
7. Depending on your internet connection the upgrade process should take a while. Meanwhile the packages will be downloaded on your system and installed.
Also, you might be asked by the update-manager-core whether you want to automatically restart services and or replace configuration file for packages with the new version.
You should answer with yes for services restart but it’s safer to keep the old configuration files for the newly installed packages in case you didn’t backup those conf files already. Also, it should be safe to remove obsolete packages by typing y on interactive prompt.
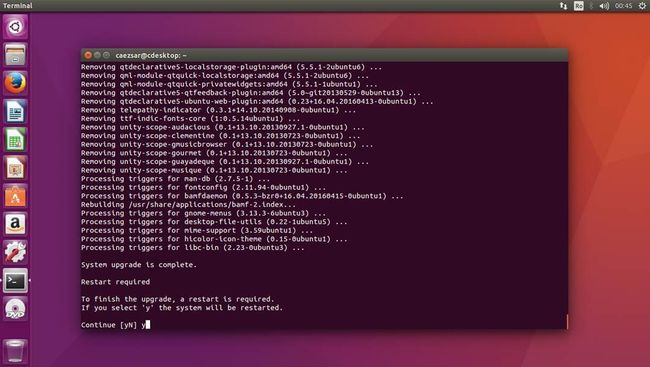
8. Finally, after the upgrade process finishes with success the installer will inform you that the system needs to be restarted in order to apply changes and finalize the whole upgrade process. Answer with yes to proceed.
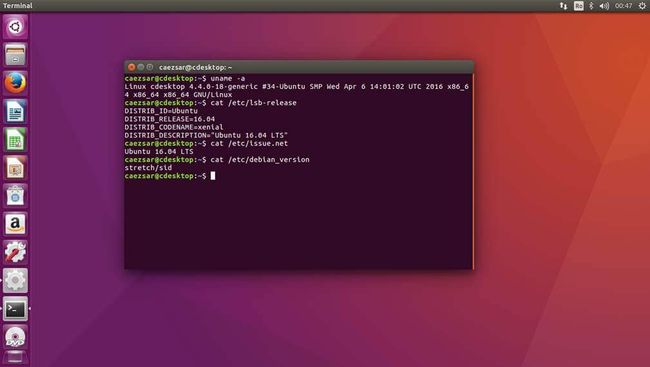
9. After restart, the system should boot-up to the latest upgraded Ubuntu distribution, 16.04. To verify your distribution release issue the below commands on terminal.
$ uname –a
$ cat /etc/lsb-release
$ cat /etc/issue.net
$ cat /etc/debian_version
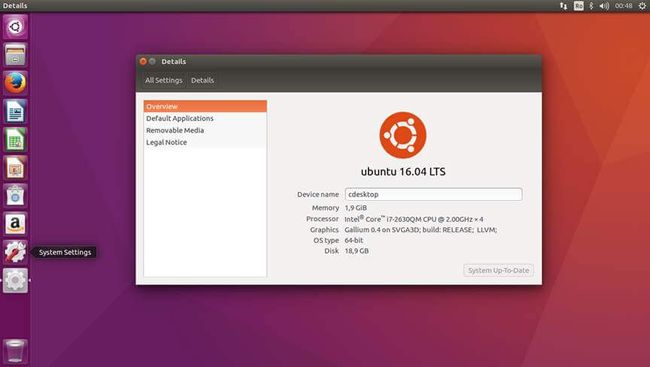
10. If you prefer to verify your distribution release from GUI, open System Setting and go to Details tab.
Upgrade to Ubuntu 16.04 Server
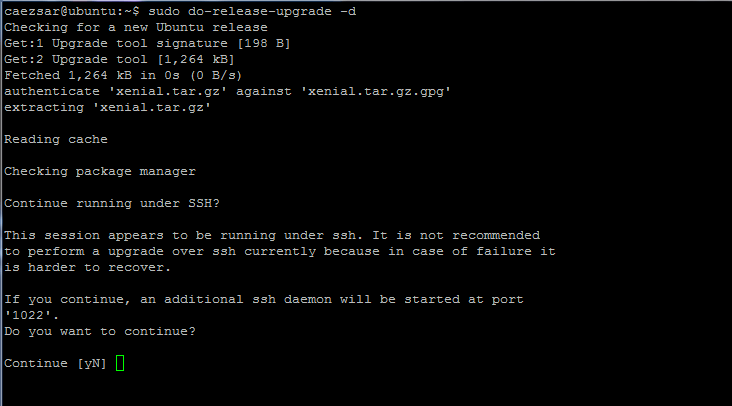
11. The same steps explained here can be applied on Ubuntu Server releases too. However, if the upgrade process it’s done remotely from a SSH connection an additional SSH process for recovery will be automatically started for you on port 1022 in case of system failure.
Just to be safe connect to server console via SSH on port 1022 as well, but not before you add a firewall rule in order to make the connection available for outside attempts, in case the firewall is up and running, as illustrated on the below screenshots.
$ sudo do-release-upgrade -d
12. After you’ve made the second SSH connection on your server, proceed with the system upgrade as usual. After the upgrade process finishes, reboot the machine and perform system clean-up by issuing the below commands:
$ sudo apt-get autoremove
$ sudo apt-get clean
That’s all! Enjoy Ubuntu 16.04 on your computer, whether it’s a desktop or a server.
Ubuntu 16.04 LTS 代号为 Xenial Xerus,其最终版将于 2016 年 4 月 21 日正式发布,Ubuntu16.04 将是非常受欢迎的开源操作系统 Ubuntu 的第 6 个长期支持版本,其首个 LTS 版本发布于 2006 年 6 月。Ubuntu 16.04 Xenial Xerus 将包含 Unity 7 桌面、Linux Kernel 4.4 和超多应用程序更新。作为新的长期支持版,Ubuntu 16.04 将获得 5 年的 Bug 修复及关键安全补丁更新。
![]()
如果你是一个勇于尝鲜的试用达人,可以参考本文将你的 Ubuntu 15.10 升级到 Ubuntu 16.04 Beta。
如果你只是想测试尝鲜 Ubuntu 16.04 beta,可以用文末的链接直接下载进行测试安装。
注意:Ubuntu 16.04 beta 目前还只是测试版本,可能会遇到一个问题和 Bug,一旦升级到 Ubuntu 16.04 beta 除了重装将无法再降级回 15.10。
Ubuntu 15.10 升级到 Ubuntu 16.04 的步骤同时适用于:Xubuntu、Kubuntu、Lubuntu、Ubuntu Gnome 和 Ubuntu Mate。
1.打开软件和更新
![]()
2.浏览到更新选项卡 — 勾选提前释放出的更新 — 选择适用任何新版本
![]()
3.当以上选项配置好之后,使用如下命令来更新系统:
sudo apt-get update && sudo apt-get dist-upgrade
以上命令可能会花比较长的时间,这主要取决于你的网速和使用的源。
4.使用如下命令运行软件更新器, -d 参数会寻找版本升级
sudo update-manager –d
5.执行如上命令后,软件更新器将会检查当前系统可用的版本更新
6.点击升级
![]()
接下来想必不用我说了。
