react native学习篇之图片学习
一、本地图片加载
完成一个图片列表的加载
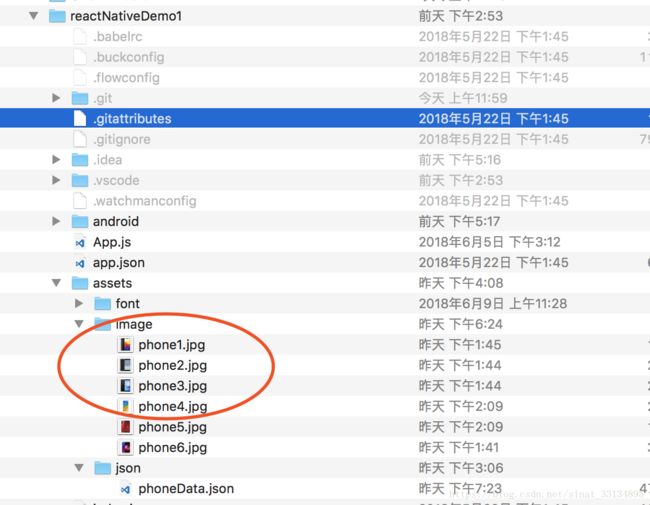
1、可以将图片放入至iOS和Android的相对应的文件夹中
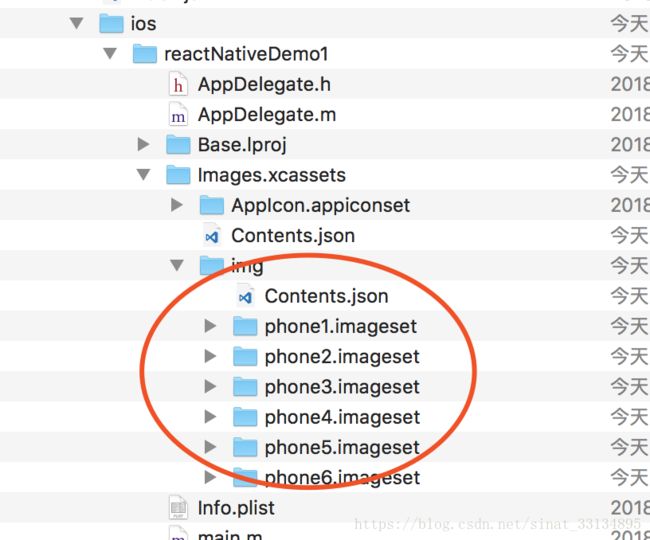
在IOS文件夹的Images.xcassets下新增一个
注意:iOS 中的图片需要Xcode中在img中导入图片进去,复制进去的图片加载不了
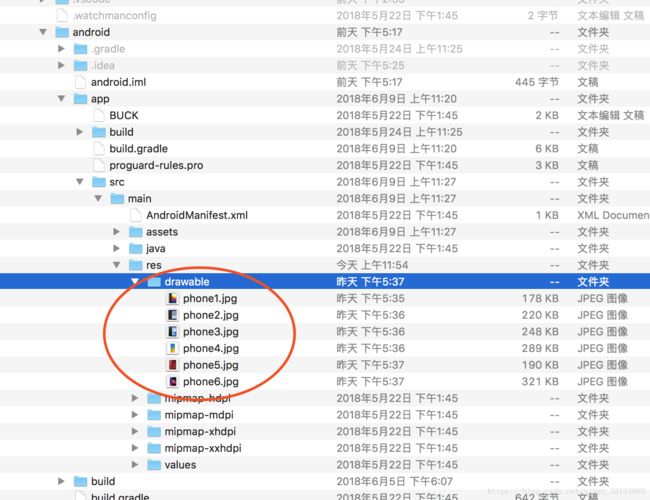
二、android中可以在/Android/app/src/res/中新建drawable文件夹存放图片就可以
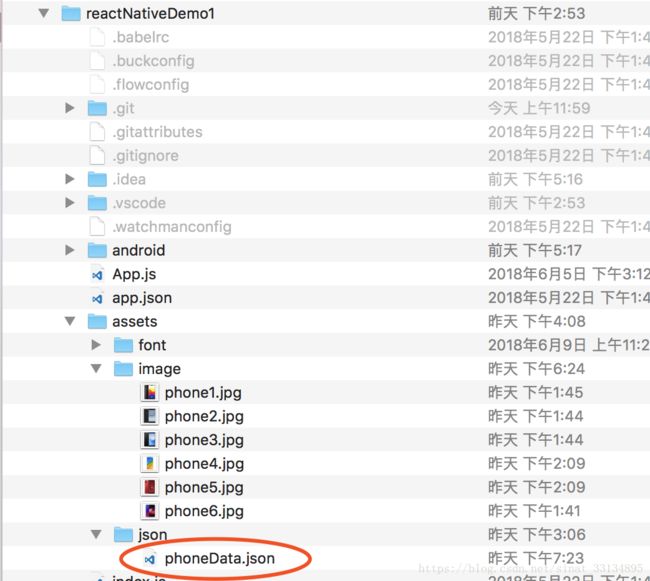
3、在项目中创建一个json文件,然后在需要的页面中require引入
{
"data":[
{
"icon":
"phone1",
"title":
"苹果手机"
},
{
"icon":
"phone2",
"title":
"小米手机"
},
{
"icon":
"phone3",
"title":
"荣耀手机"
},
{
"icon":
"phone4",
"title":
"OPPO手机"
},
{
"icon":
"phone5",
"title":
"VIVO手机"
},
{
"icon":
"phone6",
"title":
"魅族手机"
}
]
}
4、在创建的页面中引入后就可以使用了,写法如下:
import
React, {
Component }
from
'react';
import {
StyleSheet,
Text,
View,
Image,
TouchableOpacity
}
from
'react-native';
//import Icon from 'react-native-vector-icons/FontAwesome';
import
Icon
from
'react-native-vector-icons/Ionicons';
//导入json数据
var
PhoneData =
require(
'../../assets/json/phoneData.json')
export
default
class
MainPage
extends
Component {
static
navigationOptions = {
headerTitle:
'我的',
tabBarLabel:
'我的',
headerTitleStyle:{
fontSize:
18,
fontWeight:
'400',
alignSelf:
'center',
},
headerStyle: {
height:
0,
//去掉标题
},
tabBarIcon:({
tintColor,
focused })
=> (
<
Icon
name={
focused ?
'ios-contact' :
'ios-contact-outline'}
size={
26}
style={{
color:
tintColor }}
/>
),
};
render() {
// 获取 navigate 属性
// 跳转到详情页,并传递两个数据 title、des。
const {
navigate } =
this.
props.
navigation;
return (
<
View
style={
styles.
container}
>
<
Text
>手机列表
Text
>
<
Image
source={
require(
'../../assets/image/phone1.jpg')}
style={
styles.
img1}
/>
{
this.
renderAllPhone()}
View
>
);
}
//返回list
renderAllPhone(){
var
allPhone = [];
//遍历数据
for(
var
i=
0;
i<
PhoneData.
data.
length;
i++){
var
phone =
PhoneData.
data[
i];
//直接转入数组
allPhone.
push(
<
View
key={
i}
style={
styles.
outViewStyle}
>
<
Image
source={{
uri:phone.
icon}}
style={
styles.
imageStyle}
/>
<
Text
style={
styles.
textTitStyle}
>
{
phone.
title}
Text
>
View
>
)
}
//返回数据
return
allPhone;
}
}
const
styles =
StyleSheet.
create({
container: {
flex:
1,
backgroundColor:
'#F5FCFF',
},
outViewStyle:{
},
imageStyle:{
width:
80,
height:
80
},
img1:{
width:
100,
height:
100
},
textTitStyle:{
}
});
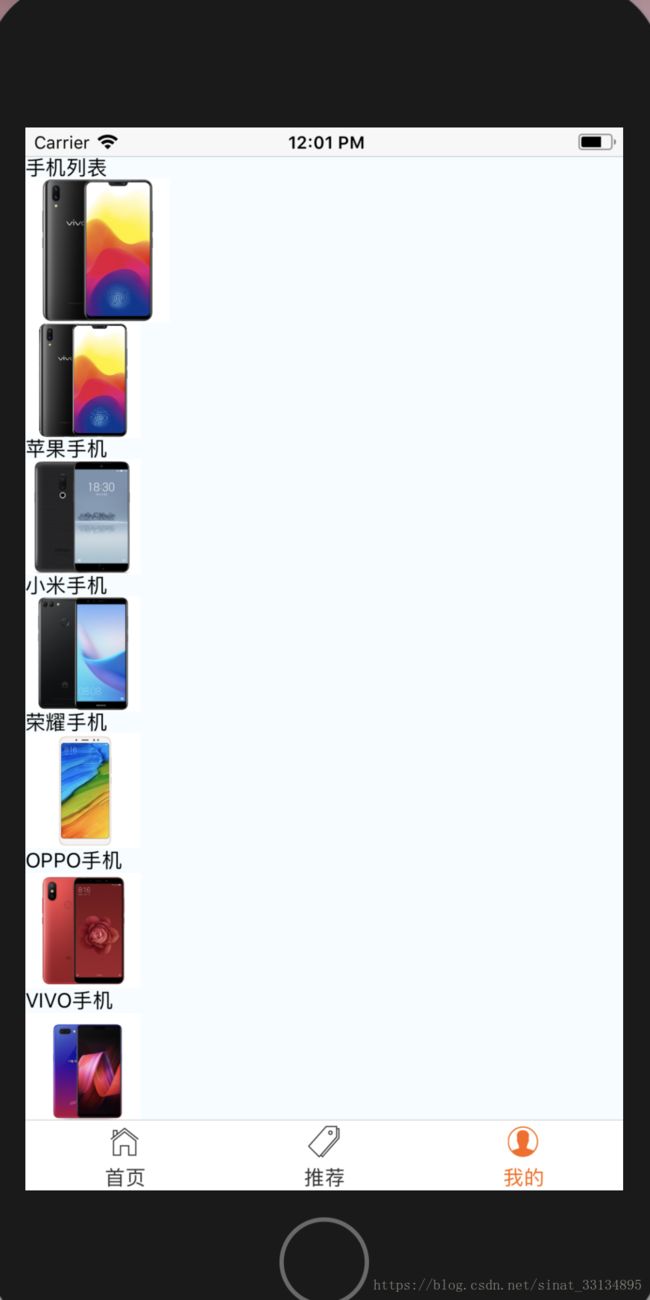
在模拟器中显示如下(还未加样式,有点不好看)
整个本地App中的静态资源图片就引入成功啦
二、本地图片加载
<
View
style={
styles.
container}
>
<
Text
>手机列表
Text
>
<
Image
source={
require(
'../../assets/image/phone1.jpg')}
style={
styles.
img1}
/>
{
this.
renderAllPhone()}
View
>
如上图:相当于在本地根目录下找到该图片。需注意图片是require引入的,还有图片一定要设置宽高。
三、网络加载的图片,需要知道图片的链接地址,且加载方式不同,需要uri方式引入,也需要设置宽高
let
pic = {
uri:
'https://upload.wikimedia.org/wikipedia/commons/d/de/Bananavarieties.jpg'
};
return (
<
View
style={
styles.
container}
>
<
View
style={{
flex:
1,
flexDirection:
'row',
justifyContent:
'center'}}
>
<
View
style={{
width:
50,
height:
50,
backgroundColor:
'powderblue'}}
>
View
>
<
View
style={{
width:
50,
height:
50,
backgroundColor:
'skyblue'}}
>
View
>
<
View
style={{
width:
50,
height:
50,
backgroundColor:
'steelblue'}}
>
View
>
View
>
<
Image
source={
pic}
style={
styles.
pic}
/>
<
Image
source={
pic}
style={
styles.
pic}
/>
<
Greeting
name=
'菲菲'
/>
<
Blink
text=
'state状态测试'
/>
<
Text
style={[
styles.
red,
styles.
fontSizeText,
styles.
textBg]}
>样式调整,颜色,字体等等
Text
>
<
Text
style={[
styles.
flexLayout,
styles.
flexLayoutBg]}
>
撑满空间
Text
>
<
Text
style={[
styles.
flexLayout,
styles.
flexLayoutBg]}
>
撑满空间2
Text
>
<
PizzaTranslator
>
PizzaTranslator
>
{
/*
onPress={() => navigate('DetailPage', { title: '详情页',des:'回到上一页' })} >
*/}
View
>
);
或者
<
Image
source={{
uri:
'https://upload.wikimedia.org/wikipedia/commons/d/de/Bananavarieties.jpg'}}
style={
styles.
img1}
/>
两种写法都可以
