IOS开发之——绘制基本形状(73)
一 概述
本文介绍基本图形的绘制:
- 三角形
- 矩形
- 圆形
- 椭圆
- 圆弧
- 封闭圆弧
二 绘制三角形
2.1 绘制代码
- (void)drawRect:(CGRect)rect {

    //1.获取上下文
    CGContextRef ctx=UIGraphicsGetCurrentContext();
    //2.拼接路径
    UIBezierPath *path=[UIBezierPath bezierPath];
    CGPoint startP=CGPointMake(10, 10);
    [path moveToPoint:startP];
    [path addLineToPoint:CGPointMake(125, 125)];
    [path addLineToPoint:CGPointMake(240, 10)];
    [path closePath];
    //[path addLineToPoint:startP];
    //3.把路径添加到上下文
    CGContextAddPath(ctx, path.CGPath);
    [[UIColor blueColor]setFill];
    [[UIColor redColor]setStroke];
    CGContextSetLineWidth(ctx, 15);
    //4.渲染上下文
    //CGContextStrokePath(ctx);
    //CGContextFillPath(ctx);
    CGContextDrawPath(ctx,kCGPathFillStroke);
}
2.2 给三角形添加文字
- (UILabel *)label{
    if (_label==nil) {
        UILabel *label=[[UILabel alloc]initWithFrame:CGRectMake(0, 0, 250, 100)];
        label.text=@"s";
        label.textColor=[UIColor yellowColor];
        label.font=[UIFont systemFontOfSize:60];
        label.textAlignment=NSTextAlignmentCenter;
        [self addSubview:label];
    }
    return _label;
}
- (void)awakeFromNib
{
    self.label;
}
2.3 效果图
三 绘制矩形
3.1 代码
- (void)drawRect:(CGRect)rect {
    //1.获取上下文
    CGContextRef ctx=UIGraphicsGetCurrentContext();
    //2.拼接路径
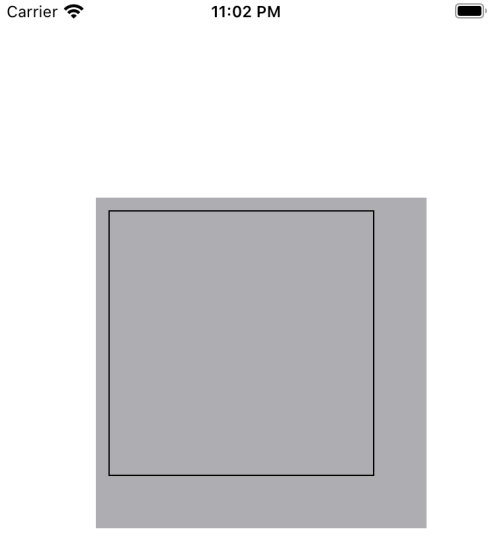
    UIBezierPath *paht=[UIBezierPath bezierPathWithRect:CGRectMake(10, 10, 200, 200)];
    //3.把路径添加到上下文
    CGContextAddPath(ctx, paht.CGPath);
    //4.渲染上下文
    CGContextStrokePath(ctx);
}
3.2 效果图
四 绘制圆
4.1 代码1
- (void)drawRect:(CGRect)rect {

    //1.获取上下文
    CGContextRef ctx=UIGraphicsGetCurrentContext();
    //2.拼接路径
    UIBezierPath *path=[UIBezierPath bezierPathWithOvalInRect:CGRectMake(10, 10, 200, 200)];
    //3.把路径添加到上下文
    CGContextAddPath(ctx, path.CGPath);
    //4.渲染上下文
    CGContextStrokePath(ctx);

}
4.2 代码2
- (void)drawRect:(CGRect)rect {

    //1.获取上下文
    CGContextRef ctx=UIGraphicsGetCurrentContext();
    //2.拼接路径
    UIBezierPath *paht=[UIBezierPath bezierPathWithRect:CGRectMake(10, 10, 200, 200)];
    paht=[UIBezierPath bezierPathWithRoundedRect:CGRectMake(10, 10, 200, 200) cornerRadius:100];
    //3.把路径添加到上下文
    CGContextAddPath(ctx, paht.CGPath);
    //4.渲染上下文
    CGContextStrokePath(ctx);

}
4.3 效果图
五 绘制椭圆
5.1 代码
- (void)drawRect:(CGRect)rect {

    //1.获取上下文
    CGContextRef ctx=UIGraphicsGetCurrentContext();
    //2.拼接路径
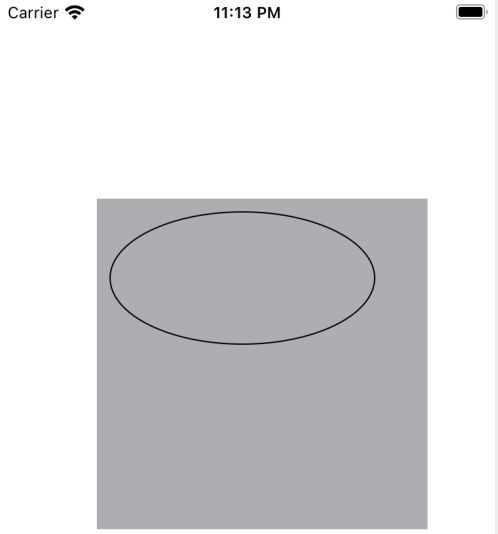
    UIBezierPath *path=[UIBezierPath bezierPathWithOvalInRect:CGRectMake(10, 10, 200, 100)];
    //3.把路径添加到上下文
    CGContextAddPath(ctx, path.CGPath);
    //4.渲染上下文
    CGContextStrokePath(ctx);
}
5.2 效果图
六 圆弧
6.1 代码
- (void)drawRect:(CGRect)rect {
    //1.获取上下文
    CGContextRef ctx=UIGraphicsGetCurrentContext();
    //2.拼接路径
    CGPoint center=CGPointMake(125, 125);
    CGFloat radius=100;
    CGFloat startA=0;
    CGFloat endA=M_PI;
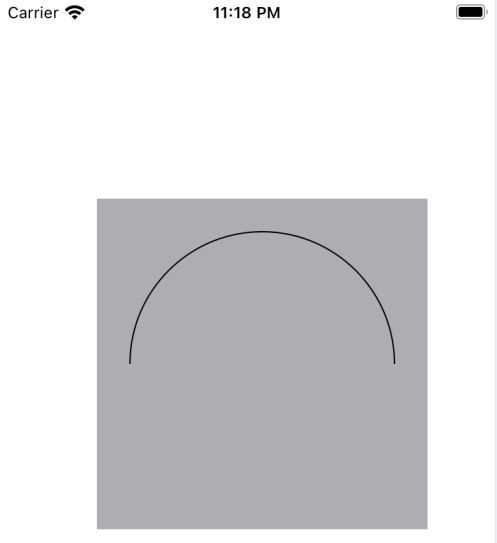
    UIBezierPath *path=[UIBezierPath bezierPathWithArcCenter:center radius:radius startAngle:startA endAngle:endA clockwise:NO];
    //3.把路径添加到上下文
    CGContextAddPath(ctx, path.CGPath);
    //4.渲染上下文
    CGContextStrokePath(ctx);

}
6.2 效果图
七 封闭圆弧
7.1 代码
- (void)drawRect:(CGRect)rect {
    //1.获取上下文
    CGContextRef ctx=UIGraphicsGetCurrentContext();
    //2.拼接路径
    CGPoint center=CGPointMake(125, 125);
    CGFloat radius=100;
    CGFloat startA=0;
    CGFloat endA=M_PI_2;
    UIBezierPath *path=[UIBezierPath bezierPathWithArcCenter:center radius:radius startAngle:startA endAngle:endA clockwise:YES];
    //3.把路径添加到上下文
    CGContextAddPath(ctx, path.CGPath);
    //4.渲染上下文
    //CGContextStrokePath(ctx);
    CGContextFillPath(ctx);

}


