Unity学习笔记--A星寻路插件:A*Pathfind Project的使用
A寻路看似简单,但实际项目中的各种应用是有一定难度的,需要较强的算法功底,不过,幸运的是,Unity Asset Store中已经有了现成的A寻路插件"A* Pathfinding Project"(作者:Aron Granberg),它有免费版和收费两个版本,不过一般免费版足以让我们使用。
下载链接1:http://arongranberg.com/astar/download
下载链接2:https://download.csdn.net/download/qq_42434073/15116553
-
先演示下效果:
-
插件的导入:
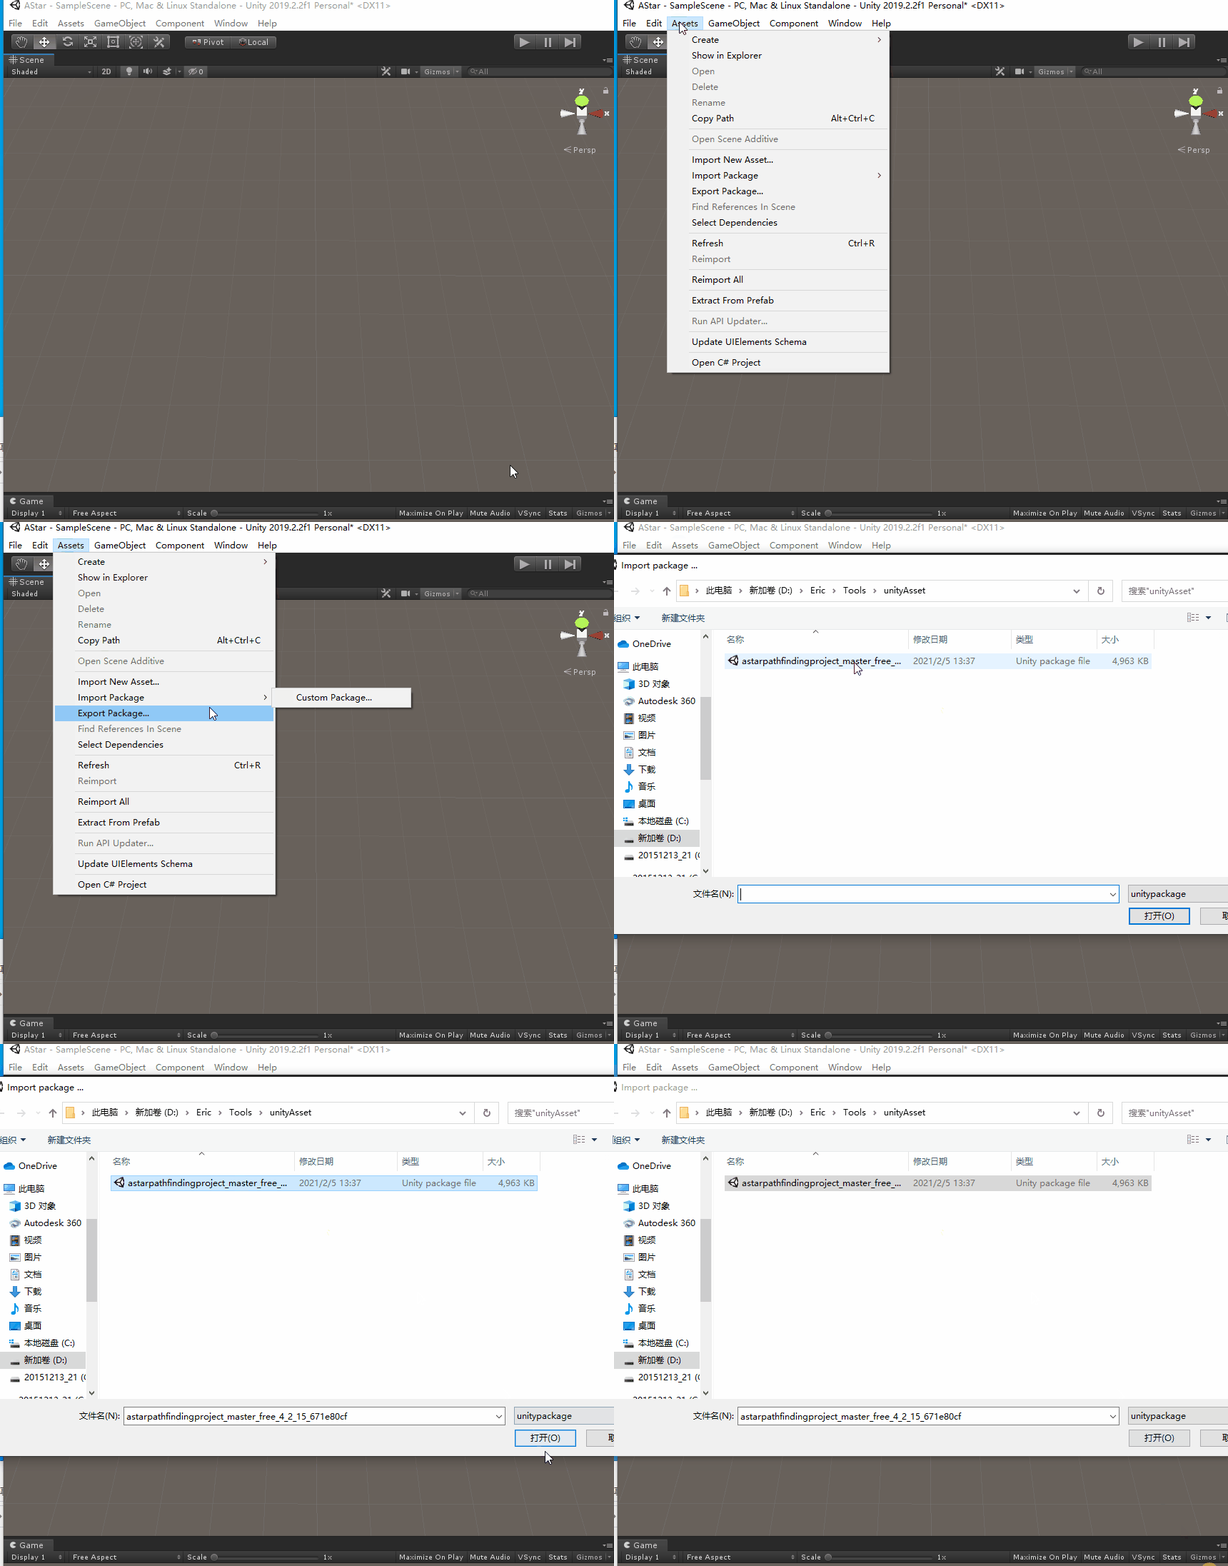
常规方法:Asset-Import Package-Custom Package 选择我们下载好的插件,打开即可:

导入后可以在[Component]工具中看到多出了“Pathfinding”选项:

-
场景的搭建:
3.1 新建两个Layer:
单机[Edit] - [Project Setting] - [Tags and Layers], 创建一个Obstacles 与一个Ground层:

3.2
(1)在场景中新建一个平面,设置Scale:10,1,10,并在Inspector中将Layer改为“Ground”:

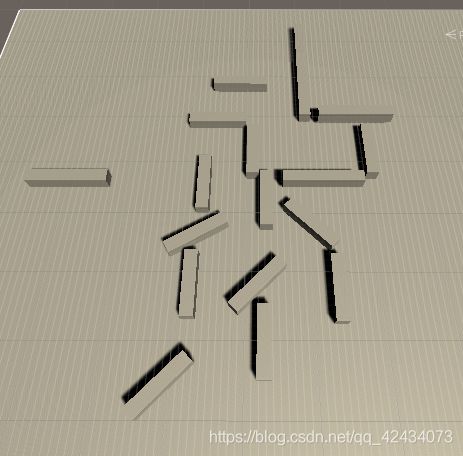
(2)动手搭建我们的若干障碍体,然后将这些障碍的Layer全部设置为Obstacles:

3.3 创建一个Cube 或者Sphere 代替玩家;
在地图上某一位置新建一个物体,作为寻路的终点;
创建一个空物体,命名为A*,作为A的管理器;
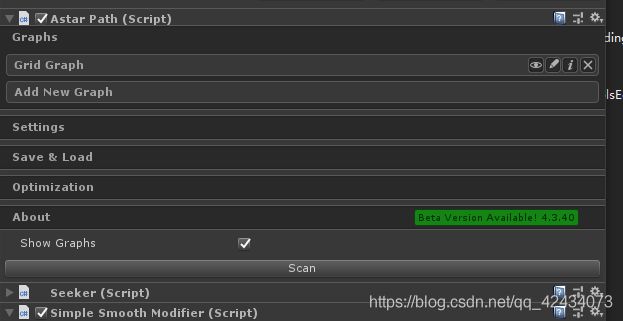
3.4 选择A物体,然后单击[Component] - [Pathfinding] - [Pathfinder] 这时可以看到Inspector面板中出现了一个Astar Path的代码组件:
 单击Graphs,提示添加新的Graph,这里的Graph种类包括Grid Graph、Layered Grid Graph、NavMeshGraph、RecastGraph,可以选择不同的导航图类型;
3.5 先创建一个基于单元的导航图
(1)单击Grid Graph,会生成一个Widthdepth(设置为100100)的规则网格。将Node Size设置为1,Center设置为0,-0.1,0(Y坐标设置为-0.1是为了避免浮点数带来的误差)

(2)碰撞测试:

碰撞测试通常都选择胶囊体,
半径与高度根据玩家物体的吃寸调节,最好设置略大一点,保证安全,
碰撞测试的Mask 选择“Obstacles”层
(3)高度测试

第一个是检测射线投射的高度,第二个选择“Ground”层
(4)Scan浏览一下网格划分
4. 给角色添加代码:
首先选中玩家物体后,选择[Component] - [Pathfinding] - [Seeker] ,这样才能获取到路径
代码的思路:
(1)使用插件的内置函数Seeker.StartPath(起点,终点),寻找路径
(2)当路径搜索结束后,会自动将路点存储起来,我们不断的朝向下一个路点,便可以一步步走到终点;
给玩家添加C#Script 命名为AstarAI,编辑如下:
using System.Collections;
using System.Collections.Generic;
using UnityEngine;
using Pathfinding;
using System;
public class AstarAI : MonoBehaviour
{
//目标物体与目标位置
public GameObject targetObject;
private Vector3 targetPosition;
private Seeker seeker;
//存储路径
public Path path;
//角色移动速度
public float speed = 100.0f;
public float turnSpeed = 5f;
//判断玩家与航点的距离
public float nextWaypointDistance = 3;
//对当前的航点进行编号
private int currentWaypoint = 0;
// Start is called before the first frame update
void Start()
{
seeker = GetComponent<Seeker>();
//注册回调函数,在Astar Path完成后调用此函数
seeker.pathCallback += OnPathComplete;
}
// Update is called once per frame
void FixedUpdate()
{
targetPosition = targetObject.transform.position;
//开始寻路
seeker.StartPath(transform.position, targetPosition);
if (path==null)
{
return;
}
//当前搜索点编号大于等于路径存储的总点数时,路径搜索结束
if (currentWaypoint>=path.vectorPath.Count)
{
Debug.Log("路径搜索结束");
return;
}
Vector3 dir = (path.vectorPath[currentWaypoint+1] - transform.position);//.normalized;
dir *= speed * Time.fixedDeltaTime;
//玩家转向
transform.Translate(Vector3.forward*Time.fixedDeltaTime*speed);
Quaternion targetRotation = Quaternion.LookRotation(dir);
transform.rotation = Quaternion.Slerp(transform.rotation, targetRotation, Time.deltaTime * turnSpeed);
//玩家当前位置与当前的航向点距离小于一个给定值后,转向下一个航向点
if (Vector3.Distance(transform.position,path.vectorPath[currentWaypoint])<nextWaypointDistance)
{
currentWaypoint++;
return;
}
}
/// - 路径的平滑,在Path Modifiiers中包含了路径平滑和简化脚本,也可以直接选中玩家,然后单击[Component] - [Pathfinding] - [Modifiers] - [Simple Smooth],便会生成路线的平滑效果,在Inspector面板中可以修改参数,出现不同的平滑效果。
- 开始运行啦。