没有时间延迟的动画
__weak typeof(self) weakSelf = self;
[UIView animateWithDuration:0.8f animations:^{
    //这里对视图的属性进行修改
    weakSelf.imageView1.center = center1;
} completion:^(BOOL finished) {

}];
可以设置时间延迟的动画
[UIView animateWithDuration:0.8 delay:0.2 options:UIViewAnimationOptionRepeat|UIViewAnimationOptionAutoreverse animations:^{
    //这里对视图的属性进行修改
    weakSelf.imageView2.center = center2;
} completion:^(BOOL finished) {

}];
Note:需要注意的是options参数的设置,会有不同的效果
类似弹簧效果的动画
[UIView animateWithDuration:0.8 delay:0.5 usingSpringWithDamping:0.3f initialSpringVelocity:0.0f options:0 animations:^{
    //这里对视图的属性进行修改
    weakSelf.imageView2.center = center2;
} completion:^(BOOL finished) {

}];
对函数animateWithDuration: delay:usingSpringWithDamping: initialSpringVelocity: options: animations: completion:的解释:
- usingSpringWithDamping: 取值范围在0.0~1.0, 取值越小,震荡幅度越大
- initialSpringVelocity:确定了在动画结束之前运动的速度。一般情况下都是设置为0。设值举个例子来说,如果想要移动的距离为200pt,移动速度为100pt/s,就需要设置为0.5。
设置position会有弹簧效果,设置视图的bounds或transform同样也会有弹簧效果的。
__weak typeof(self) weakSelf = self;
CGRect bounds = self.button.bounds;
bounds.size.width += 100;
//    CGAffineTransform transform = CGAffineTransformMakeScale(1.3f, 1.0f);
[UIView animateWithDuration:2.0f delay:0 usingSpringWithDamping:0.2 initialSpringVelocity:0 options:0 animations:^{
    weakSelf.button.bounds = bounds;
//        weakSelf.button.transform = transform;
//        weakSelf.button.backgroundColor = [UIColor redColor];
} completion:^(BOOL finished) {
//        weakSelf.button.transform = CGAffineTransformIdentity;
}];
以上方式可以在改变视图的属性时产生动画,如果视图添加或者移除的时候想要添加动画,就要用到下面的方式了
Transitions
Transitions是在应用到视图之前预先定义好的。在动画开始知道结束,这些预先定义的动画都是不可改变和停止的。使用该方式动画之前需要有一个容器视图,所有添加到该容器中子视图出现时动画会执行。
add/remove一个视图
利用方法transitionWithView: duration: options: animations: completion:来实现。解释:
- transitionWithView:可以理解为所要添加视图的父视图
#import "ViewController.h"

@interface ViewController ()

@property(nonatomic,strong) UIButton *button;//触发事件
@property(nonatomic,strong) UIView *containerView;//视图容器
@property(nonatomic,strong) UIImageView *addImageView;//添加的视图
@property(nonatomic,assign) BOOL show;//记录是否已经添加了视图,默认为NO

@end

@implementation ViewController

- (void)viewDidLoad {
    [super viewDidLoad];
    // Do any additional setup after loading the view, typically from a nib.
    [self.view addSubview:self.containerView];
    [self.view addSubview:self.button];
}
#pragma mark - Action

//按钮事件
- (void)btnClick:(id)sender
{
    self.addImageView.center = self.view.center;

    __weak typeof(self) weakSelf = self;

    [UIView transitionWithView:self.containerView duration:0.8 options:UIViewAnimationOptionCurveEaseOut|UIViewAnimationOptionTransitionFlipFromBottom animations:^{
    if (_show) {
        //已经存在了,就移除
        [weakSelf.addImageView removeFromSuperview];
    }
    else{
        //不存在,就添加
        [weakSelf.containerView addSubview:weakSelf.addImageView];
    }
    _show = !_show;
    } completion:^(BOOL finished) {

    }];
}

#pragma mark - Getter
//按钮
- (UIButton *)button
{
    if (!_button) {
        _button = [UIButton buttonWithType:UIButtonTypeCustom];
        _button.bounds = CGRectMake(0, 0, 100, 30);
        _button.center = CGPointMake(CGRectGetMidX(self.view.frame), 100);
        [_button setTitle:@"点击我" forState:UIControlStateNormal];
        _button.backgroundColor = [UIColor redColor];
        [_button addTarget:self action:@selector(btnClick:) forControlEvents:UIControlEventTouchUpInside];
    }
    return _button;
}

//容器视图
- (UIView *)containerView
{
    if (!_containerView) {
        _containerView = [[UIView alloc]initWithFrame:self.view.bounds];
    }
    return _containerView;
}

//所添加的视图
- (UIImageView *)addImageView
{
    if (!_addImageView) {
        _addImageView = [[UIImageView alloc]initWithImage:[UIImage imageNamed:@"banner"]];
        _addImageView.bounds = CGRectMake(0, 0, 283, 49);
        _addImageView.contentMode = UIViewContentModeScaleAspectFill;
    }
    return _addImageView;
}

- (void)didReceiveMemoryWarning {
    [super didReceiveMemoryWarning];
    // Dispose of any resources that can be recreated.
}

@end
Hide/Show 一个视图
同样也是利用方法transitionWithView: duration: options: animations: completion:来实现。只不过是通过修改该视图的hidden属性来实现。
- transitionWithView:所要操作的视图
尝试不同options参数,会有不同的惊喜。
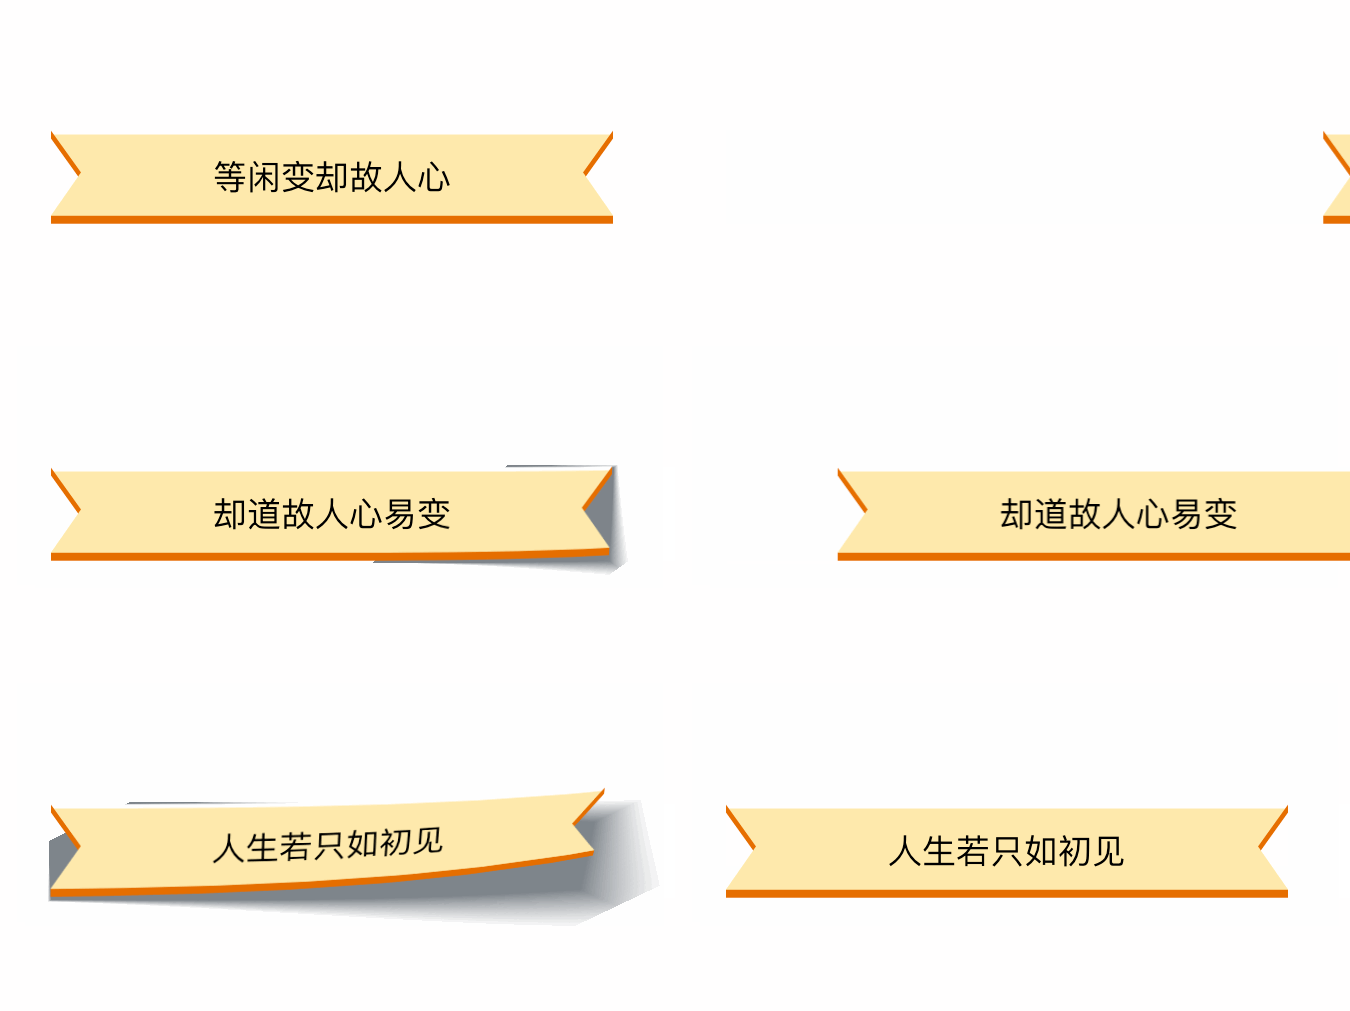
先看效果
#import "ViewController.h"

@interface ViewController ()

@property(nonatomic,strong) UIButton *button;//触发事件
@property(nonatomic,strong) NSMutableArray *titlesArray;//存放Messages
@property(nonatomic,strong) UIImageView *addImageView;//添加的视图
@property(nonatomic,strong) UILabel *titleLabel;//显示Message的Label

@end

@implementation ViewController

- (void)viewDidLoad {
    [super viewDidLoad];
    // Do any additional setup after loading the view, typically from a nib.
    [self.view addSubview:self.containerView];
    [self.view addSubview:self.button];
    [self.view addSubview:self.addImageView];
    [self.addImageView addSubview:self.titleLabel];
    self.addImageView.hidden = YES;

    [self.titlesArray addObjectsFromArray:@[@"人生若只如初见",@"何事悲风秋画扇",@"等闲变却故人心",@"却道故人心易变"]];
}

#pragma mark - Action

/*!
 *  @author Yooeee
 *
 *  @brief  按钮事件
 *
 *  @param sender 按钮
 */
- (void)btnClick:(id)sender
{
    self.addImageView.center = self.view.center;
    [self showMessage:0];
}

#pragma mark - Private Methods

/*!
 *  @author Yooeee
 *
 *  @brief  显示视图
 *
 *  @param index 显示第几个文字
 */
- (void)showMessage:(NSInteger)index
{
    NSAssert(index < self.titlesArray.count, @"数组越界了");

    self.titleLabel.text = self.titlesArray[index];

    __weak typeof(self) weakSelf = self;

    [UIView transitionWithView:self.addImageView duration:0.8f options:UIViewAnimationOptionCurveEaseOut|UIViewAnimationOptionTransitionFlipFromBottom animations:^{
    weakSelf.addImageView.hidden = NO;
} completion:^(BOOL finished) {
    //动画结束之后,为方便看效果,延迟两秒执行移除动画
    dispatch_after(dispatch_time(DISPATCH_TIME_NOW, (int64_t)(2.0 * NSEC_PER_SEC)), dispatch_get_main_queue(), ^{
        //判定一下数组
        if (index < weakSelf.titlesArray.count) {
            //隐藏执行下一个动画
            [self hideMessage:index];
        }
        else{
            //做些其他的操作
            NSLog(@"执行完了");
        }
    });
}];
}

/*!
 *  @author Yooeee
 *
 *  @brief  隐藏视图
 *
 *  @param index 隐藏第几个文字
 */
- (void)hideMessage:(NSInteger)index
{
__weak typeof(self) weakSelf = self;

[UIView transitionWithView:self.addImageView duration:0.8f options:0 animations:^{
    CGPoint center = weakSelf.addImageView.center;
    center.x += weakSelf.view.frame.size.width;
    weakSelf.addImageView.center = center;
} completion:^(BOOL finished) {
    weakSelf.addImageView.hidden = YES;
    weakSelf.addImageView.center = weakSelf.view.center;

    //判定一下数组
    if (index < weakSelf.titlesArray.count - 1) {
        [self showMessage:index+1];
    }
    else{
        //从头开始执行
        [self showMessage:0];
    }

}];
}

#pragma mark - Getter

/*!
 *  @author Yooeee
 *
 *  @brief  触发事件开始
 *
 *  @return button
 */
- (UIButton *)button
{
if (!_button) {
    _button = [UIButton buttonWithType:UIButtonTypeCustom];
    _button.bounds = CGRectMake(0, 0, 100, 30);
    _button.center = CGPointMake(CGRectGetMidX(self.view.frame), 100);
    [_button setTitle:@"点击我" forState:UIControlStateNormal];
    _button.backgroundColor = [UIColor redColor];
    [_button addTarget:self action:@selector(btnClick:) forControlEvents:UIControlEventTouchUpInside];
}
return _button;
}

/*!
 *  @author Yooeee
 *
 *  @brief  文本信息
 */
- (NSMutableArray *)titlesArray
{
if (!_titlesArray) {
    _titlesArray = [[NSMutableArray alloc]init];
}
return _titlesArray;
}

/*!
 *  @author Yooeee
 *
 *  @brief  创建添加的视图
 *
 *  @return 视图
 */
- (UIImageView *)addImageView
{
if (!_addImageView) {
    _addImageView = [[UIImageView alloc]initWithImage:[UIImage imageNamed:@"banner"]];
    _addImageView.bounds = CGRectMake(0, 0, 283, 49);
    _addImageView.contentMode = UIViewContentModeScaleAspectFill;
}
return _addImageView;
}

/*!
 *  @author Yooeee
 *
 *  @brief  展现文本信息的Label
 *
 *  @return label
 */
- (UILabel *)titleLabel
{
if (!_titleLabel) {
    _titleLabel = [[UILabel alloc]initWithFrame:self.addImageView.bounds];
    _titleLabel.textAlignment = NSTextAlignmentCenter;
}
return _titleLabel;
}

- (void)didReceiveMemoryWarning {
    [super didReceiveMemoryWarning];
    // Dispose of any resources that can be recreated.
}

@end
视图的替换
利用方法transitionFromView: toView: duration: options: completion:来实现,是将toView添加到fromView的superview上,并且将fromView 从他的superview上移除。解释:
transitionFromView: 被替换的视图
-
toView: 替换的视图
[UIView transitionFromView:_fromImageView toView:_toImageView duration:0.8f options:UIViewAnimationOptionTransitionCurlDown completion:^(BOOL finished) {

}];
需要注意的是执行动画的时候,整个superview都会执行该动画。
利用辅助视图的方式来实现动画
注意这种方法,可以利用辅助视图来实现我们所需要的效果。
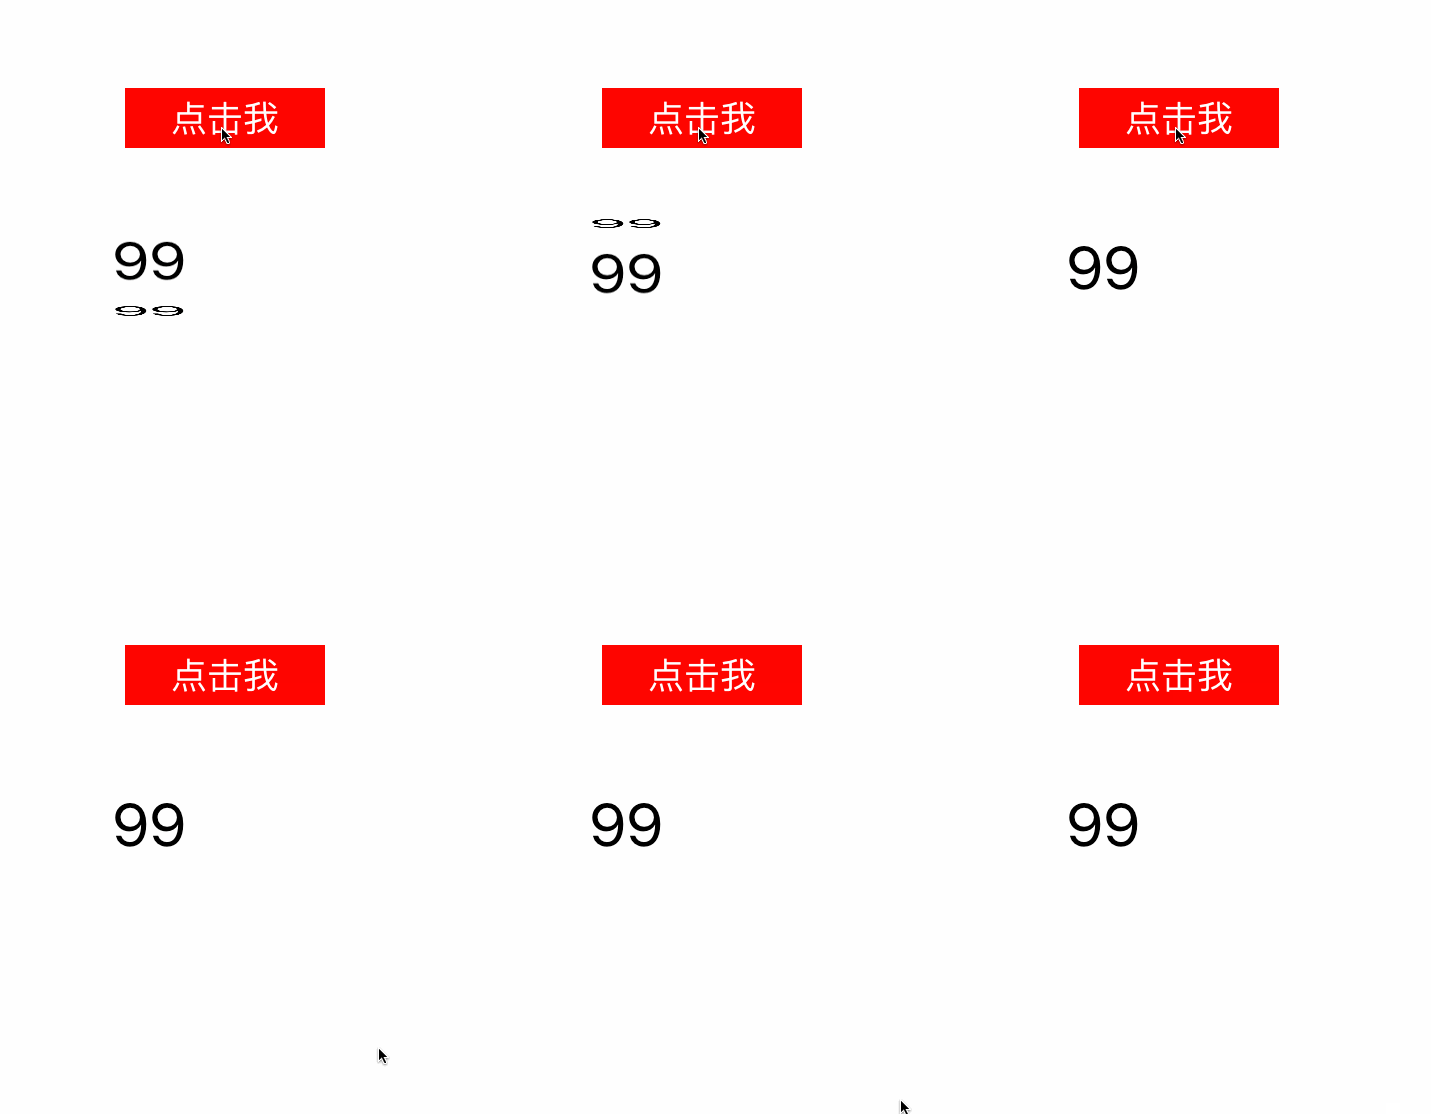
效果:
代码如下:
/*!
* @author Yooeee
*
* @brief 动态的切换文字
*
* @param label 所要改变文字的Label
* @param text 改变的文字
*/
- (void)cube:(UILabel *)label text:(NSString *)text
{
//辅助视图,用来实现效果
UILabel *aLabel = [[UILabel alloc]initWithFrame:label.frame];
aLabel.text = text;
aLabel.textAlignment = label.textAlignment;
aLabel.font = label.font;
    CGFloat offset = label.frame.size.height/2.0f;
    aLabel.transform = CGAffineTransformConcat(CGAffineTransformMakeScale(1.0, 0.1), CGAffineTransformMakeTranslation(0.0, offset));

    [label.superview addSubview:aLabel];

    [UIView animateWithDuration:0.5 delay:0.0 options:UIViewAnimationOptionCurveEaseOut animations:^{
        aLabel.transform = CGAffineTransformIdentity;
        label.transform = CGAffineTransformConcat(CGAffineTransformMakeScale(1.0, 0.1), CGAffineTransformMakeTranslation(0.0, -offset));
} completion:^(BOOL finished) {
    label.text = text;
    label.transform = CGAffineTransformIdentity;

    [aLabel removeFromSuperview];
}];
}
渐隐效果
主要是修改option的参数取值
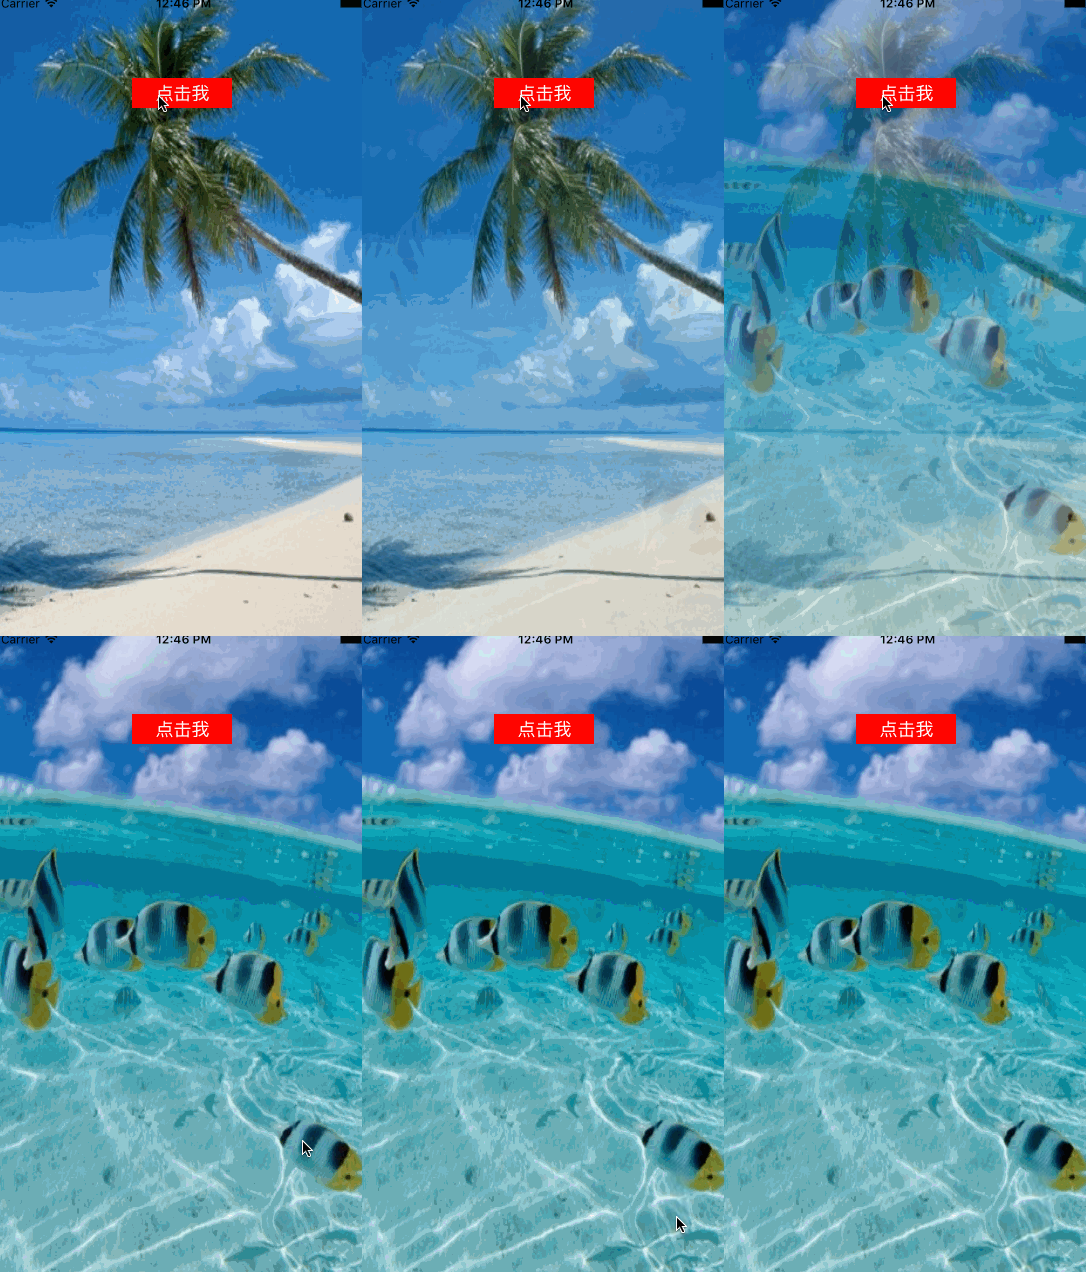
先看效果:
[UIView transitionWithView:_fadeImageView duration:1.5 options:UIViewAnimationOptionTransitionCrossDissolve animations:^{
    _fadeImageView.image = [UIImage imageNamed:@"image2"];
} completion:^(BOOL finished) {

}];
Keyframe Animations的实现
有时候我们需要实现多个连续的动画,或许我们可以在 completion中来实现多个动画的连续,但是我们却可以有更好的选择,那就是 Keyframe Animations(帧动画)。
这里我们需要用到方法animateKeyframesWithDuration: delay: options: animations: completion:。
- animateKeyframesWithDuration:所有动画完成的总时间
- delay:延迟执行时间
- options:一些设置,他是枚举类型
UIViewKeyFrameAnimationOptions,不是UIViewAnimationOptions,这个一定要注意。 - animations:我们的动画就添加到这里面
- completion:这个动画执行完成后会执行这里
使用方法addKeyframeWithRelativeStartTime: relativeDuration: animations:来添加各个时间段内的动画。
- startTime 指相对于全部动画时间的开始时间。比如总时间为10s,设值为0.3,则此动画就是第3秒开始。取值都在0~1.0之间。
- duration 指相对于全部动画时间的持续时间。比如总时间为10秒,设置为0.4,则此动画所持续的时间就是4秒。取值都在0~1.0之间。
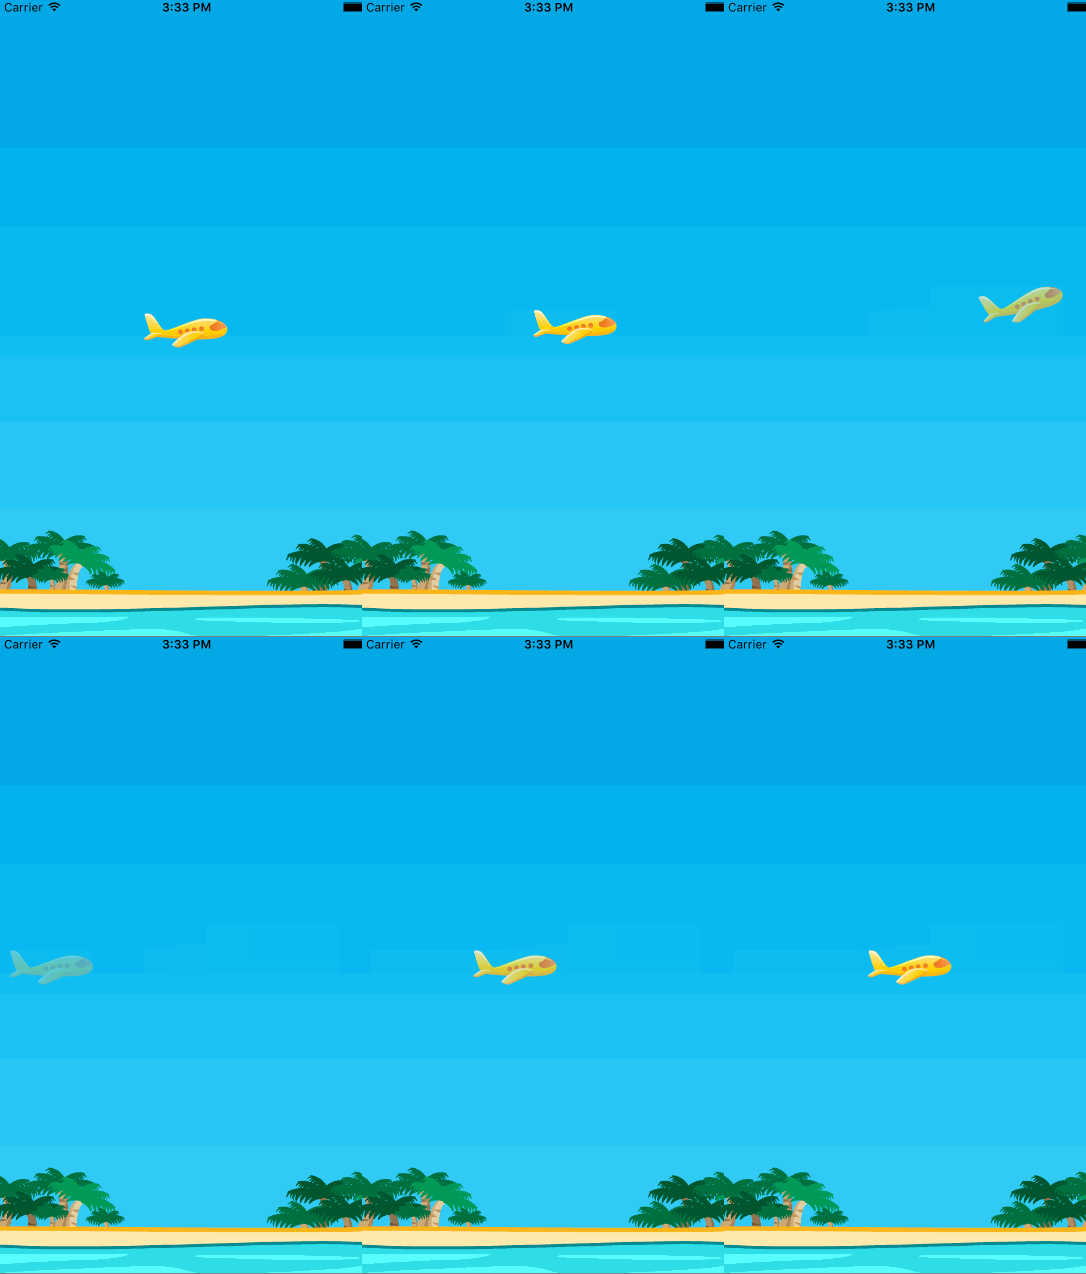
举个例子:实现效果先看
实现代码
- (void)planeDepart
{
CGPoint originCenter = _planeImageView.center;
[UIView animateKeyframesWithDuration:1.5 delay:2.0 options:0 animations:^{
    //在这里添加动画

    [UIView addKeyframeWithRelativeStartTime:0.0 relativeDuration:0.25 animations:^{
        CGPoint center = self.planeImageView.center;
        center.x += 80.0f;
        center.y -=10.0f;
        self.planeImageView.center = center;
    }];

    [UIView addKeyframeWithRelativeStartTime:0.1 relativeDuration:0.4 animations:^{
        self.planeImageView.transform = CGAffineTransformMakeRotation(-M_PI_4/2);
    }];

    [UIView addKeyframeWithRelativeStartTime:0.25 relativeDuration:0.25 animations:^{
        CGPoint center = self.planeImageView.center;
        center.x += 100.0f;
        center.y -= 50.0f;
        self.planeImageView.center = center;
        self.planeImageView.alpha = 0.0;
    }];

    [UIView addKeyframeWithRelativeStartTime:0.51 relativeDuration:0.01 animations:^{
        self.planeImageView.transform = CGAffineTransformIdentity;
        self.planeImageView.center = CGPointMake(0, originCenter.y);
    }];

    [UIView addKeyframeWithRelativeStartTime:0.55 relativeDuration:0.45 animations:^{
        self.planeImageView.alpha = 1.0;
        self.planeImageView.center = originCenter;
    }];

} completion:^(BOOL finished) {
    dispatch_after(dispatch_time(DISPATCH_TIME_NOW, (int64_t)(2 * NSEC_PER_SEC)), dispatch_get_main_queue(), ^{
        //两秒之后重复执行动画
        [self planeDepart];
    });
}];
}
上个源代码吧 Plane
说明:
- 各个帧动画之间的时间点是可以重叠的。


