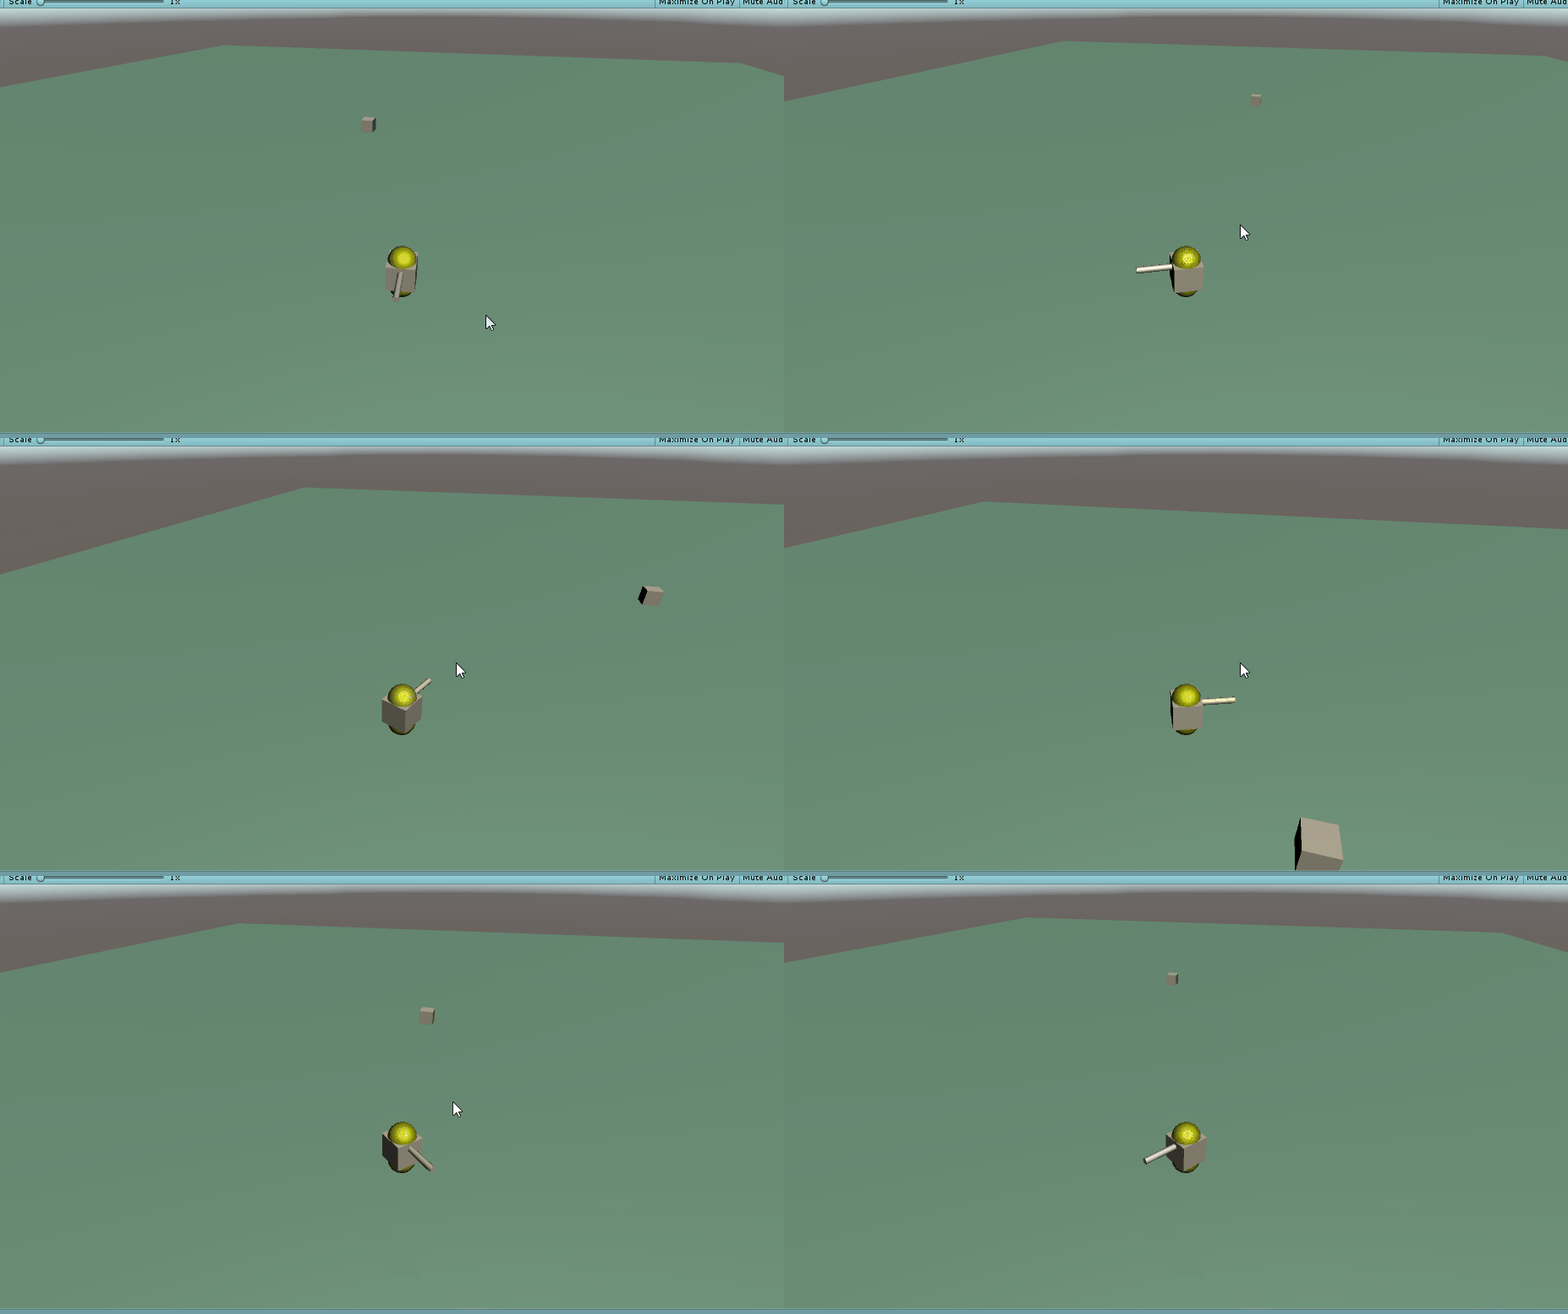
Unity使用心得 之 ☀️ Unity中 多种相机视角跟随方式 (第一、三人称都有哦,快来看看叭)
相机视角跟随 的几种方式
因为平时无论是做游戏,还是写写小Demo,让相机跟随物体移动进行视角控制还是用的挺多的
下面就来介绍几种可以控制摄像机视角跟随角色物体移动的几种方式。 (忽略我随意搭建的测试场景,low的很…哈哈)
这是简单控制物体移动的脚本,挂到物体上移动测试用的
写的很简单,通过按键盘上的上下左右就可以进行移动和转身
using System.Collections;
using System.Collections.Generic;
using UnityEngine;

public class playerTest1 : MonoBehaviour
{

    [Header("移动速度")]
    public float movespeed = 5f;
    [Header("转身速度")]
    public float turnspeed = 5f;

    private float hor;
    private float ver;

    void Update()
    {

        hor = Input.GetAxis("Horizontal");
        ver = Input.GetAxis("Vertical");
        //前后移动
        transform.position += ver * transform.forward * Time.deltaTime * movespeed;
        //左右转身
        transform.eulerAngles += hor * Vector3.up * turnspeed;
    }

}
第三人称视角相机跟随
因为控制视角跟随的方法有很多种,在这里就只介绍三种方法,功能各有所不同,不过区别不是很大,都是第三人称视角来的~~
以下都是通过在Unity界面直接将要追踪的物体拖到摄像机的脚本上的
①普通摄像机视角跟随
直接将场景中的Camera拖到该物体上
这是最简便的方法,也不用写代码,将摄像机挂上去即可。
优点:操作简单,都不用写代码的
缺点:旋转的时候效果不好,头晕目眩~
②普通摄像机视角跟随
声明一个方向向量,计算摄像机指向玩家的方向偏移量,从而计算出出摄像机的位置,然后让摄像机一直随着这个数值即可。
脚本挂载到摄像机上即可

using System.Collections;
using System.Collections.Generic;
using UnityEngine;

public class cameraTest : MonoBehaviour
{

    //跟随的目标
    public Transform target;

    //方向向量
    private Vector3 dir;
    private void Start()
    {

        //计算摄像机指向玩家的方向偏移量
        dir = target.position - transform.position;
    }
    private void Update()
    {

        //时时刻刻计算摄像机的跟随位置
        Vector3 bastPos = target.position - dir;
        transform.position = bastPos;
    }
}
③可以通过鼠标滑轮控制视角缩放的跟随
这个的视角跟随效果与第二个类似,多了一个通过鼠标滑轮控制视角缩放的效果
代码

using UnityEngine;
using System.Collections;

public class camera : MonoBehaviour
{

    public Transform target;
    Vector3 offset;
    // Use this for initialization
    void Start()
    {

        offset = transform.position - target.position;
    }

    // Update is called once per frame
    void Update()
    {

        transform.position = target.position + offset;
        Rotate();
        Scale();
    }
    //缩放
    private void Scale()
    {

        float dis = offset.magnitude;
        dis -= Input.GetAxis("Mouse ScrollWheel") * 5;
        Debug.Log("dis=" + dis);
        if (dis < 10 || dis > 40)
        {

            return;
        }
        offset = offset.normalized * dis;
    }
    //左右上下移动
    private void Rotate()
    {

        if (Input.GetMouseButton(1))
        {

            Vector3 pos = transform.position;
            Vector3 rot = transform.eulerAngles;

            //围绕原点旋转,也可以将Vector3.zero改为 target.position,就是围绕观察对象旋转
            transform.RotateAround(Vector3.zero, Vector3.up, Input.GetAxis("Mouse X") * 10);
            transform.RotateAround(Vector3.zero, Vector3.left, Input.GetAxis("Mouse Y") * 10);
            float x = transform.eulerAngles.x;
            float y = transform.eulerAngles.y;
            Debug.Log("x=" + x);
            Debug.Log("y=" + y);
            //控制移动范围
            if (x < 20 || x > 45 || y < 0 || y > 40)
            {

                transform.position = pos;
                transform.eulerAngles = rot;
            }
            //  更新相对差值
            offset = transform.position - target.position;
        }

    }
}
④相机一直拍摄角色的后背的视角
这个相机跟随是一直拍角色后背的视角,会自动调整
using UnityEngine;
using System.Collections;
//相机一直拍摄主角的后背
public class cameraT4 : MonoBehaviour
{


    public Transform target;

    public float distanceUp = 15f;
    public float distanceAway = 10f;
    public float smooth = 2f;//位置平滑移动值
    public float camDepthSmooth = 5f;

    void Update()
    {

        // 鼠标轴控制相机的远近
        if ((Input.mouseScrollDelta.y < 0 && Camera.main.fieldOfView >= 3) || Input.mouseScrollDelta.y > 0 && Camera.main.fieldOfView <= 80)
        {

            Camera.main.fieldOfView += Input.mouseScrollDelta.y * camDepthSmooth * Time.deltaTime;
        }
    }

    void LateUpdate()
    {

        //相机的位置
        Vector3 disPos = target.position + Vector3.up * distanceUp - target.forward * distanceAway;
        transform.position = Vector3.Lerp(transform.position, disPos, Time.deltaTime * smooth);
        //相机的角度
        transform.LookAt(target.position);
    }
}
⑤ 有档位的摄像机视角跟随(较复杂)
原理是通过射线检测当前摄像机与物体的角度来改变摄像机的位置,因为在一般游戏场景中有时候会有其他物体,比如墙体之类的会挡住玩家,所以通过这种方法可以有效的控制视角
代码
using System;
using UnityEngine;
public class camera : MonoBehaviour
{
//跟随的目标
public Transform followTarget;
//方向向量
private Vector3 dir;
//射线碰撞检测器
private RaycastHit hit;
//摄像机移动速度
public float moveSpeed;
//摄像机旋转速度
public float turnSpeed;
//摄像机观察的档位【可选的视角位置的个数】
public const int camera_watch_gear = 5;
//观察玩家身体偏移量
public const float PLAYER_WATCHBODY_OFFSET = 1f;
private void Start()
{
//计算方向向量【摄像机指向玩家】
dir = followTarget.position - transform.position;
}
private void Update()
{
FollowMethod();
}
/// 第一人称视角相机跟随
①简单相机跟随鼠标移动来形成视角跟随的效果
将脚本挂到相机上,然后相机设为移动物体的子物体
代码
using UnityEngine;
using System.Collections;
/// ②通过移动鼠标玩家方向改变的同时,调整相机视角的变化
将脚本挂到移动的物体上,然后相机设为移动物体的子物体,这个是鼠标来控制方向的,可能效果不是很好
代码
using System.Collections;
using System.Collections.Generic;
using UnityEngine;

public class cameraT2 : MonoBehaviour
{

    //注意枚举的使用,可以用名称设置值,而不是用魔术数字,这样有利于代码的理解和阅读,是良好的习惯
    public enum RotationAxes
    {

        MouseXAndY = 0,
        MouseX = 1,
        MouseY = 2
    }

    public float sensitivityHor = 9.0f;//水平旋转速度
    public float sensitivityVert = 9.0f; //垂直旋转速度,灵敏度

    public float minimumVert = -90.0f;
    public float maximumVert = 90.0f;

    private float _rotationX = 0;//为垂直角度声明一个变量

    public RotationAxes axes = RotationAxes.MouseXAndY; //使得变量暴露在组件里,可以在Unity里可视化更改
    // Start is called before the first frame update
    void Start()
    {


    }

    // Update is called once per frame
    void Update()
    {

        if (axes == RotationAxes.MouseX)
        {

            transform.Rotate(0, Input.GetAxis("Mouse X") * sensitivityHor, 0);
            //水平旋转,所以固定了z轴,绕着z轴在四周旋转。
        }
        else if (axes == RotationAxes.MouseY)
        {
        //垂直方向旋转的代码
            _rotationX -= Input.GetAxis("Mouse Y") * sensitivityVert; //基于鼠标增加垂直角度
            _rotationX = Mathf.Clamp(_rotationX, minimumVert, maximumVert); //限制上下看的范围

            float rotationY = transform.localEulerAngles.y;//保持y的角度
            transform.localEulerAngles = new Vector3(_rotationX, rotationY, 0); //使用新的值存储固定了的旋转前的水平旋转信息并增加上下方向旋转的移动

        }
        else
        {

            // 同时可以水平和垂直方向的旋转
            _rotationX -= Input.GetAxis("Mouse Y") * sensitivityVert;
            _rotationX = Mathf.Clamp(_rotationX, minimumVert, maximumVert);

            float delta = Input.GetAxis("Mouse X") * sensitivityHor; //delta是旋转的变化量,一般数学上也会把变化量协作delta
            float rotationY = transform.localEulerAngles.y + delta;
            transform.localEulerAngles = new Vector3(_rotationX, rotationY, 0);
        }
    }
}
总结
以上就是分别介绍了第三人称和第一人称视角控制的几种方法,当然还有更多的办法,这里只是介绍了几种。有需求可以再去深入研究一个符合自己的视角控制哦
