利用tools命名空间,android studio支持很多XML属性,当构建app时这些属性会被擦除,对APK的大小和运行时行为没有任何影响。请看官网。
tools属性大致可以分为三类:1,错误处理属性,这样就会影响到Lint的提示;2,资源shrink属性,影响到资源以何种方式shrink;3,布局编辑器设计时View属性。
1 错误处理属性
- tools:ignore
任何元素都可以使用这个属性,比如strings.xml里面的string元素,我们可以忽略掉MissingTranslation这个错误属性:
All
再比如对于下面代码中的ImageView元素,如果我们没有添加tools:ignore这个属性,那么Lint会提示该ImageView缺少android:contentDescription属性,tools:ignore="contentDescription"可以忽略这个警告:
- tools:targetApi
任何元素都可以使用这个属性,它和java代码中的注解@TargetApi是一样的:它指定了当前元素支持API级别,属性值既可以是数字也可以是代码名字。
这样的话,即使指定的minSdkVersion不支持当前元素,那么Lint也不会警告。比如设置的minSdkVersion=12,但是要使用GridLayout的话,就必须加上tools:targetApi="14":
- tools:locale
只有resources标签才能使用这个属性。resources默认的语言和区域是英语,会进行拼写检查,而这个属性过指定了resources的语言和区域,当然属性值必须是合法的locale qualifier。
比如你可以指定values/strings.xml文件的默认语言是西班牙语而不是英语:
2 资源压缩模式
当使用resource shrinking的时候下面的属性指定资源压缩的一些特性。
为了使用资源压缩,请将build.gradle文件的shrinkResources 属性置为true,(minifyEnabled属性是code shrinking代码压缩):
android {
    ...
    buildTypes {
        release {
            shrinkResources true
            minifyEnabled true
            proguardFiles getDefaultProguardFile('proguard-android.txt'), 'proguard-rules.pro'
        }
    }
}
- tools:shrinkMode
适用对象:
默认的安全模式是shrinkMode="safe"。如果要使用strict mode,可以用下面的代码:
如果启用了strict mode,可以自定义要保留的资源,如果想要保留或舍弃的特定资源,在您的项目中创建一个包含
将该文件保存在项目资源中,例如,保存在 res/raw/keep.xml。构建不会将该文件打包到 APK 之中。
更多信息请查看:Shrink your resources。
- tools:keep
适用对象:res/raw/keep.xml文件,内容如下:
- tools:discard
适用对象:
3 布局编辑器设计时View属性
- tools:替换android:
tools可以覆盖所有的android属性,相信这个是大家用过的最多的,就不说了。
- tools:parentTag
android studio2.2新加了这个属性可以指定merge标签的布局类型,比如:
- tools:context
只有根View才能使用这个属性,它指定了当前布局默认是跟哪个Activity相关联,使得布局获取那个Activity的一些信息比如Activity使用的theme等等,而且当你使用quickfix(mac上的快捷键是alt+enter)给子View添加`onClick事件时,相应的方法代码会插入到这个Activity中。
- tools:itemCount
只有RecyclerView才能使用这个属性。我的android studio版本是3.0.1,布局编辑器中RecyclerView显示的默认个数是10个,这个属性可以改变RecyclerView显示的个数。
- tools:layout
只有fragment标签能用这个属性,在preview窗口中可以预览这个layout的样式。
- tools:listitem / tools:listheader / tools:listfooter
只有AdapterView才能使用这个属性,指定了列表的items、header和footer的布局,不过tools:listitem这个属性RecyclerView也能使用:
- tools:showIn
适用对象:被
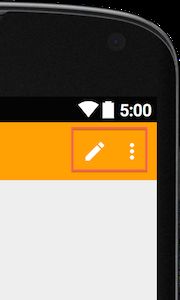
- tools:menu
适用对象:根
preview窗口很智能,如果布局和一个activity关联(通过tools:context指定)它将会自动查询这个activity的onCreateOptionsMenu方法,以显示菜单,而tools:menu属性则可以覆盖这种默认的行为。
属性的值是menu id,还可以有多个,不同的menu id之间用逗号隔开。
需要注意的是,主题为Theme.AppCompat时,这个属性不起作用。
- tools:actionBarNavMode
指定actionbar的显示模式,其值可以是:1. standard、2. tabs、3. list
同样的,当主题是Theme.AppCompat (r21+, at least) 或者Theme.Material,或者使用了布局包含Toolbar的方式。 该属性也不起作用,只有holo主题才有效。参考
- tools:minValue / tools:maxValue
适用对象:NumberPicker。预览NumberPicker的最大最小值但是不生效。NumberPicker的maxValue和minValue只能通过代码设置,如果想通过xml设置的话需要另想办法,这里有参考。为什么android studio的xml不支持设置这两个属性呢?我不懂,请大神留言告知。
- tools:openDrawer
适用对象:
| Constant | Value | Description |
|---|---|---|
| end | 800005 | Push object to the end of its container, not changing its size. |
| left | 3 | Push object to the left of its container, not changing its size. |
| right | 5 | Push object to the right of its container, not changing its size. |
| start | 800003 | Push object to the beginning of its container, not changing its size. |
- "@tools:sample/*" resources
适用对象:所有支持文本和图片的View。这个属性相当于给View加了个placeholder,比如:
下面的表格描述了所有能给View使用的placeholder:
| Attribute value | Description of placeholder data |
|---|---|
| @tools:sample/full_names | Full names that are randomly generated from the combination of @tools:sample/first_names and @tools:sample/last_names. |
| @tools:sample/first_names | Common first names. |
| @tools:sample/last_names | Common last names. |
| @tools:sample/cities | Names of cities from across the world. |
| @tools:sample/us_zipcodes | Randomly generated US zipcodes. |
| @tools:sample/us_phones | Randomly generated phone numbers with the following format: (800) 555-xxxx. |
| @tools:sample/lorem/random | Placeholder text that is derived from Latin. |
| @tools:sample/date/day_of_week | Randomized dates and times for the specified format. |
| @tools:sample/date/ddmmyy | 同上 |
| @tools:sample/date/mmddyy | 同上 |
| @tools:sample/date/hhmm | 同上 |
| @tools:sample/date/hhmmss | 同上 |
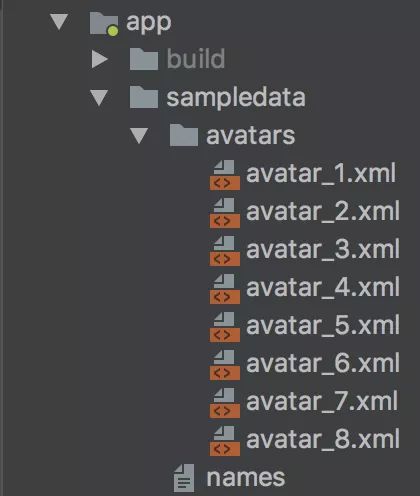
| @tools:sample/avatars | Vector drawables that you can use as profile avatars. |
| @tools:sample/backgrounds/scenic | Images that you can use as backgrounds. |
这些placeholder资源不会打进APK包里面,因此不用担心会增加app体积,只是方便在preview窗口查看预览效果。
下面举两个例子。
- 例子1 原文链接
比如下面的代码定义了一个RecyclerView,它的tools:listitem="@layout/item_part1":
再来看下item_part1.xml的代码:
//item_part1.xml
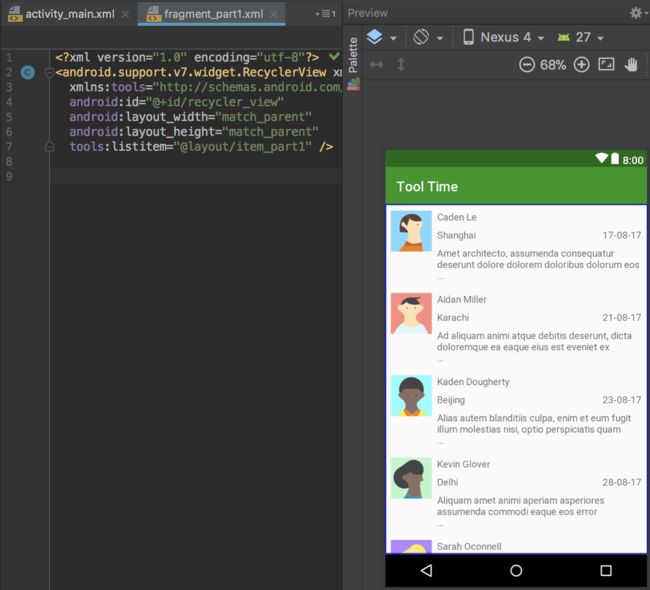
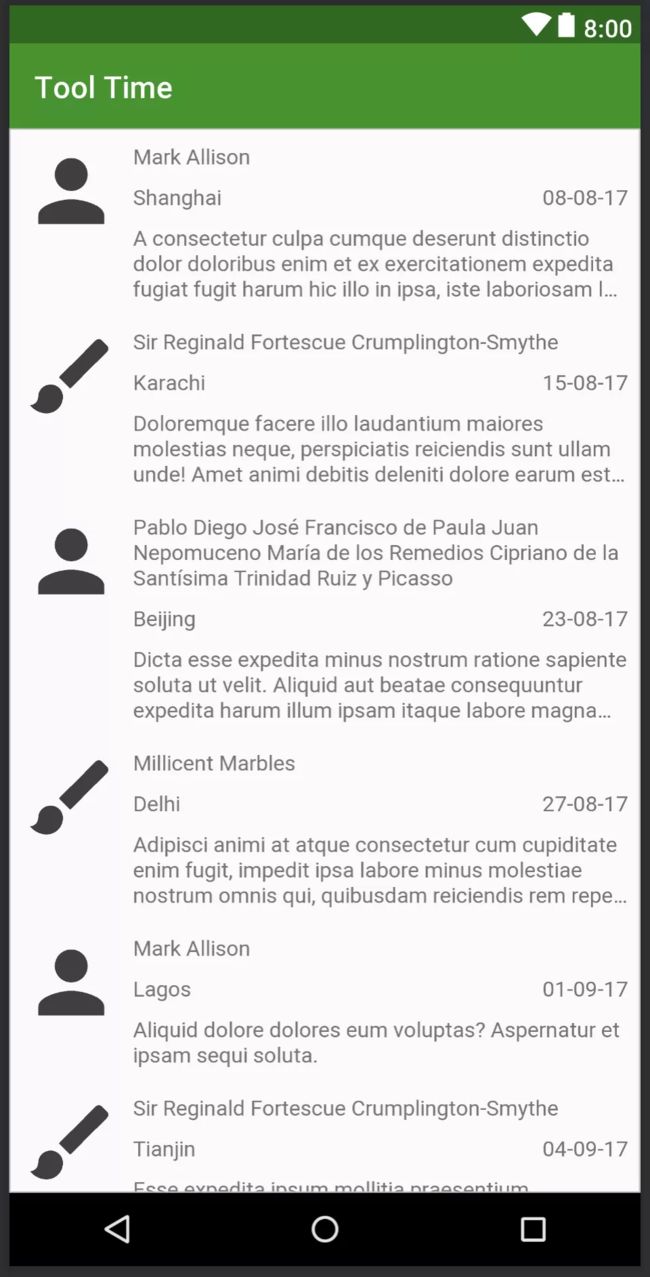
从上面的代码可以看到,RecyclerView的item包含5个元素:头像avatar、名字name、城市city、日期date和描述description。头像avatar使用的属性是tools:src="@tools:sample/avatars",名字name使用的属性是tools:text="@tools:sample/full_names",城市city使用的属性是tools:text="@tools:sample/cities",日期date使用的属性是tools:text="@tools:sample/date/ddmmyy",描述description使用的属性是tools:text="@tools:sample/lorem/random",最终的preview窗口如图所示:
例子1的 代码地址
- 例子2 原文链接
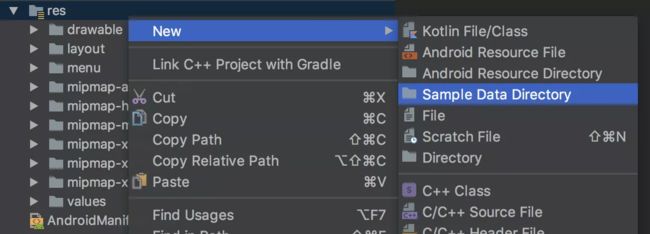
然后我们创建一个“names”文件,每一行加一个名字:
//ampledata/names
Mark Allison
Sir Reginald Fortescue Crumplington-Smythe
Pablo Diego José Francisco de Paula Juan Nepomuceno María de los Remedios Cipriano de la Santísima Trinidad Ruiz y Picasso
Millicent Marbles
然后我们把原来的placeholder属性tools:text="@tools:sample/full_names"替换一下:
代码使用下面的方式调用:
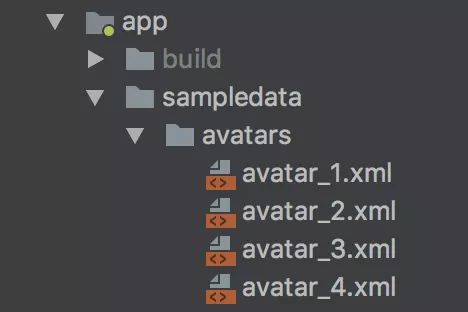
json文件内容如下:
{
  "data": [
    {
      "city": "Hemel Hempstead, Hertfordshire, UK",
      "avatar": "@sample/avatars"
    },
    {
      "city": "Brokenwind, Aberdeenshire, UK",
      "avatar": "@sample/avatars"
    },
    {
      "city": "Málaga, España",
      "avatar": "@sample/avatars"
    },
    {
      "city": "Batchelors Bump, Essex, UK",
      "avatar": "@sample/avatars"
    }
  ]
}
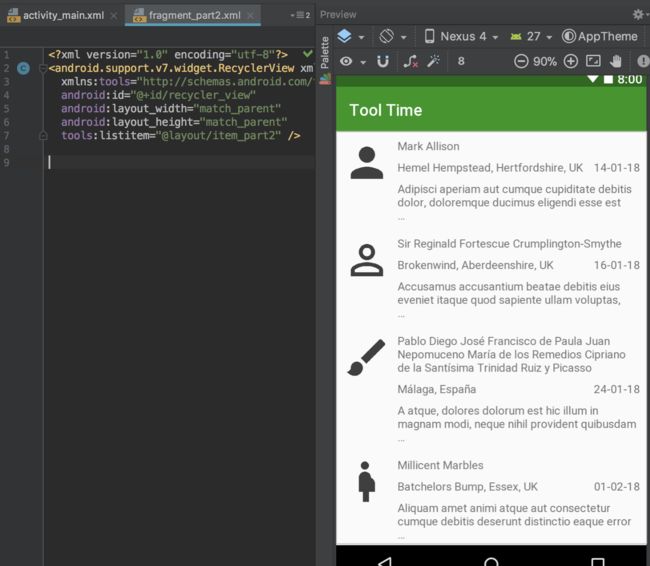
然后我们的头像avatar和城市city就能使用这个json文件来引用:
例子2的 代码地址

